views
Removing Text Using the Rasterize Function
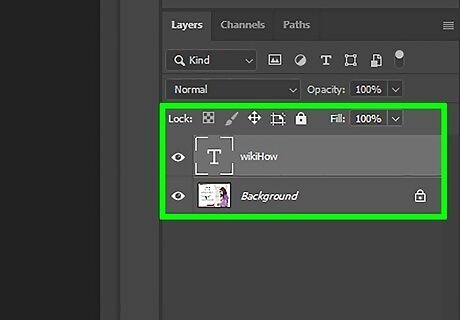
Understand that images are comprised of different, individual layers, which contain the various colors, effects, design, and text. All of these layers create the final image in Photoshop. Not only do these layers consist of your final JPEG file, they also give you a final PSD file. If you’re not familiar with it, PSD is an acronym that simply stands for Photoshop documents. The different layers can either be made invisible or visible on your image. They can also be rasterized to remove a segment of the layers. When you rasterize an image, you are basically turning it into a graphic so that you can manipulate it.
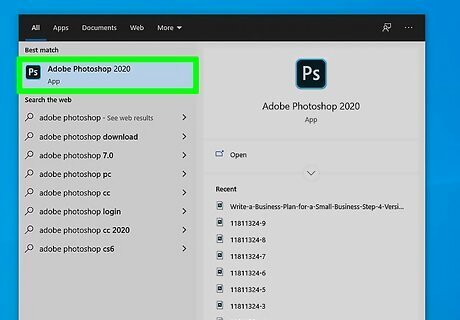
Open Photoshop from the Start Menu. On the interface that appears, select File from the Menu. Click Open on the drop-down list. Find and open your image on the Open window.
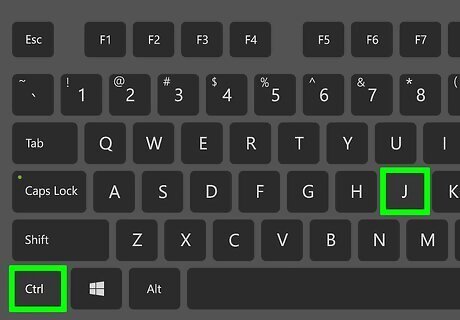
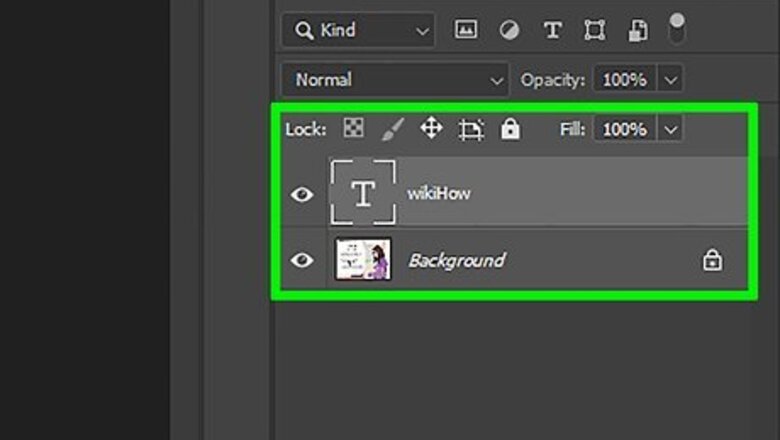
Press Command+J (Mac) or Ctrl+J (Win) to first create a copy of your image. This is so you don’t make any changes to the original. If you look in the Layers panel, you’ll see that you now have two layers with the same image. The original stays safe on the Background layer, and the editing work you’re about to do will be on the copy on Layer 1 above it.
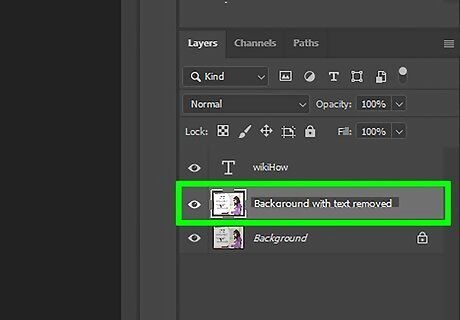
Give the copy a name. It’s a good idea to adjust the name. Otherwise, you could easily get it mixed up with the original. So that you know which image it is, however, you may want to keep the same name but at the end in all caps, add “WITH TEXT REMOVED.” To do this, right-click directly on Layer 1. The Rename option will appear. Change the name. Press Return (Mac) and Enter (Win) to accept the name change.
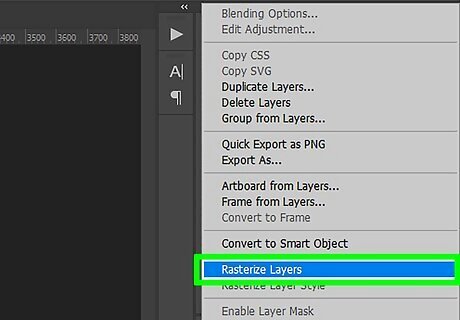
Select the Layers tab from the toolbar section on the right side located on the interface. Inside the toolbox, right-click on layer and choose Rasterize layer from the options. Select the Lasso tool from the toolbar option. Then select part of the image that you want to remove. Hit Delete. From the Menu, select File and Save to save the changes you made. Of all the tools in Photoshop, the Lasso Tool is probably the easiest to understand. With it selected, your cursor will appear as a small lasso icon, and you click somewhere along the side of the text that you want to delete. Continue holding the mouse button and drag to draw an outline around it. When you’re finished, hit delete to remove the text. To better understand layers, you can look at them as simply one image on top of another. Imagine you have a piece of paper and you paint it red. Then you take a piece of clear cellophane and paint a yellow circle on it; lay it over the paper. Now you take another piece of cellophane and paint a word written in blue on it; lay that on top of the yellow circle. So now, you have a red background with 2 layers on that are yellow and blue. Each one is referred to as a layer. This is what Photoshop means when it refers to layers. It’s basically all the separate parts of the whole.
Removing Text Using Content-Aware Fill
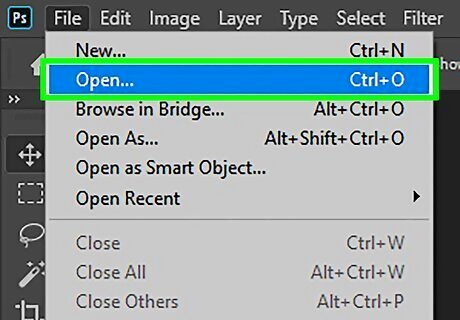
Open your image in Photoshop. Press Command+J (Mac) or Ctrl+J (Win) to first create a copy of your image. This is so you don’t make any changes to the original. If you look in the Layers panel, you’ll see that you now have two layers with the same image. The original stays safe on the Background layer, and the editing work you’re about to do will be on the copy on Layer 1 above it.
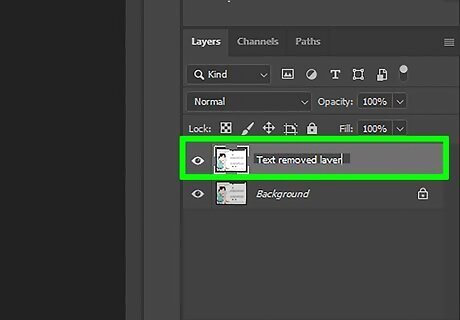
Give the copy a name. It’s a good idea to adjust the name. Otherwise, you could easily get it mixed up with the original. So that you know which image it is, however, you may want to keep the same name but at the end in all caps, add “WITH TEXT REMOVED.” To do this, right-click directly on Layer 1. The Rename option will appear. Change the name. Press Return (Mac) and Enter (Win) to accept the name change.
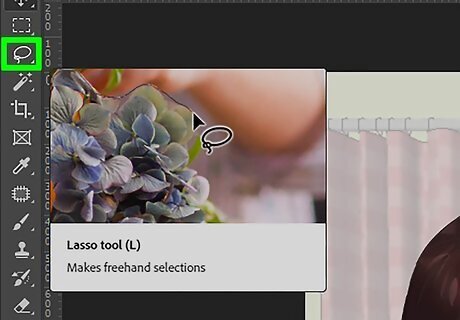
Choose the Lasso tool from the toolbar on the left side of the screen. Click near the edge of your text. Drag the tool until you've created a rough outline around the text. Make sure to leave a thin border around it. This action helps Photoshop to do a better job of blending the background after you remove the text.
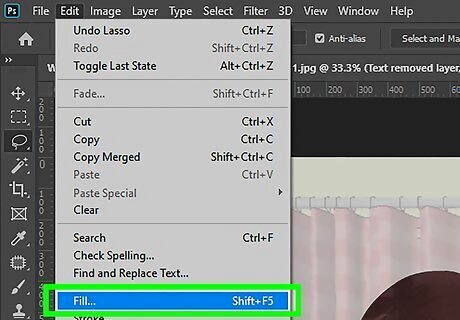
Click on Edit and select Fill from the drop-down menu. Alternatively, just press Shift+F5. A box labeled Fill will pop up on the screen. Select Content-Aware from the drop-down menu next to Use. Click OK. Wait for Photoshop to fill in the space left where the text was eliminated.
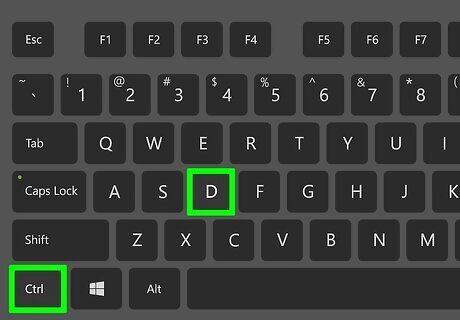
Press CTRL-D to deselect the image when the fill is complete. This allows you to see the image better. Save the altered image. Once you get the hang of it, it shouldn’t take longer than a few seconds to remove text using this feature.
Removing Text Using the Clone Stamp

Open your image in Photoshop. Press Command+J (Mac) or Ctrl+J (Win) to first create a copy of your image. This is so you don’t make any changes to the original. If you look in the Layers panel, you’ll see that you now have two layers with the same image. The original stays safe on the Background layer, and the editing work you’re about to do will be on the copy on Layer 1 above it.
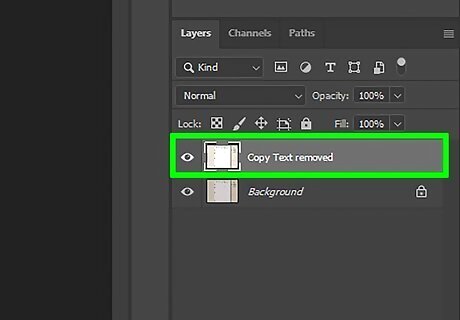
Give the copy a name. It’s a good idea to adjust the name. Otherwise, you could easily get it mixed up with the original. So that you know which image it is, however, you may want to keep the same name but at the end in all caps, add “WITH TEXT REMOVED.” To do this, right-click directly on Layer 1. The Rename option will appear. Change the name. Press Return (Mac) and Enter (Win) to accept the name change.
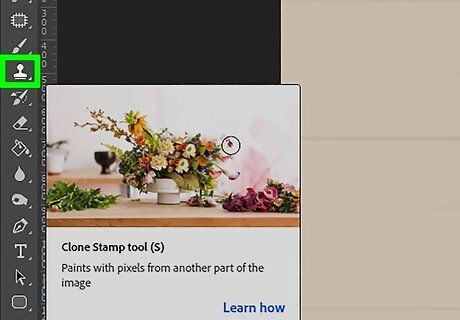
Click the Clone Stamp on the tools pallet. Alternatively, press CTRL-S. Choose a soft-tipped brush with a flow rate between 10 and 30 percent (for most jobs). Start with opacity at 95 percent. You can make adjustments as needed.
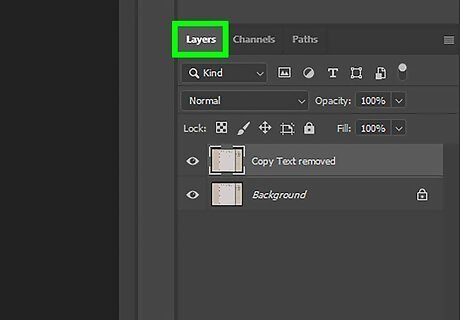
Click the Layers panel. Select the original layer in the Layers panel. Drag the original layer to the Create a New Layer button, which is the symbol to the left of the trash can. Alternatively, hit CTRL+J to create a new layer.

Place your cursor over a spot that is as close to the lettering as possible. Hold Alt and then left-click on your selection. This spot is called your source. Essentially, you will pick up "paint" from this spot and use it to paint over your text.
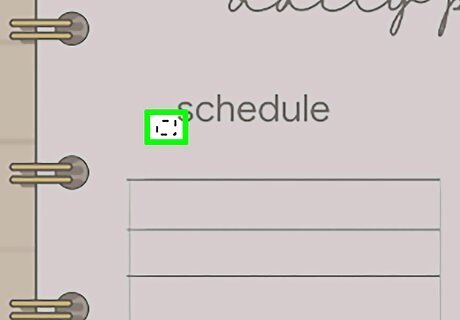
Be careful not to get too close to the lettering, as the source will move as you paint over the text. If you get too close, then you will just be copying the spot you were trying to erase. If your source is too far away from your lettering, then the color of the background may not be appropriate for camouflaging the spot where the letters were. You will see distortion when you paint over the image.
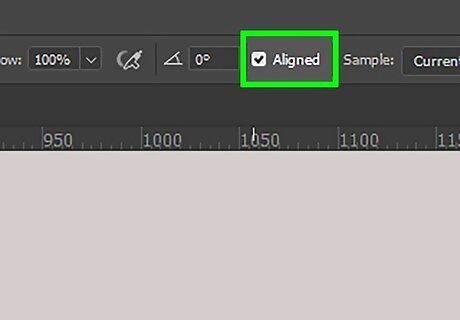
Open the Options menu and choose Aligned. This action samples pixels continuously without losing the current sampling point. Every time you stop painting, deselect Aligned before you start over. Reset it after you choose a new sampling point.
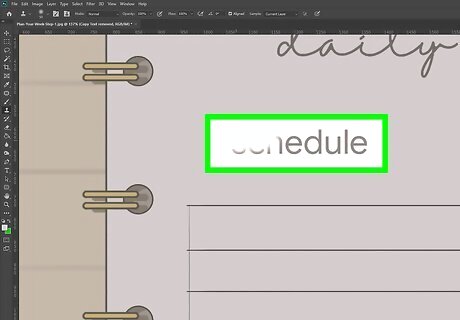
Release the Alt key and move the mouse over the lettering that you want to cover up. Left click to paint the source over the lettering. Notice the lighting of the background image. Make sure that the spots that you clone are lit in the same direction as the image.
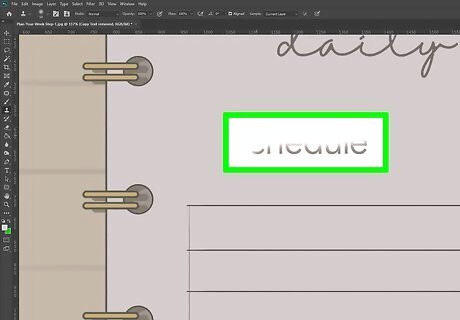
Paint in small sections. You don’t want to drag the mouse over the letters in large strokes. This action will ensure that your work looks professional instead of blotchy. Continue this process until the project is complete.




Comments
0 comment