views
Understanding HTML Emails
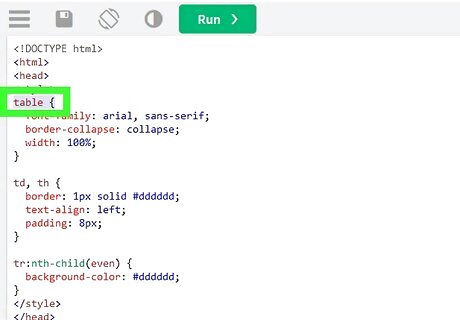
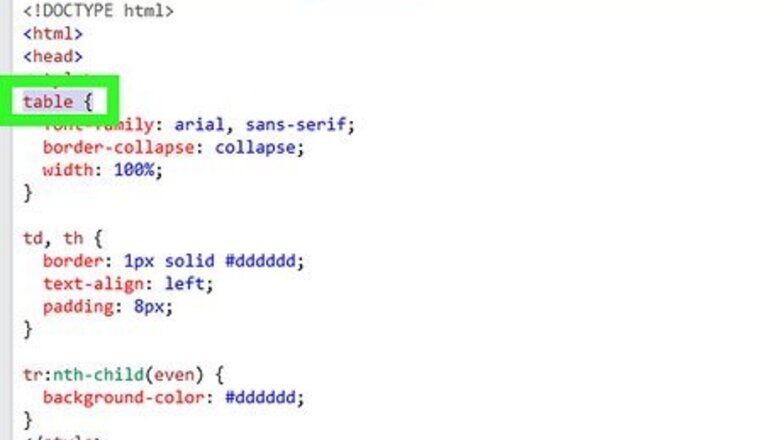
Use code for email readers. Not all email readers have the same capabilities as web browsers. Design your email so more people will be able to view the HTML version instead of having to revert to the plain-text version. Structure content by using tables. Store images on a live web server or use stock images. Use "https://" (or "http://") in your links.
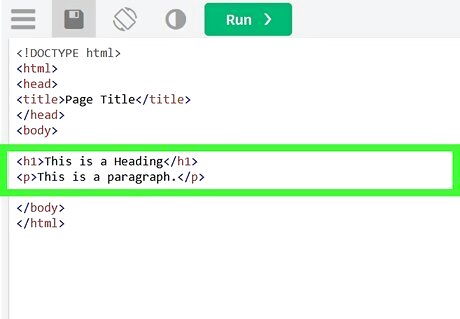
Rely on the text to communicate your message. Though it is more appealing to use colors and graphics, there is a good chance that someone on your email list will not be able to view your HTML email, no matter how well it is designed. Unless you absolutely have to use an image, stick to text where possible. Spam filters can block images and attachments. They also tend to filter emails of substantial size, which can include you if you have large image files or numerous images. Many mobile users won't see your images anyway.
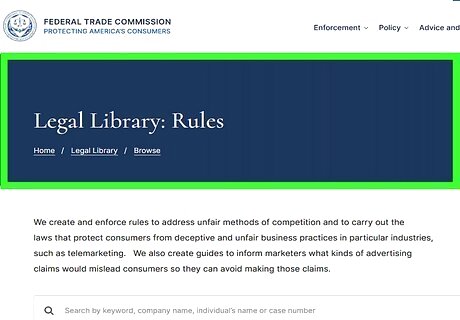
Follow Federal Trade Commission guidelines. These guidelines are set up to protect consumers by ensuring proper privacy settings and making certain that legitimate businesses are behind email marketing. Provide a way to opt out of your email list. This can be an automatic unsubscribe link at the bottom of your email. You can also identify an email address for them to contact and ask to be removed if they no longer wish to receive your emails at any point in the future. Include your business's name and physical mailing address. Readers need to know that you are a valid businesses and not a scheme or spammer. Ensure that the "from" and "reply-to" addresses are valid and active. Provide a way for readers to contact you if they have questions or are interested in supporting your business. Choose an appropriate subject line. Your subject should be a concise description of what the email contains, not invalid sales offers or false promotions.
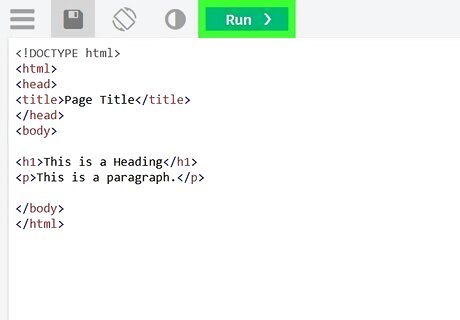
Review your HTML email before sending it. Once you've added your HTML to your email, scroll through the email to make sure that the various components of the page are showing up: Look to see if links are intact and active. Ensure that images and fonts appear correctly. Check to see if your table is too wide. Test your email in as many email readers as possible.
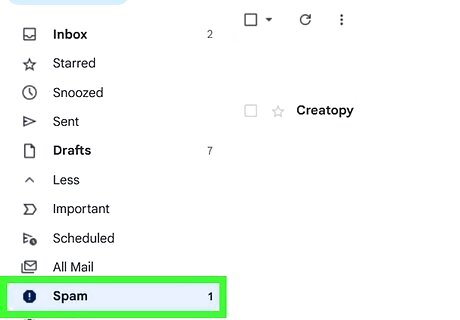
Perform a spam test. Send your email both to yourself at as many different email addresses as possible and to a variety of contacts, then follow up to see whether or not your contacts received your email. If your email is sent to the Spam folder during any of your tests, you may have to remove things such as images and links to pages which don't use HTTPS encryption.
Copying and Pasting HTML Content
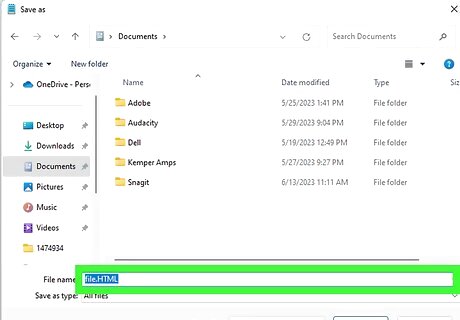
Save your HTML to a file. On most HTML generator websites, you'll do this by clicking the "Save" or "Download" button and following any on-screen instructions. If you're using the default text editor on a Windows or Mac computer (Notepad or TextEdit, respectively), you can save your HTML to a file by doing the following: Windows — Click File, click Save As, enter a name followed by .html (e.g., "file.html"), click the "Save as type" drop-down box, click All Files, and click Save. Mac — Click Format, click Make Plain Text, click OK when prompted, click File, click Save, click the downward-facing arrow to the right of the "Name" field, uncheck the "Hide Extension" box, replace the ".txt" part of the name with ".html", click Save, and click Use .html when prompted.
Open the file in a browser. Double-click your HTML file to open it in your computer's default web browser. You can also open your preferred web browser and then click and drag your HTML file into the browser window.
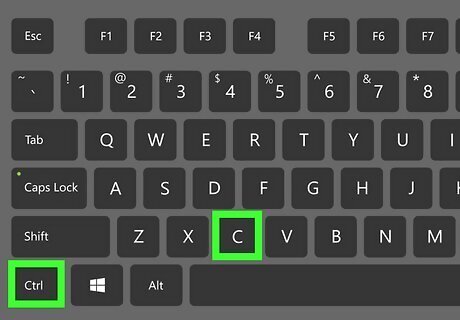
Copy the content. Click and drag your mouse cursor across and down the HTML page until everything is selected, then press Ctrl+C (Windows) or ⌘ Command+C (Mac). You can also click anywhere on the page and then press either Ctrl+A or ⌘ Command+A to highlight the whole page, but this may cause you to highlight components of the page you don't want to include.
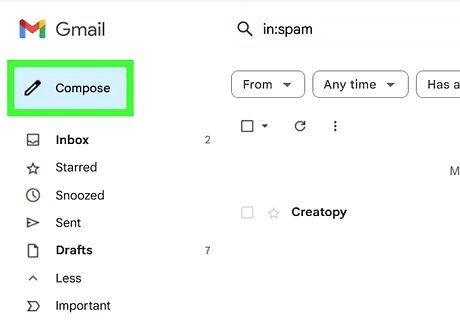
Open a new email in your preferred inbox. Gmail, Outlook, Apple Mail, and Yahoo all support sending HTML emails: Gmail — Go to https://www.gmail.com/ and log in if necessary, then click COMPOSE. Outlook — Go to https://www.outlook.com/ and log in if necessary, then click + New message. Apple Mail — Go to https://www.icloud.com/#mail and log in, then click iPhone Quick Compose. Yahoo — Go to https://www.yahoo.com/mail and log in if necessary, then click Compose.
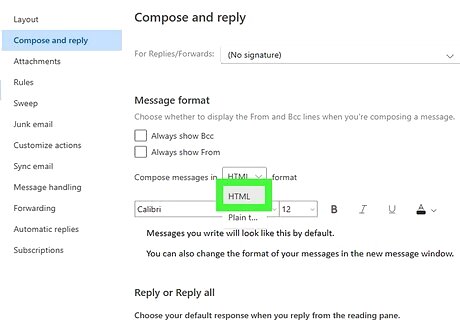
Enable HTML emails if you're using Outlook. While Gmail, Yahoo, and Apple Mail all have HTML enabled for their emails by default, you may need to enable HTML sending if you're using the web version of Outlook: Click the gear-shaped "Settings" IE Settings icon in the upper-right corner of the inbox. Scroll down and click Show full settings Click the Mail tab. Click Compose and reply Click the "Plain text" drop-down box at the bottom of the window (if this box says "HTML", Outlook already supports HTML emails). Click HTML Click Save, then exit the menu.
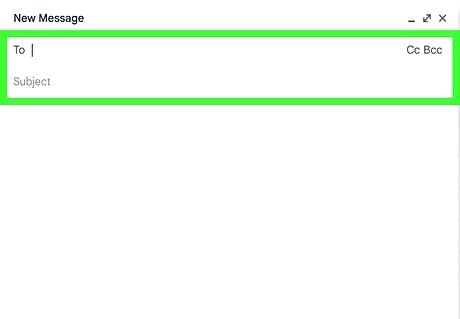
Add a recipient and a subject. Type a recipient's email address into the "To" text box at the top of the "Compose" window, then add a subject in the text box below it.
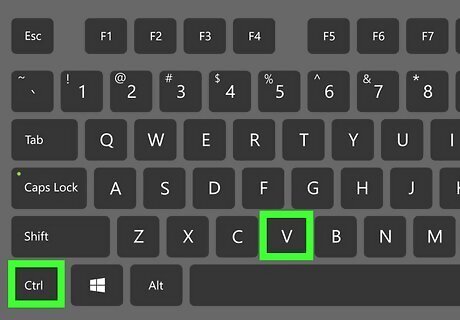
Paste in your content. Click the main text box in the "Compose" window, then press Ctrl+V (Windows) or ⌘ Command+V (Mac). The HTML page's content will appear in the email exactly as it was formatted on the HTML page.
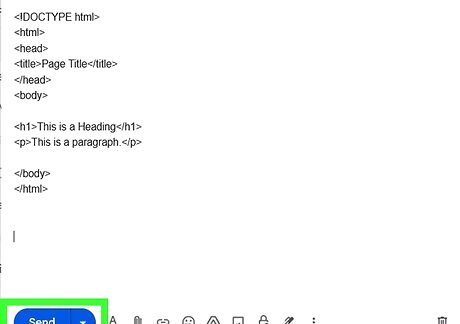
Send your email. Click the Send button in the "Compose" window to do so. Your recipient(s) will receive your HTML page as an email.
Using Gmail and Chrome
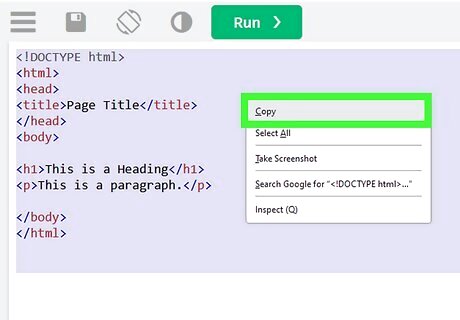
Copy your HTML email's body text. If you can't open the HTML file in your browser for some reason, copying the HTML's body text and pasting it into your email's source code will also work as long as you're using Gmail in Google Chrome. You'll need to copy all of the body text—including the "
" and "" tags—but Gmail will cover the document type and the HTML tags themselves, so you don't need to copy those.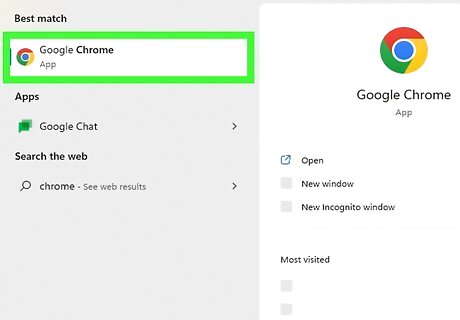
Open Android 7 Chrome Google Chrome. This is the only browser in which you can successfully paste your HTML code into your Gmail email.
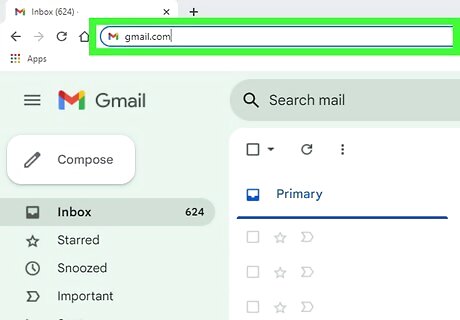
Open Gmail. Go to https://www.gmail.com/ in Chrome's address bar, then enter your email address and password if prompted to log in.
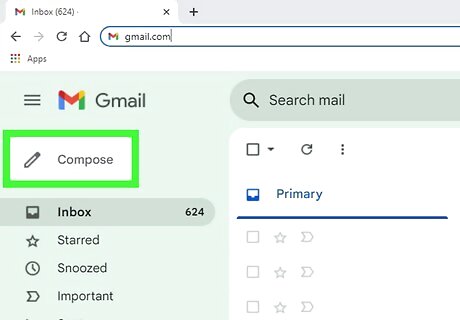
Click COMPOSE. It's in the top-left corner of the Gmail window. A pop-up window will appear in the middle of the Gmail window. If you're using the new version of Gmail, you'll click Compose here.
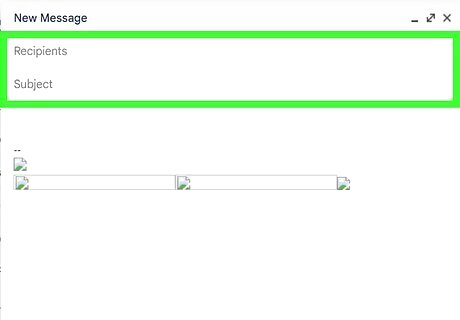
Add a recipient and a subject. Type a recipient's email address into the "To" text box at the top of the "Compose" window, then add a subject in the text box below it.
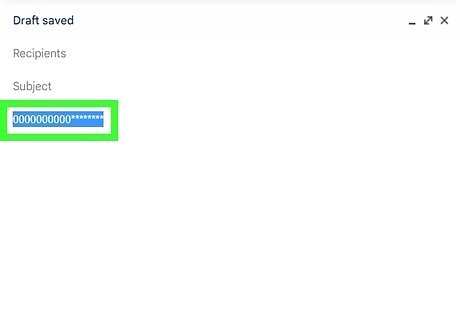
Enter placeholder text. In the main section of the "Compose" window, type in a string of asterisks, zeroes, or other similarly distinguishable text. This will help you find the necessary location in the source code.
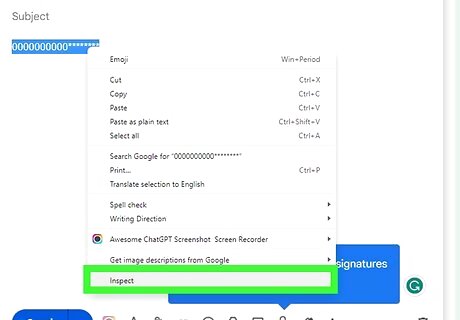
Open an "Inspect" window. Select your placeholder text, then right-click (or Control-click on a Mac) the text and click Inspect in the resulting drop-down menu. You should see a pop-out window appear on the right side of the page.
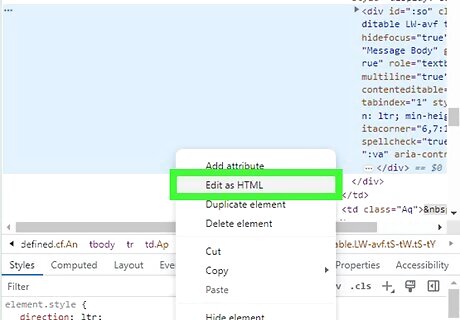
Open the selected code for editing. Right-click (or Control-click on a Mac) the blue-highlighted code at the top of the pop-out window, then click Edit as HTML in the resulting drop-down menu.
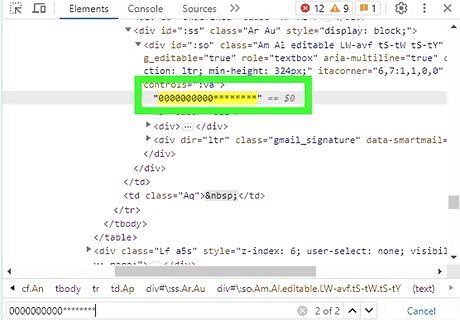
Find your placeholder text, then select it. Scroll down until you find the placeholder text that you entered into your email, then click and drag your mouse cursor across the placeholder text. Make sure you don't select anything to the left or right of your placeholder text.
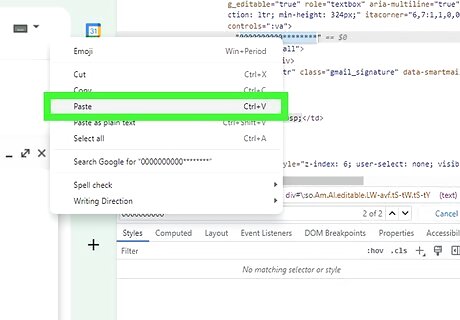
Paste in your HTML. Press Ctrl+V (Windows) or ⌘ Command+V (Mac) to do so. You should see the HTML for your project appear in the window.
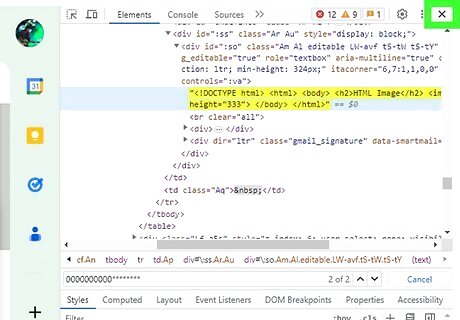
Exit the pop-out menu. Click the X in the top-right corner of the "Inspect" pop-out window to close it.
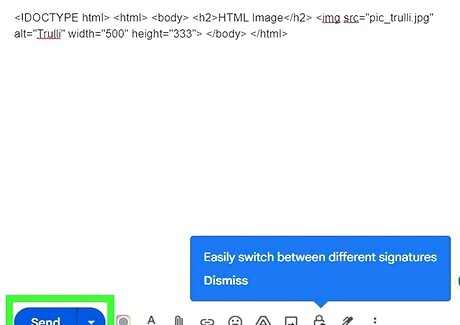
Review and send your email. In the Gmail window, look at your email's presentation. If you're satisfied with the way the HTML page looks in your "Compose" window, you can click Send to deliver it to your recipient(s).




Comments
0 comment