views
Applying Foil and Flux for Soldering
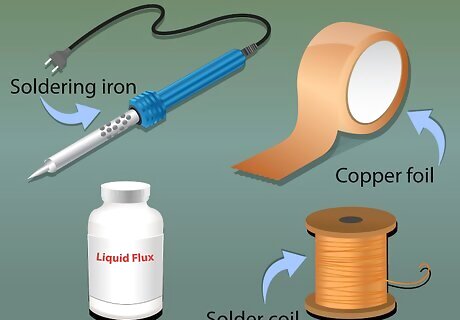
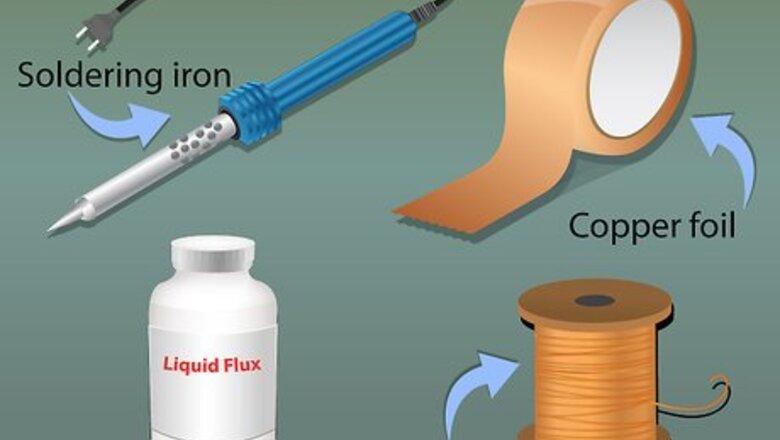
Turn on your soldering iron and set up your materials. Set out your copper foil, liquid flux, and coil of solder. Plug in your soldering iron, set it on its stand, and allow it to heat up. It's important to have everything set up before you begin the soldering process, because precise timing is very important in this project.
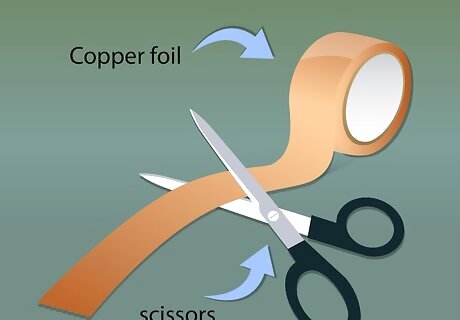
Cut a length of adhesive copper foil to fit your glass pieces. Solder won't stick to glass by itself--you need another metal on the surface to hold it in. Adhesive copper foil will wrap around the edge of the glass you want to solder. Measure this by lining up the copper foil along the edge of the glass, leaving about ⁄8 inch (3.2 mm) on each end. Then cut the foil carefully with your scissors. You can buy readymade strips of foil from most craft stores.

Remove the backing from the strip of adhesive foil. After you cut the foil pieces, you can gently peel the backing off. You should be able to easily strip away the paper backing from the foil, revealing the adhesive side.
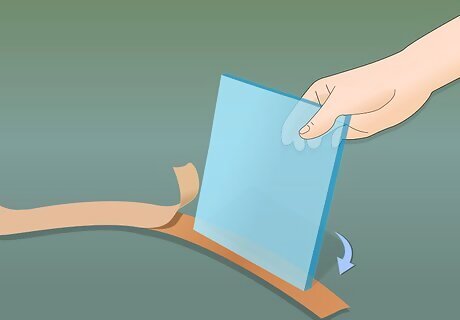
Place the adhesive side of the copper foil on the edge of the glass. Try to position the edge of the glass directly on the center of the copper foil. Then, press the foil down gently around the edges of the glass. Be careful when wrapping the foil around sharp edges! You can wear heavy-duty craft gloves to protect your hands from cuts.
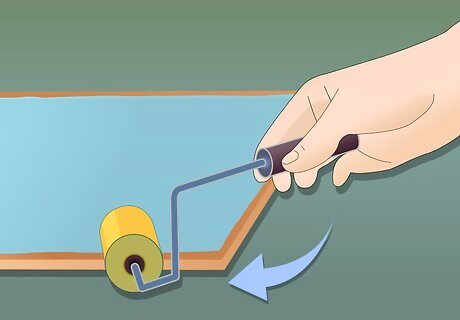
Use a roller to make sure the foil is firmly on the glass. Use a roller or a pencil to roll out any creases, wrinkles, or bubbles in the foil. This is very important because the solder may not bond with wrinkled foil.
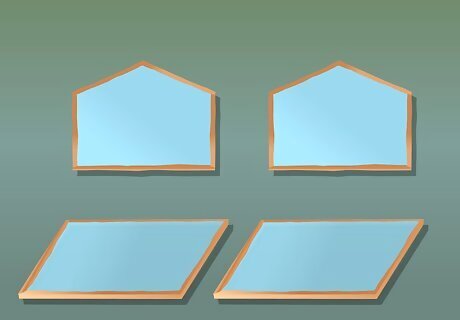
Repeat until all your glass pieces are lined with foil. Each one of the pieces you plan to use should have foil wrapped all the way around it. Double-check to be sure the foil is firmly stuck on all the glass edges.
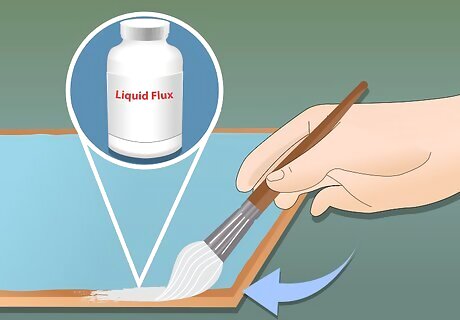
Brush a coat of liquid flux onto the copper foil. The flux helps the metal in the solder and the foil to stick together permanently. Brush one coat of liquid flux onto all of the copper foil. It doesn't have to be applied perfectly, so long as all the foil is covered.
Soldering Prepared Glass Pieces
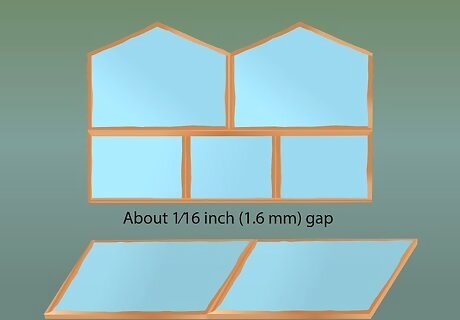
Position your glass pieces for soldering. Assemble your glass pieces into their final design position. Leave a very thin gap (about ⁄16 inch (1.6 mm)) between the pieces so the solder will be able to flow into the seam. You can assemble the glass on any hard, heat-resistant surface, but metal work tables are best. EXPERT TIP Bicycle Glass Bicycle Glass Glassblowing Experts Bicycle Glass Co. was founded in 2016 by David Royce and Michael Boyd, two professional glass experts. Bicycle Glass is primarily a lighting company, committed to quality, sustainability, and affordability. All Bicycle Glass products are made of high-quality, recycled glass and are hand-blown by a dedicated team of artisans. The studio is committed to reducing its carbon footprint by conserving energy in all of its production. Using renewable wind energy to offset all electricity usage, the studio is actively working toward the goal of carbon neutrality. Bicycle Glass believes that high-quality, handmade glass products should be within reach for everyone. Bicycle Glass Bicycle Glass Glassblowing Experts Avoid soldering directly onto the glass surface. To make the solder stick properly, you'll need to use a metal surface to hold it. A great way to do this is by wrapping adhesive copper foil around the edge of the glass.
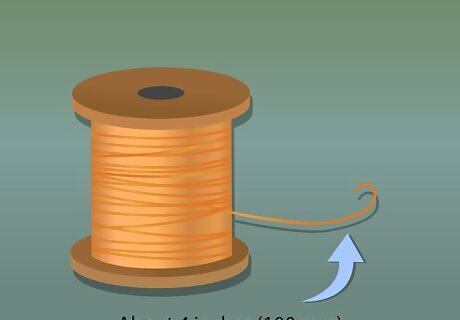
Unroll about 4 inches (100 mm) of solder from the coil. This will melt to form the bond between the two pieces of glass. Since most solder contains lead, it's best to wear gloves to prevent accidental poisoning.
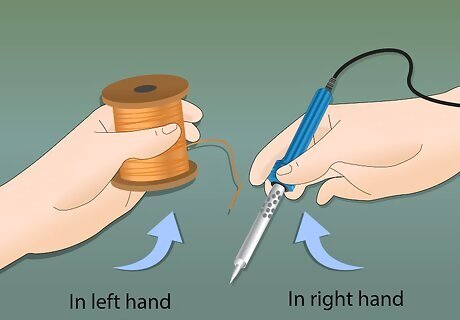
Hold the coil of solder in your left hand and the soldering iron in your right hand. This can be reversed if you are left-handed. Choose whichever is more comfortable for you. Be very careful picking up the soldering iron--the tip can easily cause serious burns.
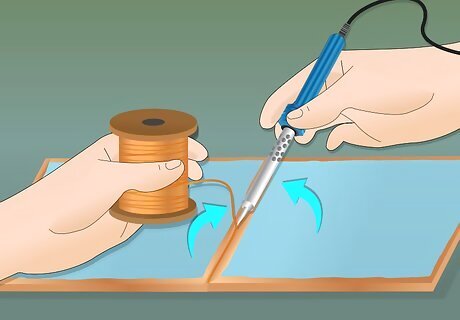
Place the tip of the unrolled solder above the copper foil. It might be tempting to lie the solder down on the seams between two pieces of glass and use the iron directly on them, but don't do it. Keep the solder at least ⁄2 inch (13 mm) above the foil.The best results are achieved by letting the melted solder drop into the seam between the pieces of glass.
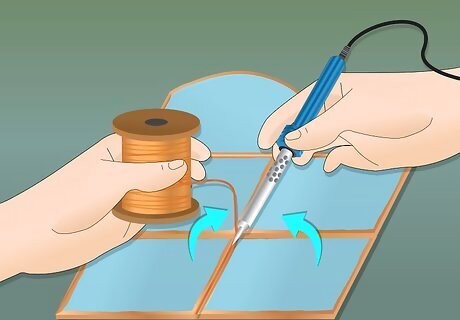
Touch the tip of the soldering iron to the tip of the unrolled solder. It will immediately begin to melt the solder and the solder will drop into the seam. Be very careful--the soldering iron is extremely hot. Don't worry if solder falls onto the glass. It won't stick. If your solder beads up too much, simply run the tip of the soldering iron through it gently.
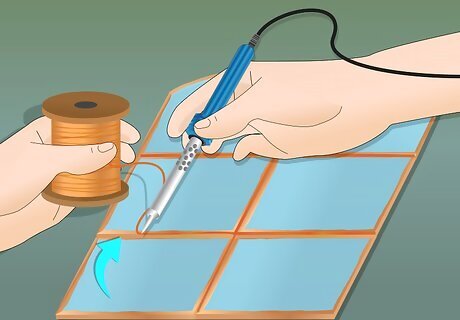
Move both hands along the seam. Keep your hands in the same position--one holding the solder, the other holding the soldering iron up to it. Move your hands along the seams of the glass while the solder drips down onto it. Move quickly enough so that the melted solder does not bunch up in one area, but slow enough so that the entire seam gets coated with the bead of solder.
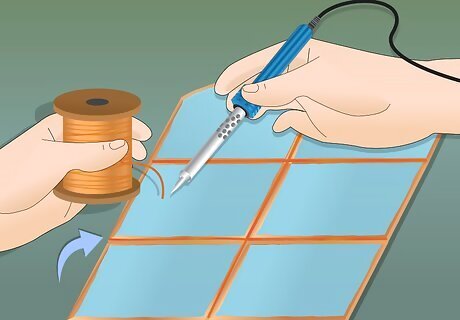
Remove the tip of the soldering iron when you reach the end of the seam. You should see a continuous line of solder along the intersection of the two pieces of glass. The glass is now strongly and permanently bonded together.
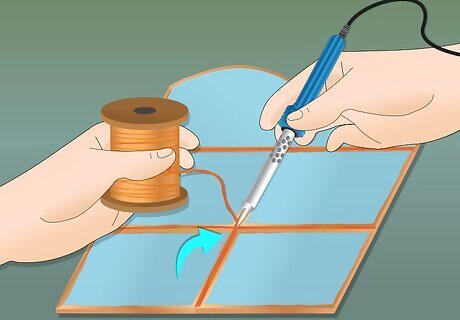
Repeat until all the glass is soldered. Solder the rest of the glass, moving in the same direction to prevent dripping. It's okay if it's not perfectly even the first time. The more times you practice this process, the more comfortable you will feel and the cleaner your soldering lines will look.
Cutting Glass for Soldering

Choose your design. Decide what you'd like to make and how much glass and solder you'll need for it. The amounts of both will depend on what you're trying to make, but if you're a beginner, it's best to start out small with a simple design.
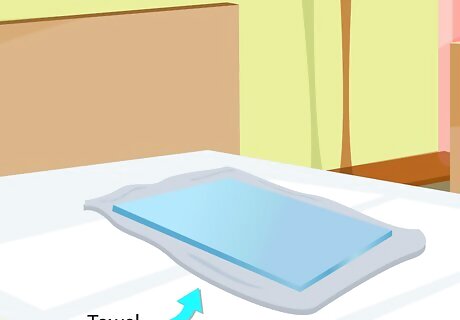
Put the glass on a towel on a hard surface. You'll want to brace the glass against something hard, but too much force can cause it to shatter. The towel will keep the glass from sliding around and will catch any small fragments of glass that break off in the cutting process.
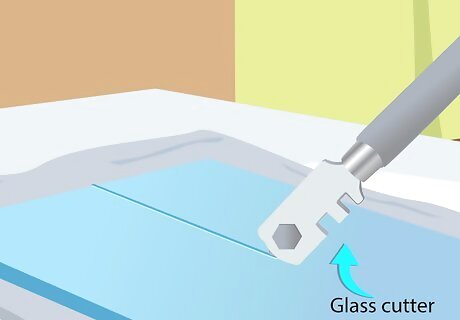
Score the glass. Using your glass cutter, press down firmly and make one single score, from one edge to the other, where you'd like the glass to break. It's very important to make only one score line in order to get a clean break. Be careful scoring the glass--both the cutter and the glass itself can be dangerous. EXPERT TIP Bicycle Glass Bicycle Glass Glassblowing Experts Bicycle Glass Co. was founded in 2016 by David Royce and Michael Boyd, two professional glass experts. Bicycle Glass is primarily a lighting company, committed to quality, sustainability, and affordability. All Bicycle Glass products are made of high-quality, recycled glass and are hand-blown by a dedicated team of artisans. The studio is committed to reducing its carbon footprint by conserving energy in all of its production. Using renewable wind energy to offset all electricity usage, the studio is actively working toward the goal of carbon neutrality. Bicycle Glass believes that high-quality, handmade glass products should be within reach for everyone. Bicycle Glass Bicycle Glass Glassblowing Experts There are various ways to cut glass, but the easiest way is to use a glass cutter. You can find commercial glass cutters suitable for DIY crafts that work well with flat plate glass. Use a circular glass cutter to cut circular shapes out of glass plates. It scores lines in the shape of a circle, making it easier to break the glass along the score line and tap away the unwanted edges. The method you choose to cut glass depends on the available tools and what you intend to do with it.
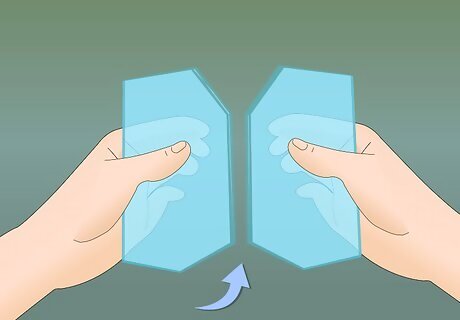
Snap the glass along the score line. Carefully break the glass along the line you made. The simplest way to do this is by holding the glass with one hand on each side of the line. Make a quick snapping motion and the glass will separate along the score line.
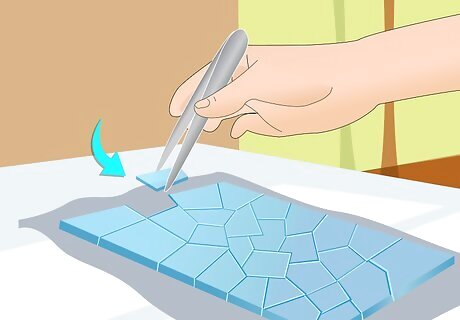
Score the glass until you have enough to work with. Continue scoring and breaking glass until you make enough glass pieces to create your project. Most stained glass projects use pieces that fit together like a puzzle. If you are looking for pattern ideas, you can buy stained glass patterns from craft stores or find them online.
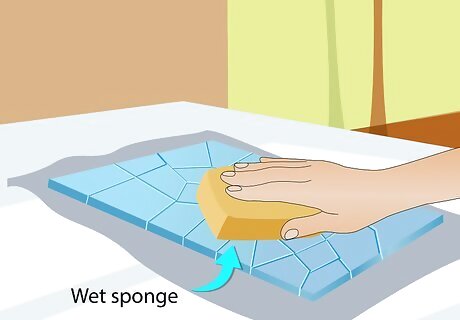
Wipe the glass. Gently wipe the glass off to get rid of any small shards. You can use a wet sponge or wet paper towels. Be careful disposing of them--small pieces can cause splinters.




Comments
0 comment