views
X
Trustworthy Source
Mayo Clinic
Educational website from one of the world's leading hospitals
Go to source
A broken bone can be really painful, but you can manage your discomfort with first aid, medical help, and self-care until your ankle starts to feel better. If you suspect your ankle is broken, go to a doctor immediately to get a proper diagnosis because you'll likely need medical treatment. Research suggests that broken ankles usually heal in about 6 to 8 weeks, but it could take longer if your injury is severe.[2]
X
Trustworthy Source
National Health Service (UK)
Public healthcare system of the UK
Go to source
Recognizing a Broken Ankle
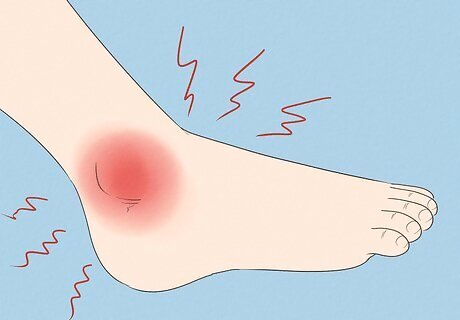
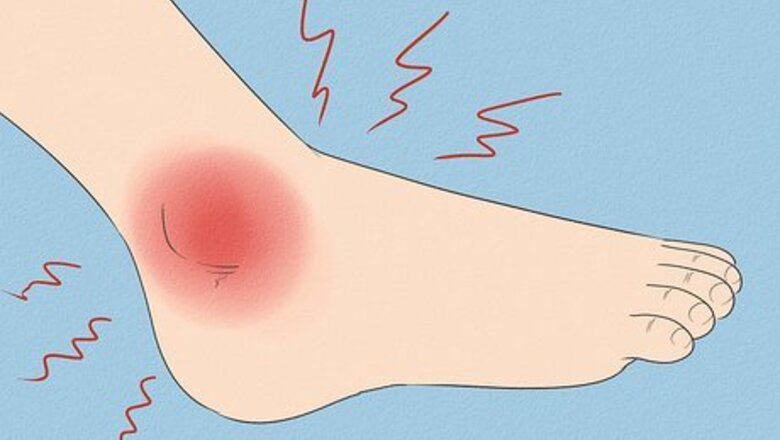
Notice if you feel pain in and around your ankle. A fractured bone causes immediate, intense pain and swelling. A stress fracture may cause pain that increases over time. The pain should lessen when you rest the ankle, but it won't go away. If your ankle is broken, then it likely won't be able to bear weight at all. If your ankle is tender around the outside or back of your ankle, then you should have it evaluated by a doctor.
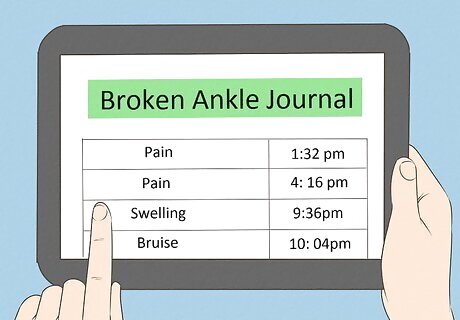
Take note of any loss of function you experience in your ankle. This is a good way to tell if your ankle is fractured or just sprained. If your bone is fractured, moving it is nearly impossible, while you will still be able to move it if it is sprained. Pain, swelling, and the inflammatory cells causing your ankle to swell contribute to this loss of function. Additionally, a broken ankle can affect your coordination because the fracture can affect your brain's ability to know the position of the limb.
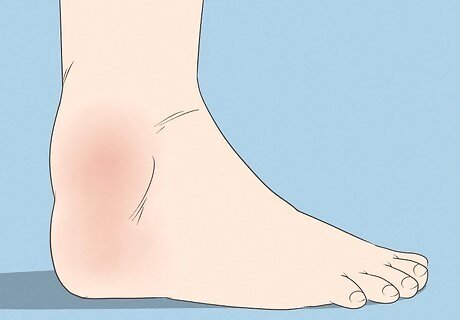
Check for swelling. If you have fractured your ankle, your body will try to protect the injured ankle from further damage by sending a lot of inflammatory (“healing”) cells to the affected area. The inflammatory cells carry repair kits to mend the injury. Unfortunately, these cells also cause swelling and discomfort. Believe it or not, your injured ankle actually benefits from swelling indirectly, even if it causes you feelings of pain and frustration. Swelling prohibits large degrees of movement of the involved ankle. Therefore, it promotes speedy recovery.
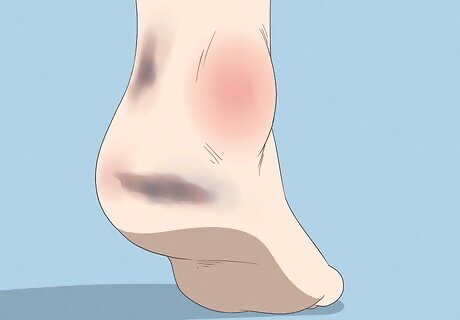
Look for any redness or bruising on or around your ankle. Redness or flushing of the affected ankle means that there is a rush of blood in the area. Blood carries recovery cells to the area to promote faster healing.
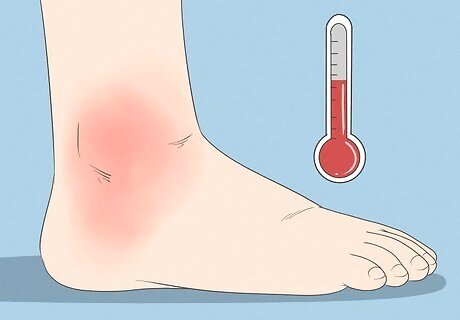
Monitor any heat you feel in the area around your ankle. When blood rushes to your ankle, it will also cause your ankle to feel really hot. You may feel like you have a fever that you can only feel in your ankle.
Administering First-Aid
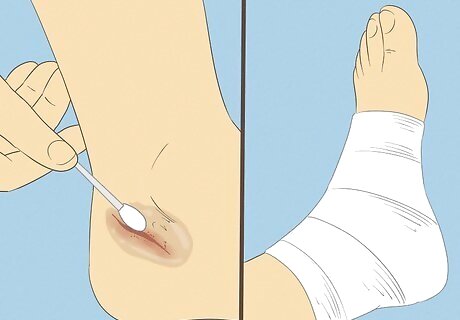
Clean any wounds before you wrap the ankle. If you have cuts or an open fracture, remove any debris and gently wash the wound. Use an antiseptic wash to minimize the risk of infection. Then call your doctor to get an appointment. Until your doctor's appointment, you can follow the acronym PRICE to guide your first aid efforts. PRICE stands for: Protect, Rest, Ice, Compress, and Elevate. Use an ACE wrap or a splint on your ankle to protect it until you're able to be seen by a foot specialist.
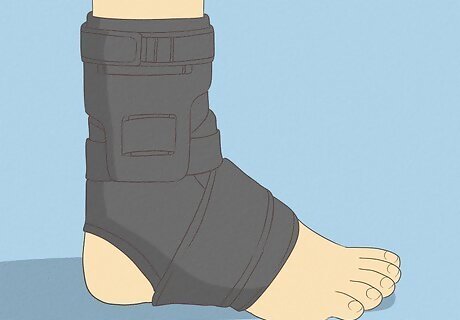
Protect ankle from further injury by using a splint. The most basic splint is a sturdy flat object, like a ruler, that you can press up against your broken bone. You can keep it in place with gauze or medical tape; this helps to keep the broken bone from moving. To learn how to properly splint an ankle, click here. If you do not have a splint but are wearing shoes that support your ankle, like hiking boots or regular boots, tighten the laces as tightly as they can go to keep your ankle immobile while you make your way to the hospital.
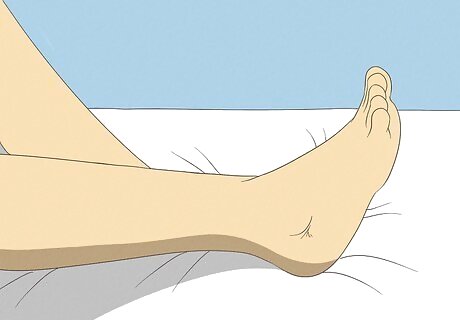
Rest your ankle. Continuing to walk and bear weight on the affected ankle will cause injury. You should stay put while waiting for help. If you are in a situation where you need to leave the area you are in, ask others to support you while you hobble away, or find a sturdy branch or pole that you can use as a crutch. Rest should be continued even after your initial treatment. The first three days after injury should be dedicated to rest. Wait for the doctor’s clearance before resuming any activities that involve using your ankle.
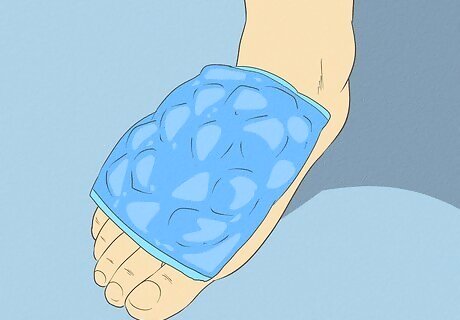
Apply ice to your ankle to relieve pain and swelling. Use an ice pack, bag of ice, or even a bag of frozen veggies to cool down your injured ankle. Ice decreases the flow of blood to your ankle, thus reducing swelling. The cold also masks the pain you feel. Ice your ankle for 15 to 20 minutes every hour. If you can, use crushed ice because it can follow the contours of your ankle. Avoid applying the ice directly to your skin, as really cold temperatures can burn your skin just like heat will.
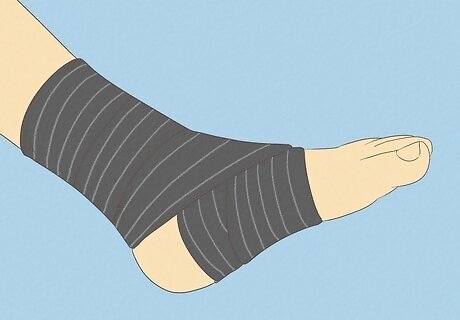
Compress your ankle with elastic bandages. Compression of the affected area reduces blood flow to the injured site. Hence, less inflammatory cells will be available to cause swelling. If you have put a splint on your ankle and wrapped it with elastic bandage, you are already compressing your ankle. You can also skip the splint and wrap your ankle in elastic bandages while you make your way to the hospital.
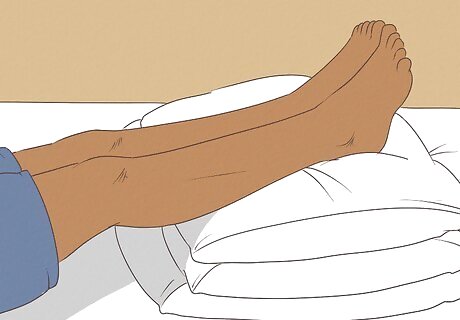
Elevate your ankle. When you elevate your ankle, you reduce the flow of blood to that area. Because of this, the swelling in your ankle will decrease. You can elevate your ankle while sitting or lying down. Try to elevate your ankle as soon as you can after you injure it. Sitting: Your ankle must be elevated higher than your hip. Lying down: Your ankle must be elevated higher than your heart and chest.
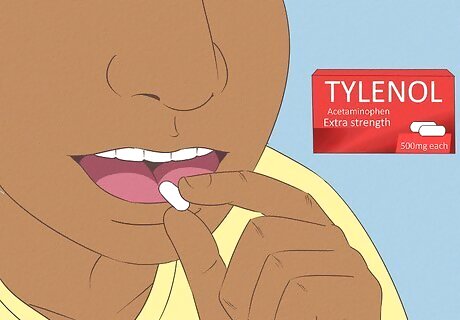
Take acetaminophen to control the pain. On op of using the PRICE acronym, you can also take acetaminophen to regulate the pain. Take 325 to 650 mg tablets, 1 tablet every 4 hours, unless you have previous orders from a doctor to avoid acetaminophen. Do not take other painkillers like ibuprofen, until after you have gone to the hospital. Painkillers like ibuprofen thin your blood and could cause problems if you have to get surgery.
Seeking Medical Help
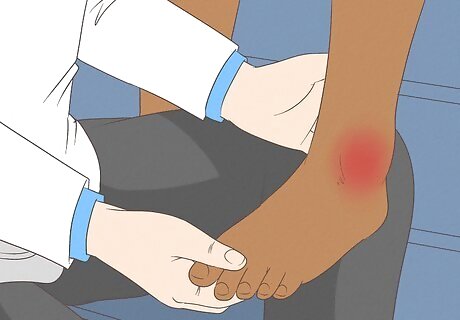
Visit a doctor for a proper diagnosis. The doctor will examine your ankle and will likely do diagnostic tests, such as an X-ray. This will allow the doctor to determine if the ankle is broken, strained, or sprained. If the ankle is broken, the doctor will likely put a cast on it. For a sprain or strain, they may give you a splint or bandage to wear until it's healed. In rare cases, severe injuries may require surgery. Your doctor may prescribe painkillers for the days after your injury. In some cases, they may recommend taking over-the-counter painkillers instead. Even if you go to your primary care physician or the emergency room, you may be referred to a foot specialist for treatment.
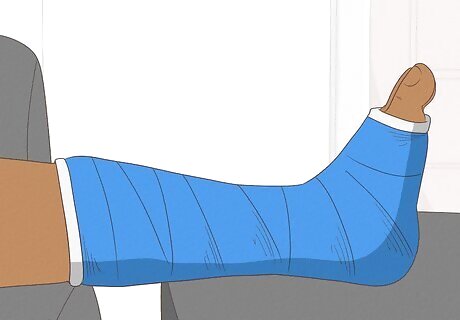
Get a cast put on your ankle if it's broken. A cast is a cement boot that immobilizes your foot and allows the broken ends of the bone in your ankle to unite naturally. The doctor will apply the cast, and then they'll need to remove it after your bone heals. This procedure is not painful. You will most likely have to wear the cast for at least 4-8 weeks.
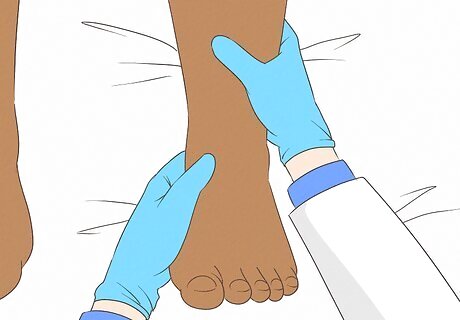
Get closed reduction done if your ankle is both fractured and dislocated. Closed reduction is a maneuver performed by doctors to restore a bone in its proper place without having to perform surgery. It is important get the ankle back into its normal location so that you are able to move around like normal once your ankle heals. An orthopedic surgeon will usually do the maneuver. Casting is required after reduction to ensure that the bones stay in place. In extreme cases of ankle joint instability, metal plates and screws have to be inserted externally (called external fixation) or internally (called internal fixation) to hold the bones in place.

Talk to your doctor about surgery if you have a severe injury. This could include multiple fractures or a severe dislocation. Getting surgery done will help put your bones back into their proper places, and keep them in those proper places. On the positive side of things, getting surgery will speed up your recovery time—while you have to wait out a cast, you will be on the mend within days after your surgery. There are two parts to ankle surgery. First, you would undergo open reduction, during which your bones would be put back into their proper places. Then, through external fixation, metal plates are drilled into the bone and screws are placed to ensure very minute movement of the affected bones.
Recovering after Your Medical Treatment
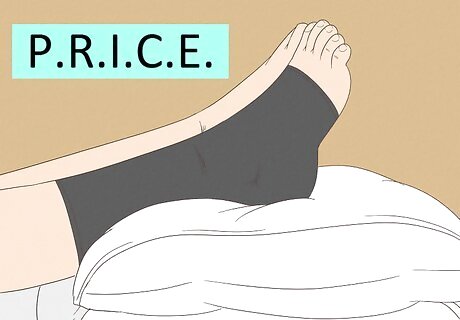
Get some rest. Regardless of what kind of treatment you receive, you should give yourself a break for the next couple of days. Your body has been through a traumatic experience and needs time to recover. Follow the PRICE acronym to make sure you are giving your ankle the tender care it needs.

Consider taking some over-the-counter pain medication. If you are experiencing a lot of pain after your medical treatment, take some painkillers like acetaminophen or ibuprofen. If your doctor prescribed a different painkiller, follow his or her instructions.
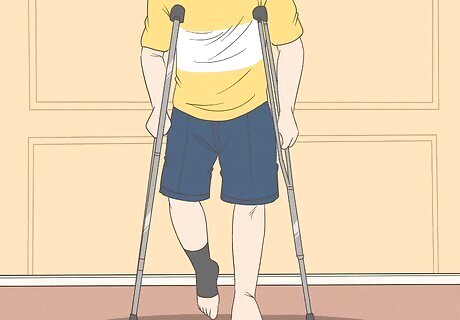
Use crutches to support yourself. In the first few days, you should take short walks in your house, using the crutches that the doctor gave you. It might be very uncomfortable in the beginning, but you will get used to them. You must not put pressure on your leg, unless stated otherwise by your doctor. You should not even put your leg on the floor for the first few days. Don't engage in any weight bearing activity while your fracture is healing, unless your doctor advises you that it's okay. Some fractures may be able to bear weight under certain circumstances, such as while wearing a special boot.
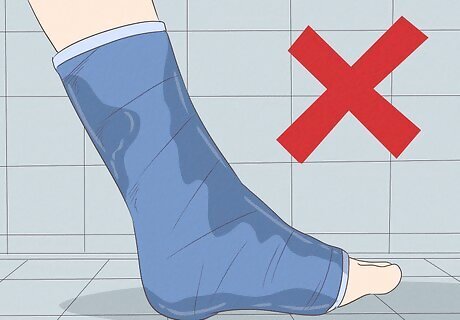
Avoid getting your cast wet. if you wet your cast, immediately contact your orthopedist for a new one. This is very important because if water accumulates inside the cast (between the cast and your skin), your skin can be affected and an infection can occur very quickly. Another issue with a wet cast is that it can get loose, which means it won’t hold your ankle in place properly.

Make an appointment with a physical therapist. As your ankle recovers, you will need to start gaining strength back in that ankle. To do this, you will need to go to physical therapy and perform exercises that will help to build your ankle’s mobility and flexibility.
Rehabilitating Your Ankle
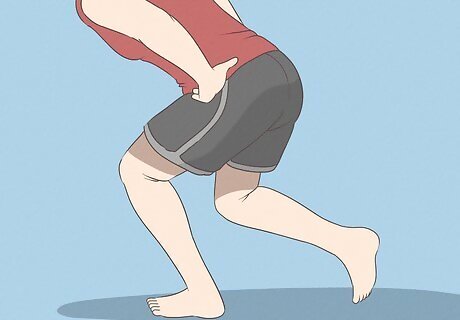
Rehabilitate your ankle to regain strength and range of motion. Having a cast or surgery bring your bones back together is only half of the recovery process. Rehabilitation (aka physical therapy) is equally important to recover the stability, mobility, and function of your ankle. Rehabilitation includes ankle joint stability and mobility exercises, calf muscle strengthening, and stretching. Stability should be trained before mobility. Stability exercises reinforce the maximum allowable degree of movement in the ankle without risking injury. Stability is also necessary to withstand external pressure applied to the ankle. It usually takes 6-8 weeks for an ankle fracture to heal. Your orthopedist may allow you to engage in range of motion movements as early as 4 weeks. They may also transition you to a removable boot cast. Follow up with your doctor so that they can evaluate how well your ankle is healing.
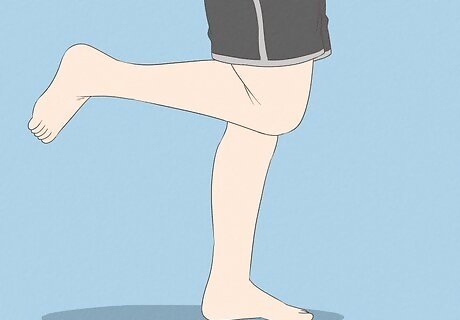
Perform ankle joint stability exercises. Talk to your doctor and physical therapist before engaging in any exercises. Ankle joint stability exercises are usually done within a week after surgery or when the cast is removed. This is a walkthrough of a simple ankle joint stability exercise: Stand in front of a wall so that you are an arm’s length away from it. Push against the wall. Look straight, keep your shoulder blades down and back and make a double chin. Standing like this will make sure that your spine is properly aligned. Suck in your gut as if someone were trying to punch you in the stomach. Squeeze your butt muscles together. Doing this maneuver will train the core and posterior chain muscles. Both are vital for training the proper alignment of the ankle joint and preventing re-injury. Raise the healthy foot off the floor. Maintain this position for 30 seconds. Standing on one leg will introduce an unstable situation. This will train the injured ankle to resist unstable forces. Resist the urge to look at your foot. Looking in a straight direction throughout the movement will train proprioception as well. It is common to experience wobbling in the first few tries. Rest for 1 minute and then repeat this process twice. Do this once with the other leg to make sure that it receives the same strength training.
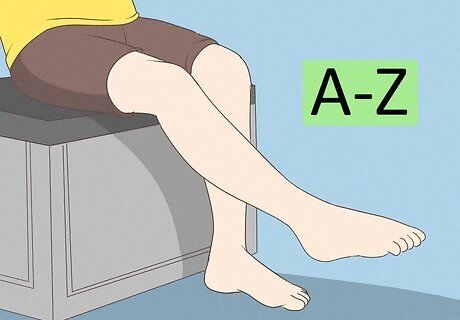
Do an ankle joint mobility exercise. Ankle joint mobility is very important in everyday activities such as walking, climbing a flight of stairs, driving and more. The goal is to restore ankle mobility to normal movement patterns. Ankle joint mobility exercises are usually done when ankle joint stability is established. “The Alphabet” is an example of ankle joint mobility exercise: Sit in a chair and extend your leg with the injured ankle so that it is parallel to the ground. Pretend that the affected foot is a pen and draw the letters of the alphabet in the air from A-Z and reverse. You might feel stiffness in your ankle. Work through the stiffness but not so hard that you feel pain. Your focus should be on the movement of your ankle and not the smoothness of the strokes. Rest for 2 minutes and repeat the movement twice.
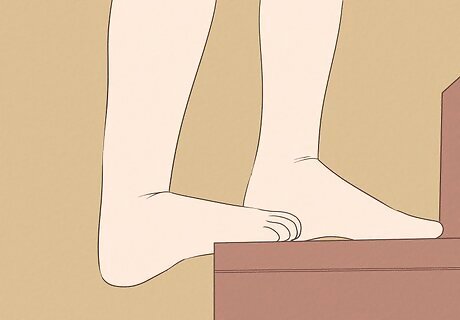
Perform calf raises. This exercise targets the calf muscles, Achilles tendon, and the ankle joint ligaments. It mimics the motion that our foot makes for everyday activities such as walking, running, climbing a flight of stairs, and reaching for tall objects. To do it: Stand with the balls of your feet on the edge of a step on your stairs with your heels hanging off. Keep the gut sucked in, stand tall, and rest your hands against a wall or handrail. Rise on the balls of your feet in a tip-toe fashion. Try to stand as high on your tip-toes as you can. You heels should lift above the step. Exhale while you do this to keep your blood pressure normal. Slowly descend until your heels are a few inches below the edge of a step. Inhale while you do this. This works the calf muscle to its whole range of motion leaving no weak point behind. Repeat 10 times for one set. Rest for one minute and do 2 more sets.
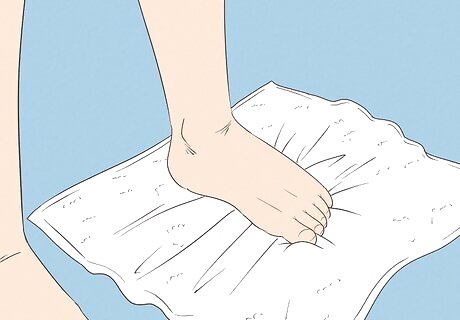
Try toe towel curls. The soles of the foot contain a lot of small foot muscles. The small foot muscles are enclosed in a sheath called the plantar fascia. The mobility of the plantar fascia is very crucial in preventing injury of the ankle. The towel curls will help the fascia stay loose despite everyday stress to the foot. To do the towel curl: Sit in a chair or on the couch. You can even do this while watching TV or reading a wikiHow article. Place one medium-sized thin towel on the floor lengthwise. Put your foot on the end of the towel. Draw the other end of the towel towards you by curling only your toes. The heel should be planted to the ground at all times. Repeat this exercise three more times and switch with the other foot.
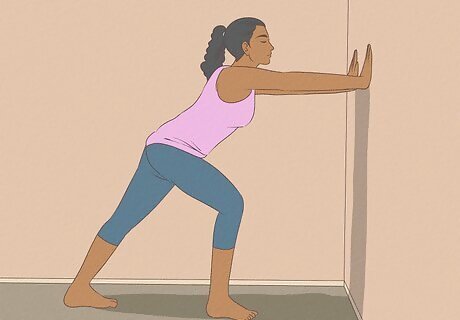
Increase your flexibility with a calf stretch. Flexibility is as important as strength when it comes to the health of your ankles. The calf stretch mainly targets the calf muscles and Achilles tendon. Both are vital to great ankle flexibility. To do this: Stand in front of a wall and push against it with your arms. Your arms should be at chest level and shoulder-width apart. The shoulder blades should be drawn back and down. Put your right foot behind your left foot and keep your right leg straight. The heel should come in contact with the ground and toes should point forward throughout the stretch. Bend the left foot forward to stretch the right calf muscle. You should feel a stretch or a slight discomfort that is tolerable in the calf muscles of your right leg. If you feel pain, stop. Hold this position for 30 seconds for people younger than 40 years old. Those older than 40 years old should hold their stretch for 60 seconds. The muscles become stiffer as we age. Keeping longer stretches will help loosen the muscles up.
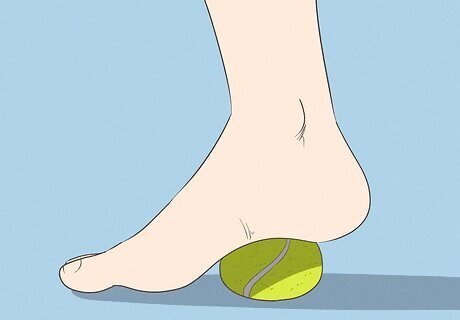
Try doing tennis ball rolls. Tennis ball rolls relieve accumulated stress of the foot muscles and plantar fascia. To do them: Place a regular tennis ball on the floor. Sit in a chair and place the middle part of your foot on the tennis ball. Roll the ball in circles. Do it in clockwise fashion for 1 minute followed by counter-clockwise motion for 1 minute as well. Roll the ball back and forth for 1 minute. Roll the ball side-to-side for 1 minute. Switch to your other foot. Do this process three times on both feet.




Comments
0 comment