views
- Take out all the furniture and baseboards from the room and vacuum up the dust. Run a level over your floor to find and mark any low spots or raised areas.
- Use an angle grinder to shave down raised areas on the floor. Apply concrete leveler primer over your floor with a long-handled roller and let it dry until it’s tacky.
- Mix leveler compound with water following the manufacturer’s instructions and spread it over your floor with a squeegee. Let the compound cure for 3–4 hours before walking on it.
Prepping and Priming the Concrete
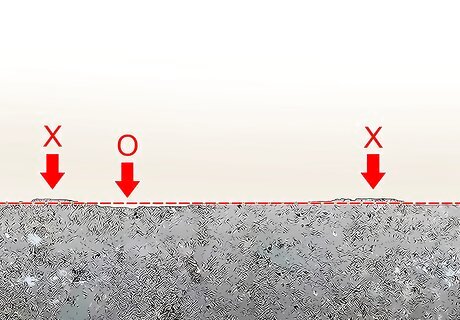
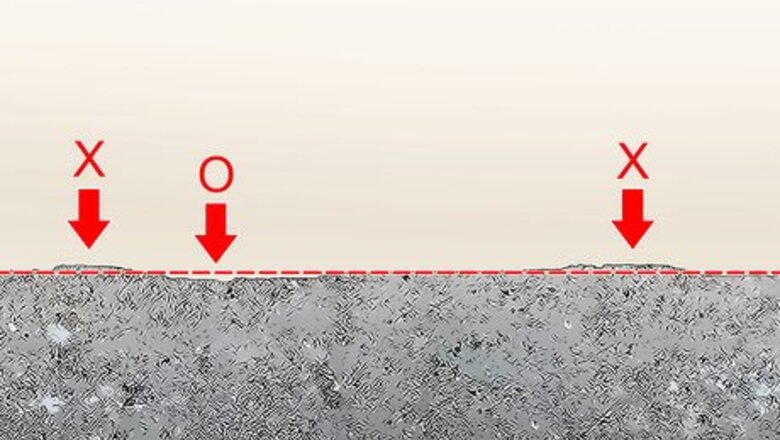
Run a level over the concrete floor to mark the high and low spots. Lay your level across a section of your floor and check if it lays perfectly flat. If there are any gaps between the center of the level and the floor, then they are low spots. If the ends of the level rock back and forth, then the level is on a high spot. Mark any concrete bumps that are raised above the rest of the floor with an “X,” and any dips that are lower than the floor with an “O” using a piece of chalk. Alternatively, put a marble on the ground to see which direction it rolls. If the marble rolls and stops in the middle of the floor, then mark it as a low spot. You may more accurately measure the slope of your concrete floor by scribing it onto a board, cutting it to size, and attaching it to your floor as a guide rail. This method is much more work-intensive and time-consuming, so it’s not required. Wooden rails also act as extra assurance that the concrete leveler won't spill over to an area where you don't want it to be.
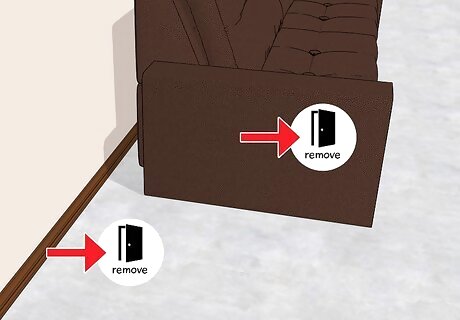
Remove all of the furniture, appliances, and baseboards from the room. Start by moving your furniture and any removable appliances out of the room to clear out the floor space. Then, use a pry bar to remove any baseboards. Start at one end of the baseboard and move along the entire length of the piece until the whole board is loose enough to pull off the wall. It can take up to 24 hours for concrete levelers to fully set before you’re able to move your furniture back.
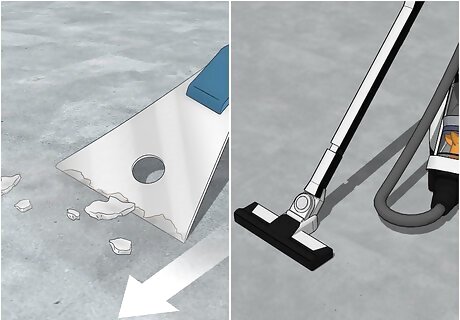
Scrape up debris and vacuum the floor. If there’s any loose debris, like old linoleum, tile, or chipping concrete, use a metal scraper to get it off the floors. Once you find and remove the debris stuck to the floors, sweep it up and vacuum the floor to get rid of it. Use a shop vac when you’re cleaning up large pieces of debris because it could end up damaging your regular vacuum cleaner. You can usually rent a shop vac at your local home improvement center if you don’t have one of your own. Removing dust and debris beforehand helps the self-leveling compound bond with your floors better. Avoid running fans or leaving windows open in the room since more dust could accumulate on the surface.
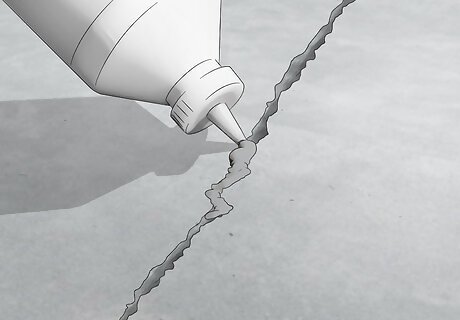
Patch any large cracks or holes with concrete filler and sealer. Inspect your floor to check for any wide or narrow cracks in the concrete. If you find any, stick the nozzle of the filler bottle into the crack and squeeze it out along the length. Press the filler into the crack with a putty knife, and let it cure for about 4–6 hours, or the recommended time on the bottle. Repairing damage in your floor prevents the leveling compound from leaking through the cracks so you don’t have to use as much.
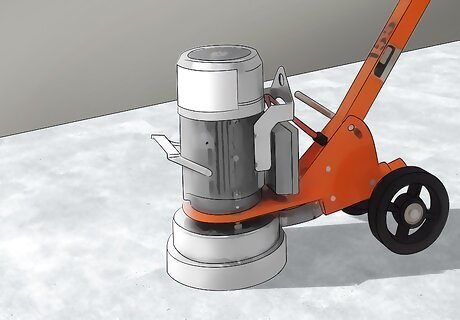
Use an angle grinder to level out raised spots of concrete. Put on safety glasses and a dust mask to protect yourself from debris. Attach a concrete grinding wheel to the end of the grinder and turn it on. Move the wheel over the concrete’s surface in a side-to-side motion to shave off some of the raised spots you marked. When you finish grinding, vacuum the residual dust. Continue shaving down all the raised areas so you don’t have to use as much leveling compound. If you have larger raised areas, rent a full-sized concrete grinder from a home improvement or hardware store to level them out the floor more quickly.
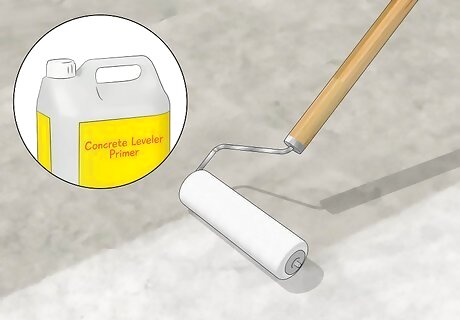
Apply concrete leveler primer to the floor with a long-handled roller. Pour the primer into a tray and coat the roller with it. Work from the furthest corner of the room toward the exit as you apply the primer in an even coat without any puddles or pools. Allow the concrete leveler primer to dry until it has a tacky finish, which usually takes 2–3 hours. Pour the leveler within 24 hours of putting the primer on, or else you’ll need to reapply a new layer of primer. Usually, 1 gallon (3.8 L) of primer can cover up to 400 square feet (37 m) of floor space.
Applying Self-Leveling Concrete
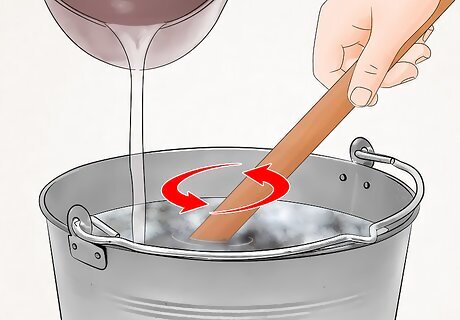
Mix concrete leveler in a bucket with a drill and mixing paddle. Fill a 5 US gal (19 L) bucket with the ratio of self-leveling concrete and water listed on the packaging, which may vary between manufacturers. Attach a mixing paddle to an electric drill, and start mixing the leveler on a slow speed. When all the powder is mixed in, turn the speed up until the leveler has an even consistency similar to a milkshake. Avoid mixing more than one bag of concrete leveler at a time because it’s only workable for about 15-30 minutes after you mix it. Work with a partner if you can, so that one person can mix the next batch of leveler while the other pours and spreads it out.
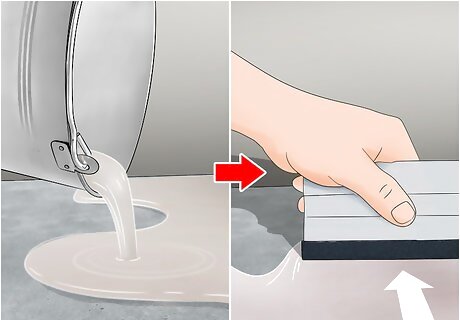
Pour the leveler onto the floor and spread it out with a squeegee. Start in the furthest corner of the room and work toward the exit so you don’t have to walk over a section you just poured. Pour the leveling compound directly onto the floor and use your squeegee to spread it into an even layer over the low spots. Make sure to work the leveler all the way into the corners and along the edges of the room. Concrete leveler compound is designed to spread out evenly with the force of gravity to create a level surface. Use the squeegee to help spread it out in any spots where it looks like it is pooling or not flowing on its own.
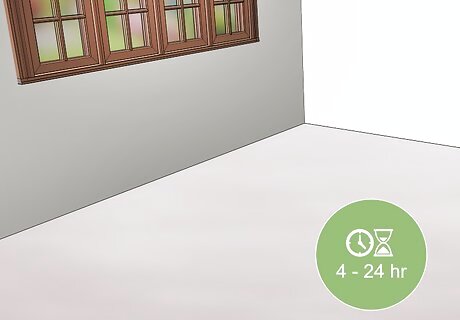
Let the leveler dry according to the manufacturer’s instructions. Most concrete leveler compounds dry enough to be walked on after 3–4 hours and will dry fully after 24 hours, but check the instructions on the brand you used. Typically, you can move your furniture back in within a day or install new flooring over the concrete after 1–3 days. Drying times can vary depending on temperature and humidity.




Comments
0 comment