views
- Install the Kindle app from the App Store and log in.
- Tap the “Cloud” button at the bottom of the screen and select the cover of the book you want to download onto your iPad.
- Purchase new Kindle books online at Amazon.com or on the app and select “Share” to send them to your iPad.
Installing the Kindle App
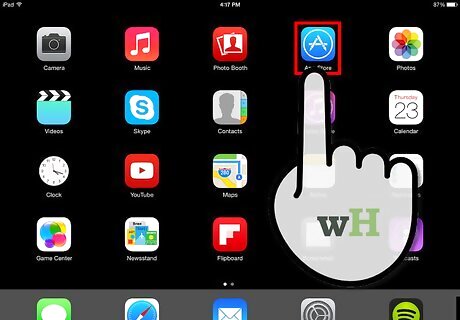
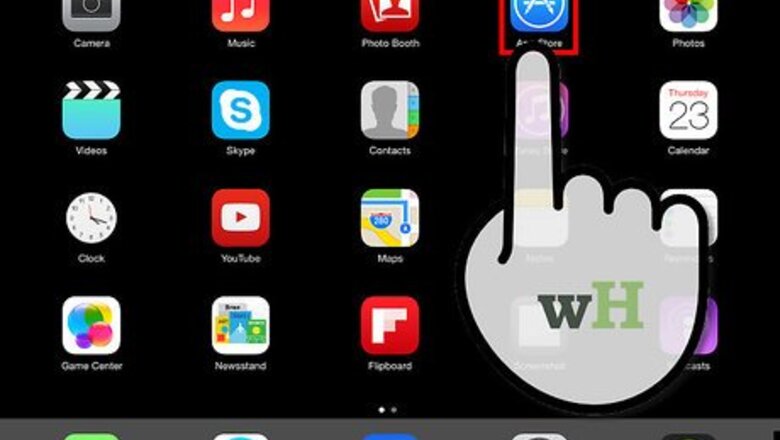
Open the App Store. Tap the App Store icon on your iPad’s Home screen to open the App Store.
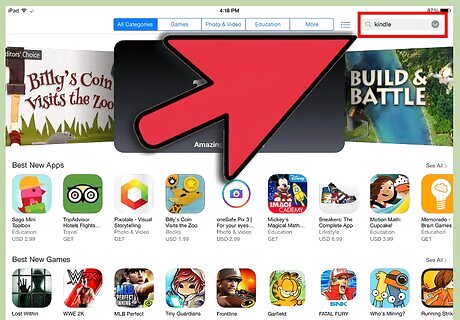
Search for the Kindle app. Do this by typing “Kindle” into the search pane at the top right of the App Store interface and tapping the Search button.
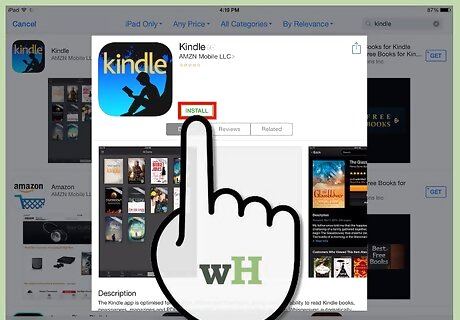
Install the iPad version of the Kindle app. Select the iPad version of the Kindle app. Tap the "Get" button next to the Kindle App in the iPad section of the search results. Tap "Install". Enter your Apple ID password and tap the OK button to install the app.
Downloading Previous Purchases
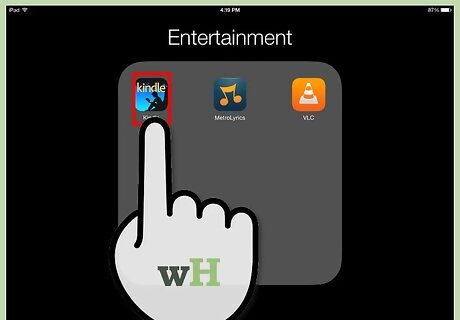
Open the Kindle app. Tap the Kindle App icon on your iPad’s Home screen to launch the Kindle app. This icon automatically appears once the app has been successfully downloaded.
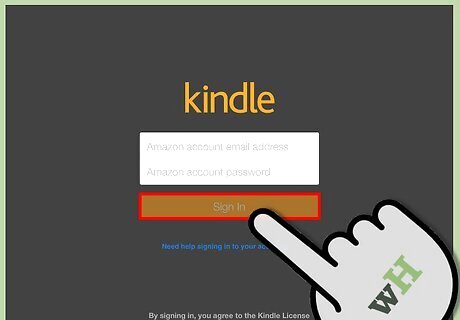
Register your iPad to your Amazon account. Enter your Amazon username and password and tap the Sign In button.
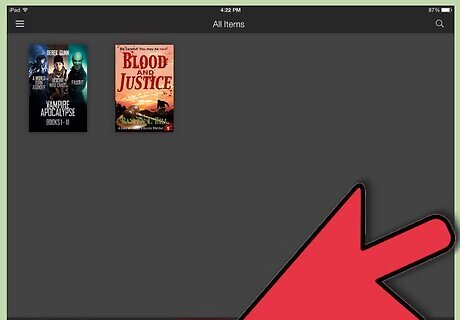
Tap the "Cloud" tab at the bottom of the screen. This will show all of the Kindle purchases associated with your account. If you haven't made any purchases yet, this screen will be blank. Click here for instructions on purchasing new Kindle content. Click here for instructions on adding non-Kindle documents to your Kindle account so that you can download them on your iPad.
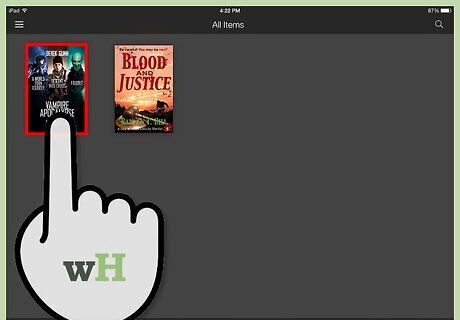
Tap the cover of a book to begin downloading it to your iPad. You can see all of your downloaded Kindle books in the "Devices" tab.
Purchasing New Kindle Content on Your iPad
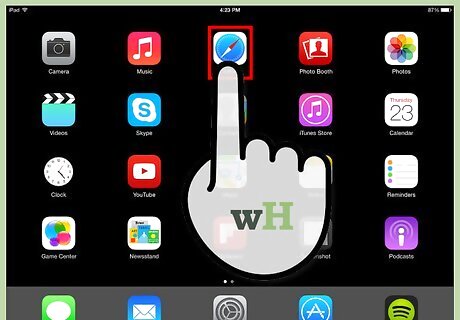
Open your iPad's Safari web browser. You cannot purchase content through the Kindle app due to Apple Store restrictions; you'll need to use Amazon's website instead. Start from your iPad's Home screen and tap on the Safari icon.
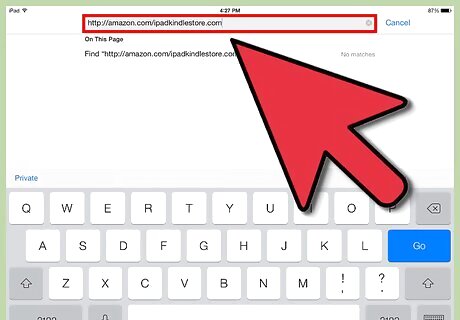
Go to the Kindle Store. Enter amazon.com/ipadkindlestore into the address bar and hit Enter. You'll need to tap the address bar first in order to enter text into it.
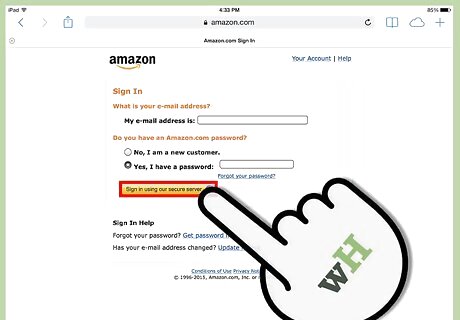
Sign in to your Amazon account if prompted. Enter your Amazon account information (email address and password) and tap "Sign in using our secure server." If you are already signed in, you will automatically be directed to the Kindle Store homepage.
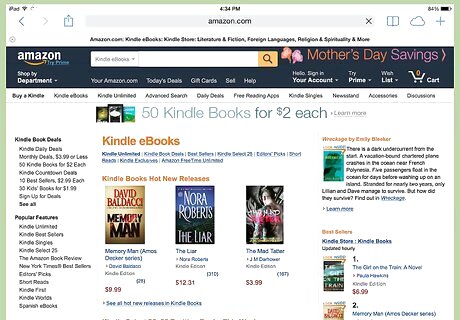
Browse Kindle books. You can search for specific titles, authors or keywords using the search bar at the top of the screen, check out current deals and bestsellers, and more. To see more information about a product, tap on the title to go to the product detail page.
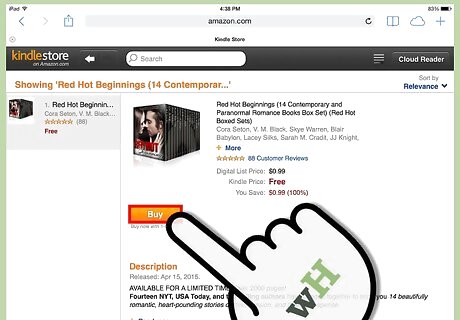
Purchase the book. From the product detail page, tap "Buy," and then "Read now." The book automatically downloads to your iPad's Kindle App, and you'll be directed back to your Kindle app's library. Once you've downloaded a book to your device, it is available to you whenever you want to read it. All of your purchases are stored on your account as well, so you can download them on any of your devices. Alternatively, if you wish to browse the book, you can tap "Try a sample." An excerpt of the text will download to your Kindle App, where you can read it and decide whether to purchase the product or not.
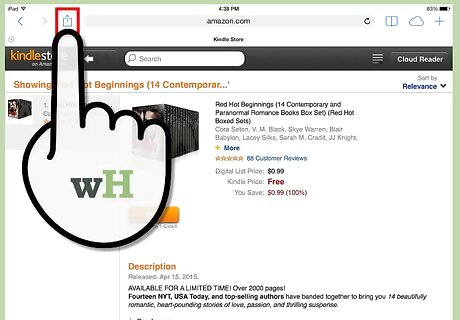
Create a Kindle Store icon for your Home screen (optional). This icon will take you directly to the Kindle Store in the future. Locate the "Share" button in the Safari Menu bar at the top of the screen. The button looks like a small box with an arrow shooting out of it. From the drop-down menu of icons, select the "Kindle Store" icon to add it to your iPad Home screen. Tap "Add." Now you should have a Kindle Store icon on your Home screen. From the Home screen, tap on this icon to return to the Kindle Store.
Adding Non-Kindle Content to Your Kindle App
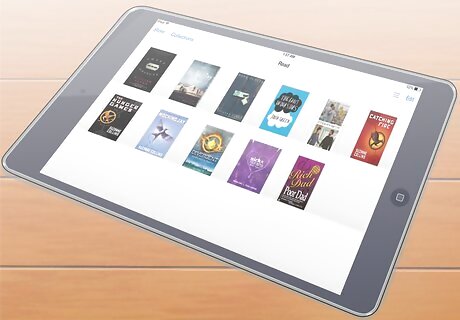
Know what can be transferred. Besides books that you purchase from Amazon, you can use your Kindle app to read a wide variety of other formats that you may have on your computer. The following types of files are supported: Document Files (.DOC, .DOCX, .PDF, .TXT, .RTF) Image Files (.JPEG, .JPG, .GIF, .PNG, .BMP) eBooks (.MOBI only)
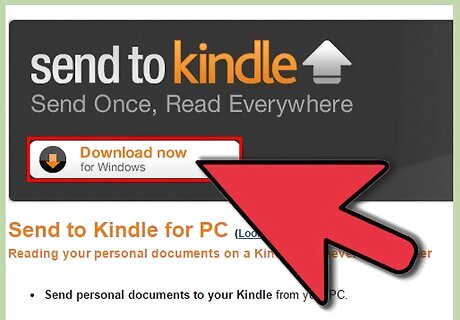
Download and install the transfer software for your computer. Amazon provides transfer programs for both Windows and Mac that allow you to quickly send any supported file to the Kindle app on your iPad. The PC version can be downloaded at amazon.com/gp/sendtokindle/pc The Mac version can be downloaded at amazon.com/gp/sendtokindle/mac
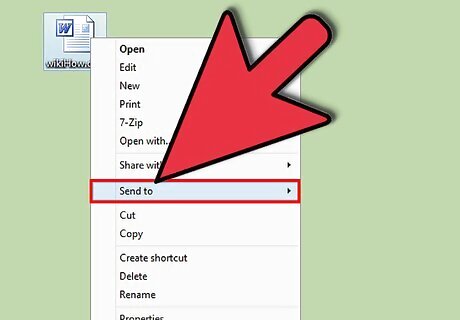
Send compatible documents to your Kindle app. There are three ways you can transfer files once you've installed the software. The methods are the same for both PC and Mac. Right-click (Ctrl-click on Mac) on the file(s) and select "Send to Kindle". Choose your iPad from the list of devices. Open the Send to Kindle application and drag-and-drop files into it. Select your iPad from the list of devices. Print a document and select "Send to Kindle" as the printer. A new window will open, allowing you to select the device you want to send it to.
Reading Your Kindle Books
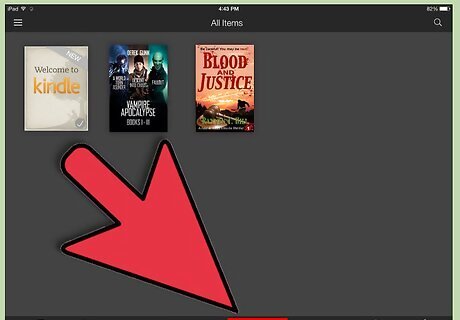
Open the "Devices" tab on your Kindle app. This will display all of the books that you have downloaded to your iPad.
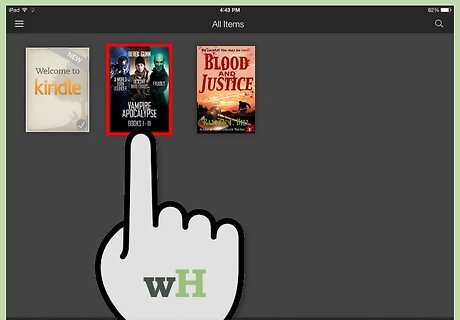
Tap the book that you want to open. Tap the cover of the book to open it and start reading.
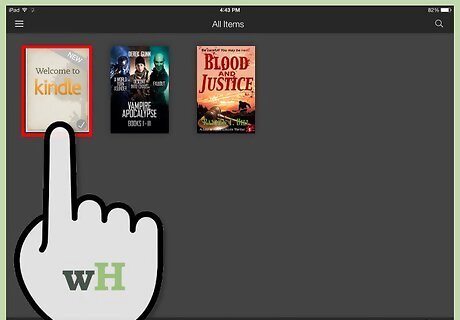
Use the Kindle manual to learn more details about the Kindle app. Your Kindle App is constantly evolving to enhance features and functions. Learn more by tapping on the Kindle App icon and selecting "Device" at the bottom. Find the Kindle Manual icon and tap on it to open.
Troubleshooting Purchases That Don't Appear
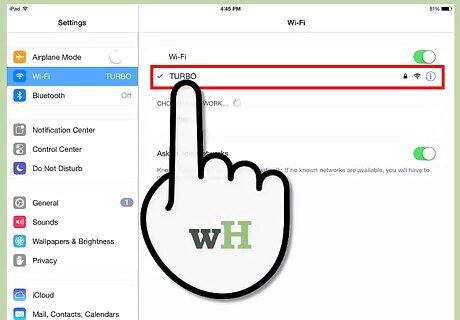
Ensure that your iPad has a wireless or mobile data connection. You'll need to have a working network connection in order to receive your purchases.
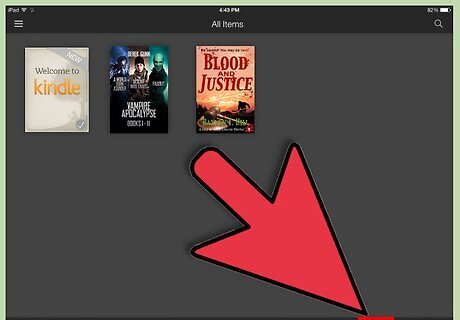
Manually sync your library. If your purchases aren't appearing, you may need to manually sync your library with your purchase history. Tap the "Sync" button on the Kindle app's main screen.
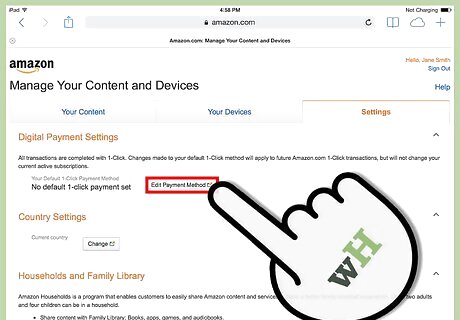
Double-check that your payment information is correct. Your 1-Click payment information will need to be valid in order to successfully purchase Kindle books from the iPad. Visit the Kindle Management page on the Amazon site. This is amazon.com/manageyourkindle Click the "Settings" tab. Review your payment information and correct any mistakes. Make sure to double-check the billing information as well.






Comments
0 comment