
Creating a Signature on a Computer
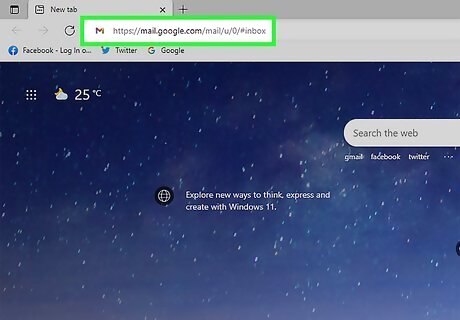
Open Gmail. Ensure that you are logged in with the address that you want to add a signature to.
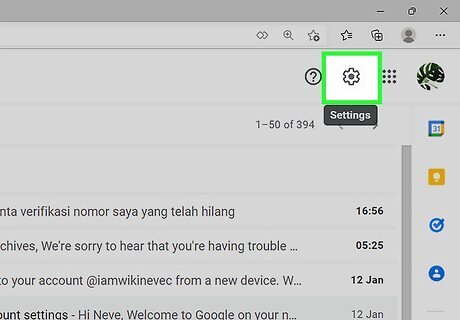
Click Android 7 Settings. You'll see this gear icon in the top right corner of your browser window.
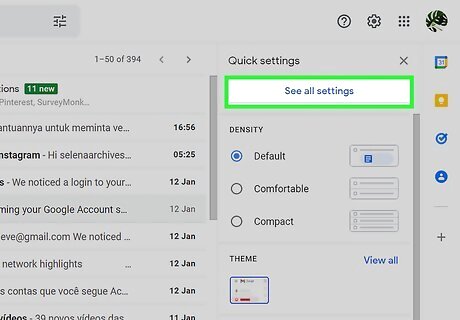
Click See all Settings. It's usually the first option in the menu under the "Quick Settings" header.
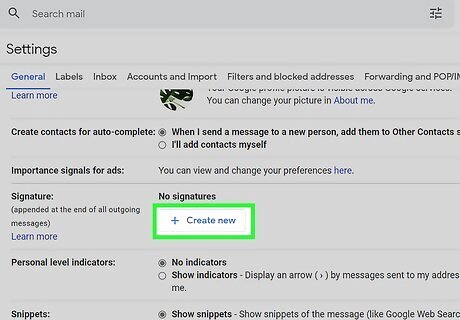
Click Create new. You'll need to scroll down the page to find the "Signature" section of Settings under the General tab (which is selected by default). The section headers are on the left side of the menu while the menu items are on the right.
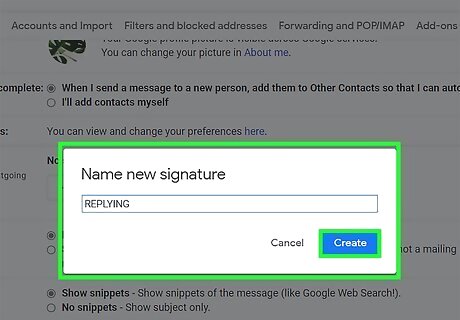
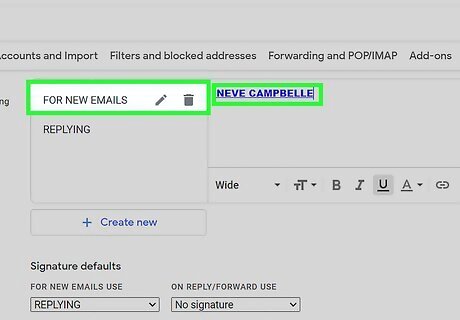
Enter a name for your signature. This should be descriptive of what it is used for, like "Replying" or "For New Emails" so you know when to use it. Click Create when you're ready to continue.
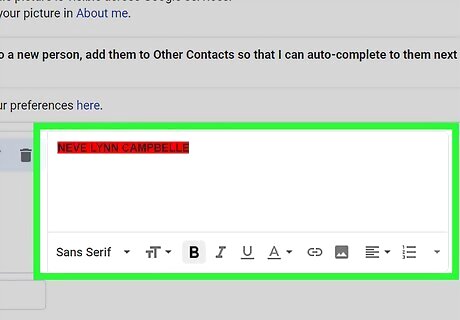
Type your signature in the text field. You can type anything you'd like into the signature field, and use the text formatting tools to give your signature a custom look. Signatures commonly include your name, place of employment and title, and your contact information. You can change the font, color, weight, and more using the text formatting tools located at the bottom of the text field. A signature should be easy to read and professional. A distracting signature will make you look less professional to the recipient.
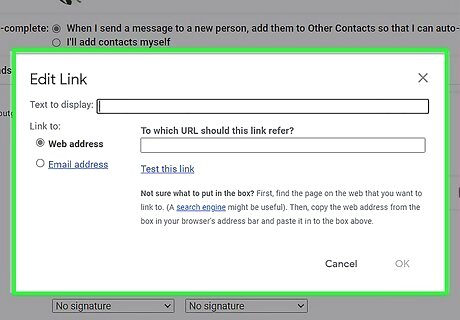
Add links to your signature. If you have other websites that you want to link to in your signature, you can add them by clicking the Link icon at the bottom of the signature text field. It looks like a chain. Clicking the Link icon will open a new window. You can enter in the text that will be displayed for the link, as well as the actual address. You can also link to other email addresses.
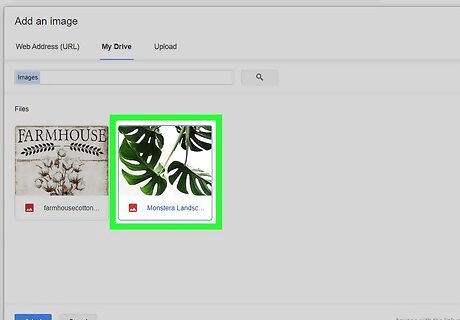
Add an image to your signature. Click the image icon (it looks like a picture of a landscape of mountains that you'll see below the signature text field). Another window will open and you can either use a URL, upload from your Drive, or upload an image from your computer. If you uploaded an image from your Drive, that image privacy needs to be set to public or it won't show up in your signature (change sharing from "Restricted" to "Anyone with a Link").
Add different signatures for different addresses. If you have multiple email addresses associated with your Gmail account, you can have different signatures for each one. Click the drop-down menu below the signature text field (under the "Signature defaults" header) to choose which address you want to create a signature for.
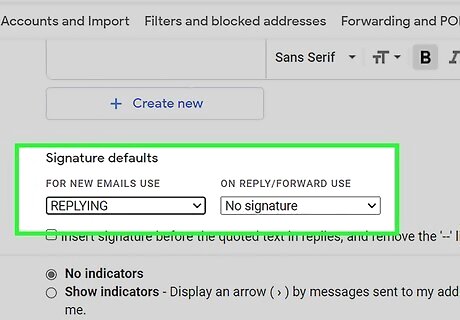
Assign your signature defaults. Under "For New Emails Use" and "On Reply/Forward Use" select which signature to use. This is why it's useful to make the names of your signatures something you can recognize, so you can use different signatures in different situations.
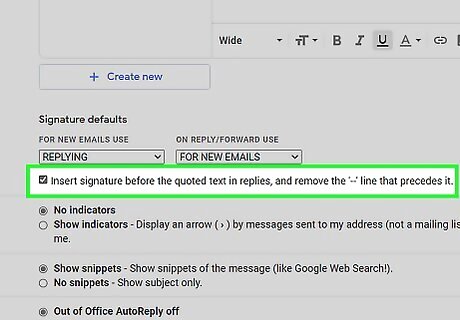
Choose where you want the signature to appear. Check the box next to "Insert signature before quoted text in replies and remove the '--' that precedes it" to have the signature appear before any quoted replies. If you leave it unchecked, the signature will show up at the bottom of the message, beneath any quotes. You can add as many signatures as you'd like. If you want to edit the name of a signature, click the pencil icon. To delete a signature, click the trashcan icon.
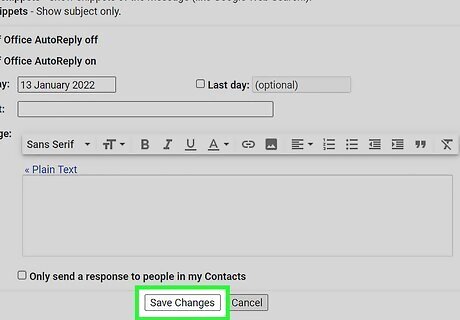
Click Save Changes. It's centered at the very bottom of the page
Creating a Signature on the Mobile App on Android
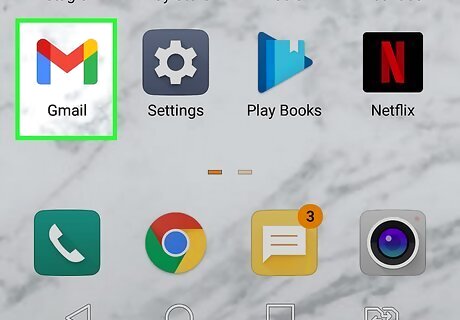
Open Gmail. The app icon looks like a red and white envelope.

Tap ☰. This three-line menu icon is in the top left corner of your screen.
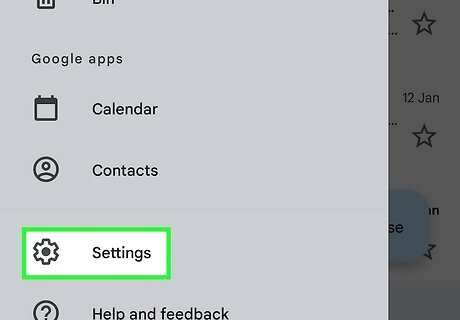
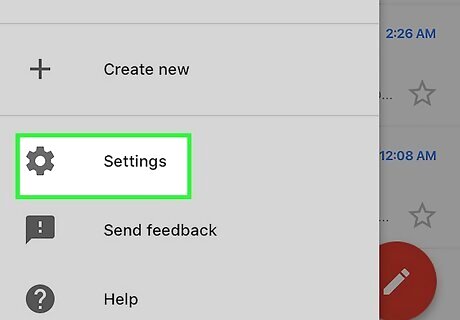
Tap Settings. It's at the bottom of the menu next to a gear icon.
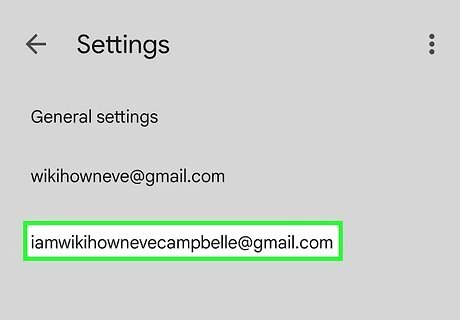
Tap the Google account that you want to add the signature to. If you only have one Google account on your phone, you won't be prompted to pick an account and can skip this step.
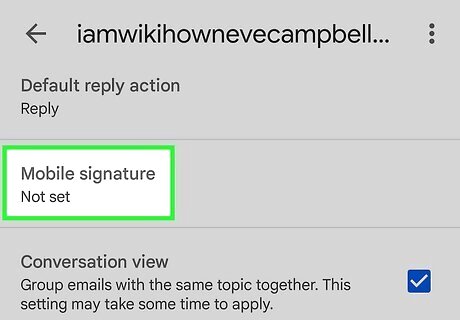
Tap Mobile signature. You'll find this under the "General" heading near the middle of the menu.
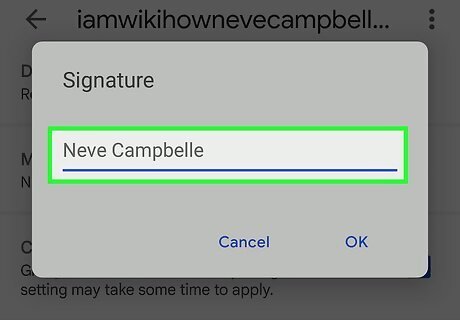
Tap Mobile Signature. A blank window will open or your previous signature will display, and you can quickly set what you want here. Using mobile, you can only create and use simple signatures and don't have the text formatting options that are available when you're using a computer.
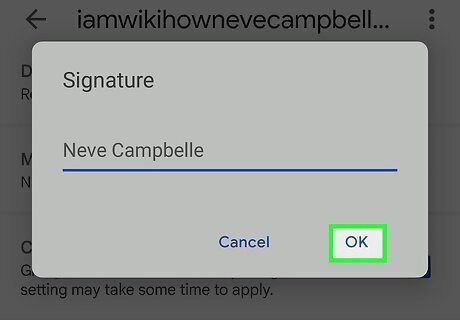
Tap OK. Your signature will be saved and applied to future emails you send or reply to on your Android phone or tablet. If you don't add a signature in the mobile app, your emails will instead display the signature you created from your computer.
Creating a Signature on the Mobile App on iPhone and iPad
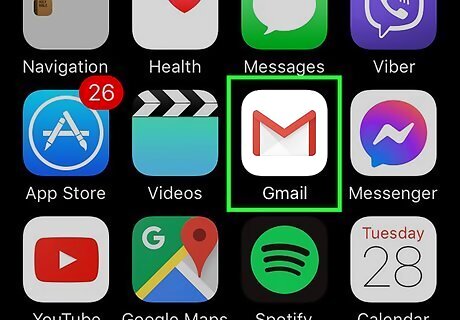
Open Gmail. The app icon looks like a red and white envelope.

Tap ☰. This three-line menu icon is in the top left corner of your screen.
Tap Settings. It's at the bottom of the menu next to a gear icon.
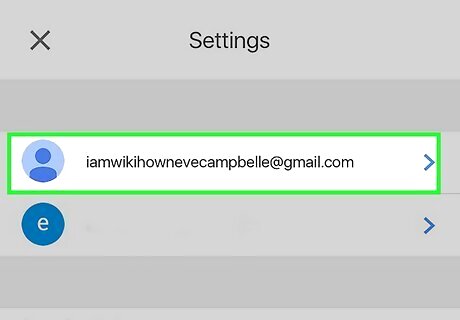
Tap the Google account that you want to add the signature to. If you only have one Google account on your phone, you won't be prompted to pick an account and can skip this step.
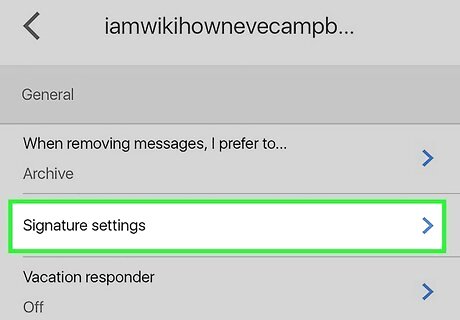
Tap Signature Settings. You'll find this under the "General" heading near the middle of the menu.
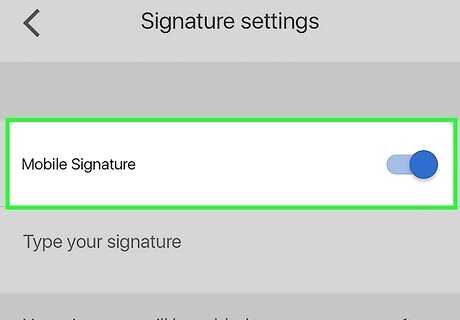
Tap the switch next to "Mobile signature" to toggle it on iPhone Switch On Icon. This switch will allow you on iPhone and iPad to use a signature from your mobile device.
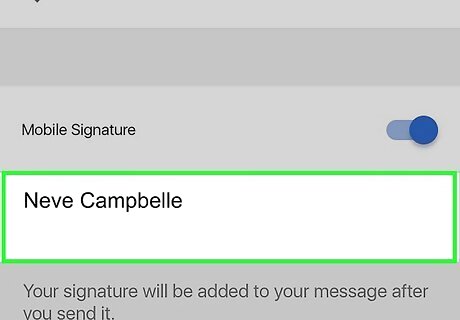
Edit or add a signature. Tap the field below to enter your new signature or edit the one you have set up. Using mobile, you can only create and use simple signatures and don't have the text formatting options that are available when you're using a computer.
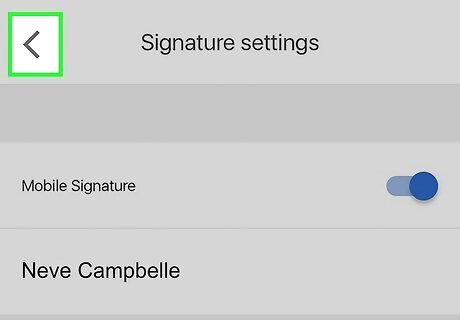
Tap the backward-facing arrow. This navigational arrow will return you to the previous screen and save your current signature. If you don't add a signature in the mobile app, your emails will instead display the signature you created from your computer.


Comments
0 comment