views
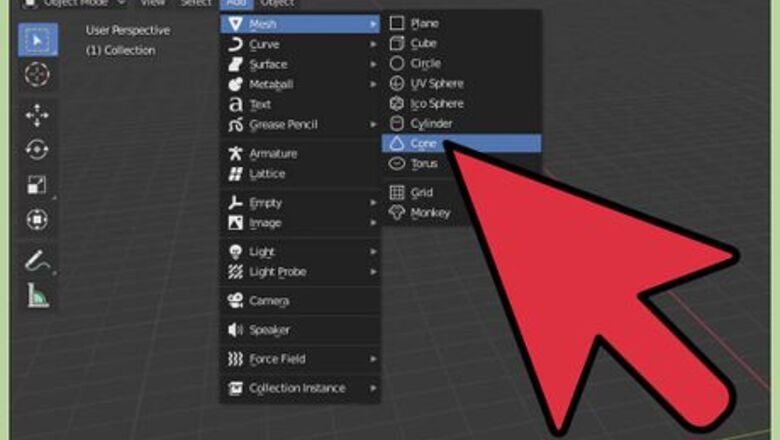
- Enter Object Mode and create a cone by selecting Add > Mesh > Cone.
- Decrease the number of vertices from 32 to 3 or 4.
- Adjust Radius 1, Depth, and Rotation Z to whichever values you want for your pyramid.
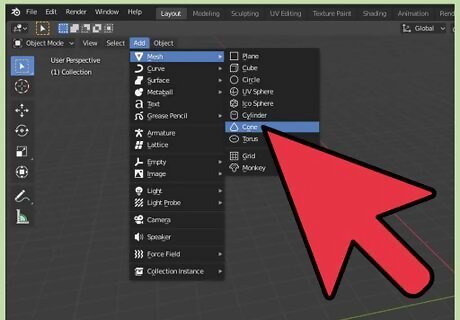
Make sure that you are in Object Mode and create a cone by selecting Add > Mesh > Cone. Doing so will add a cone at the origin with the pointed end facing upward. These options should be found at the top-right corner of the program window.
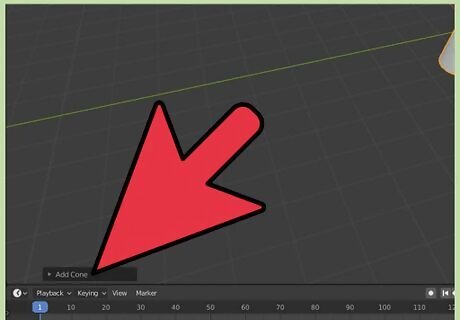
Select "Add Cone". This will open a panel specifying the properties of the cone. This should be found at the bottom-left of the program window.
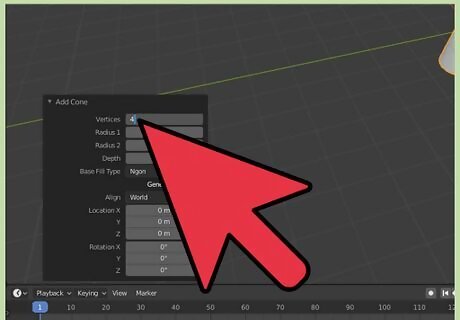
Change the number of vertices from its default of 32 to 3, 4, or however many sides you want the pyramid to have. This is done by clicking the box with the number of vertices and either dragging the box with your mouse to change the number or typing your number in the box.
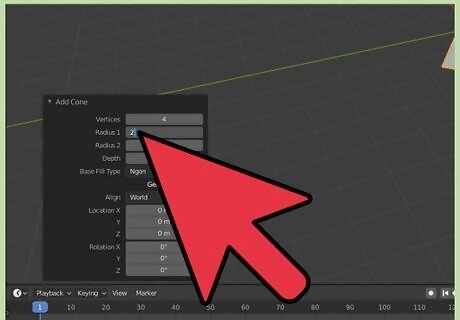
Set "Radius 1" to 2. At this point, you may make the pyramid at any size you like by changing the values of "Radius 1" and "Depth". It is recommended to keep their values equal to each other unless you desire a narrow or a wide pyramid.
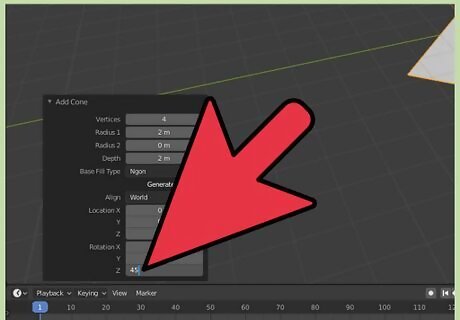
Set "Rotation Z" to 45 degrees. You only need to type in the number and Blender sets that to the number of degrees. This rotates the cone, now a pyramid, and aligns it with the grid.
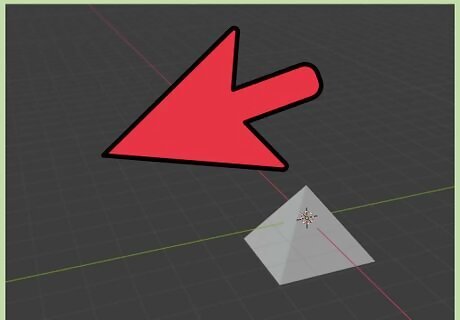
Finish adjusting the values under "Add Cone" until you're happy with the pyramid, and then click on a blank area. At this point, the pyramid is complete.
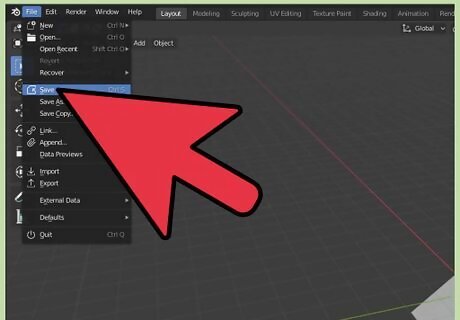
Save your work by selecting File > Save or pressing Ctrl+S on a PC or ⌘ Command+S on a Mac. It is wise to save your work periodically to avoid losing your work in the event of a crash.




Comments
0 comment