views
Making the Vacuum Former Box
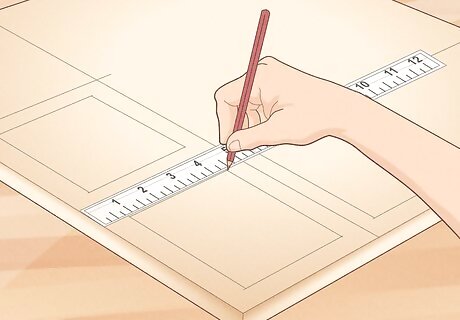
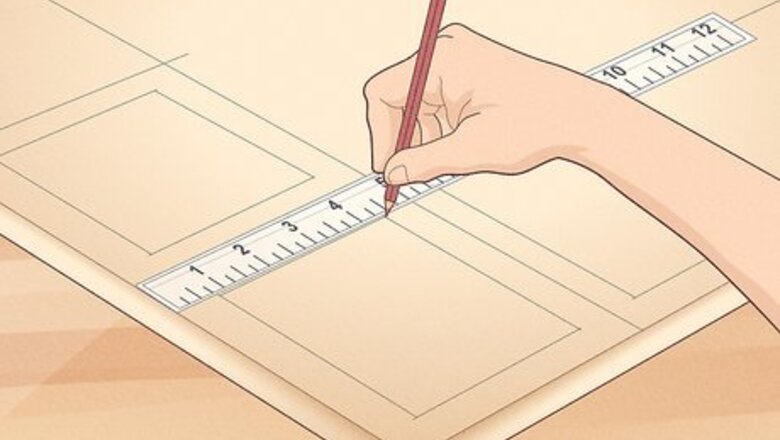
Measure and draw your guidelines. On 3/4 inch plywood, draw three squares, 5 inches on a side. Draw another, smaller 4 inch square centered inside each square.
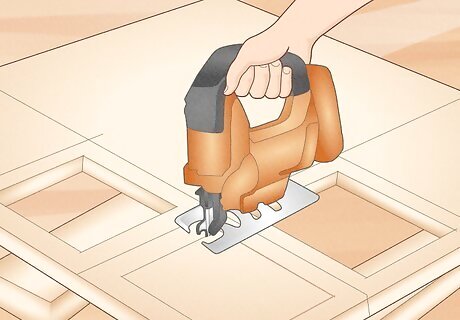
Cut along the inner squares on all three frame pieces.

Cut along the outer guidelines to finish each frame piece.
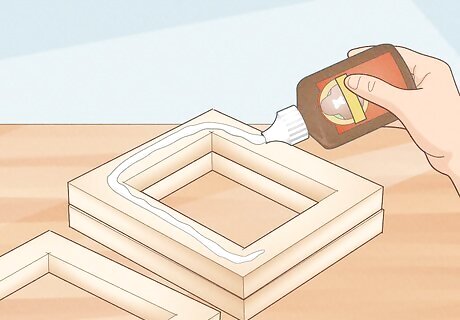
Build the main box by stacking and gluing the three frame pieces together.
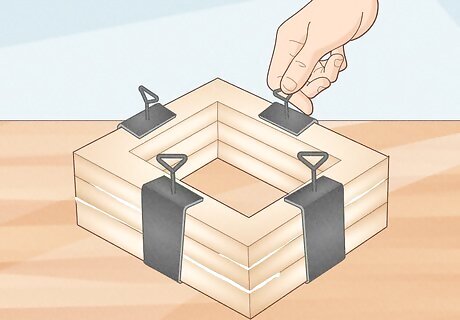
Clamp all four sides of the box and allow the glue to dry.
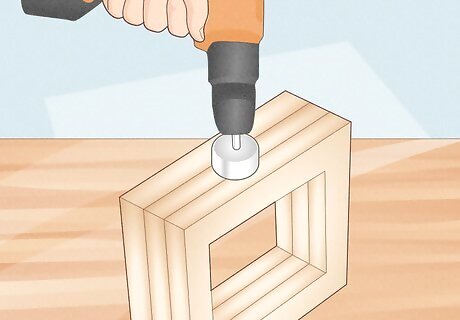
Drill a hole on one side using the hole saw so the vacuum hose (or adapter) will fit snugly.
Making the Platen
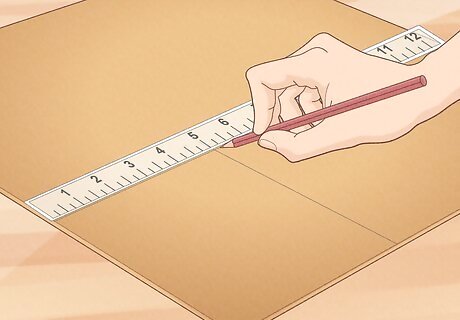
Measure and draw outside frame. On the 5mm MDF, draw a 5 inch square.
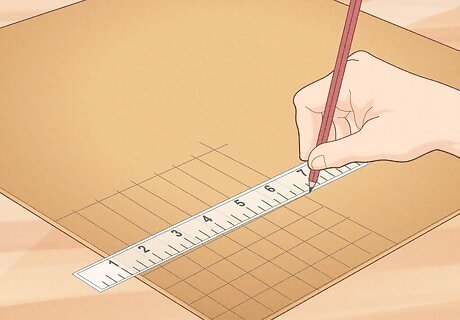
Measure and draw a grid. Start in from a corner at 0.5 inches from each side, draw straight vertical lines every 2/3 inches for a total of 7 lines. Repeat the pattern for horizontal lines creating an intersecting grid pattern.
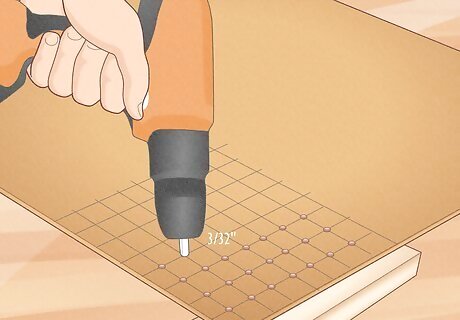
Drill 3/32 inch holes at each intersection.
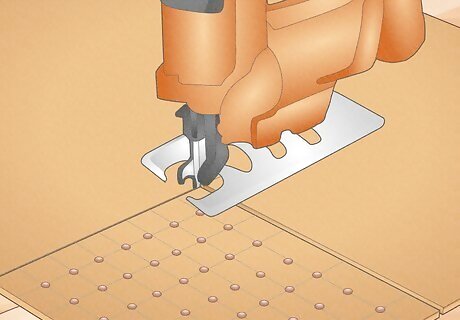
Cut the final platen out of the MDF along the outside frame lines drawn earlier.
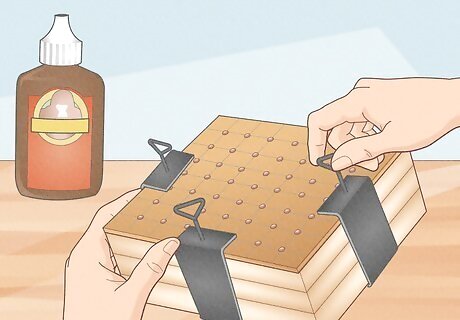
Glue the platen to the top of the former box created in the previous step, clamping all four sides until the glue dries.
Making the Bottom / Mount
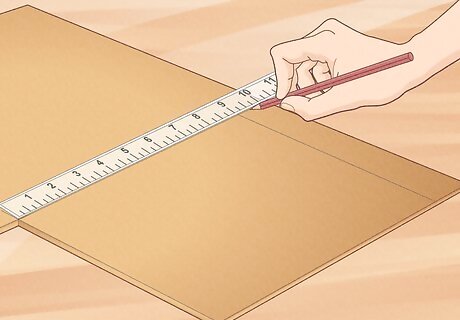
Measure and draw cutting guidelines. On the 5mm MDF, draw a 5 inch by 9 inch rectangle.
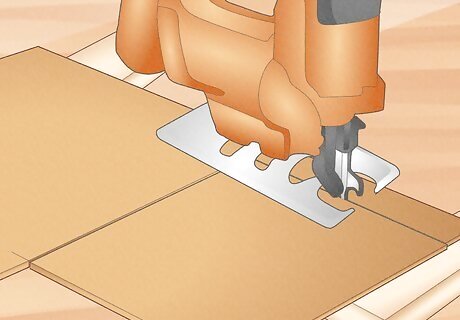
Cut frame from MDF.
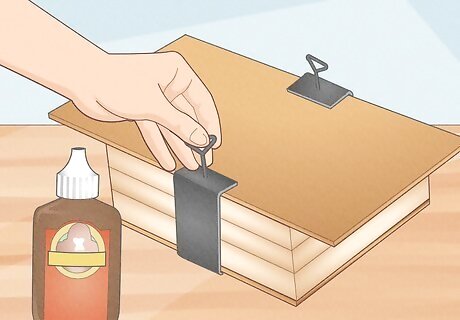
Glue this final piece to the bottom of the vacuum former box, clamping the two flush sides until the it is fully dried.
Making the Sheet Holder Frame
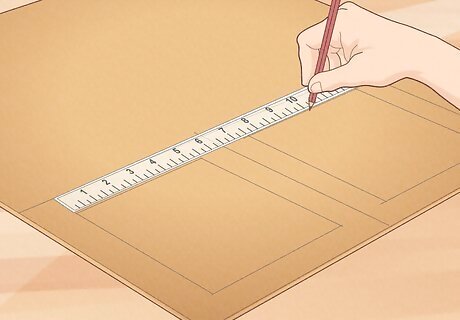
Measure and draw guidelines. On the 5mm MDF, draw two 7.5 inch squares Centered inside each square draw another, 5.5 inch square.
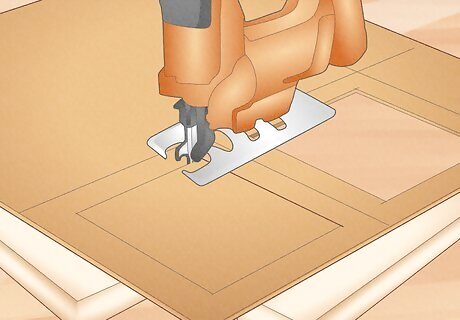
Cut out the inner square of each frame piece.
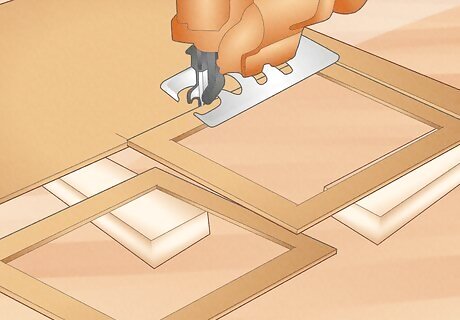
Cut along the outer guideline to finish the frame pieces.
Using Your New Vacuum Former
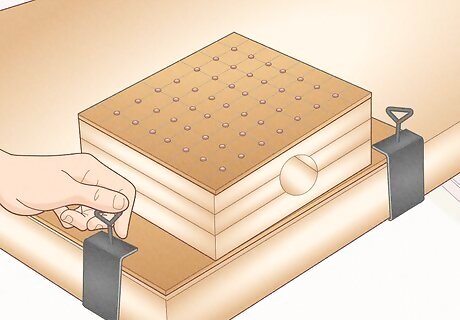
Mount the box. Set the box on a sturdy table. Using the clams / quick clamps, firmly clamp the box to the table.
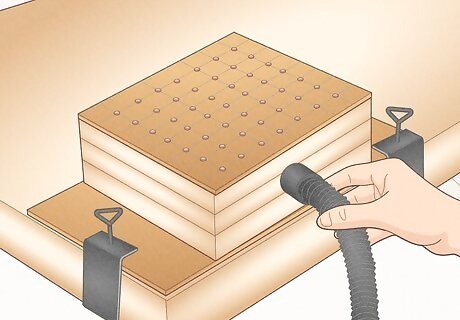
Attach the vacuum. Firmly push the vacuum hose or adapter into the hole on the side of the former.
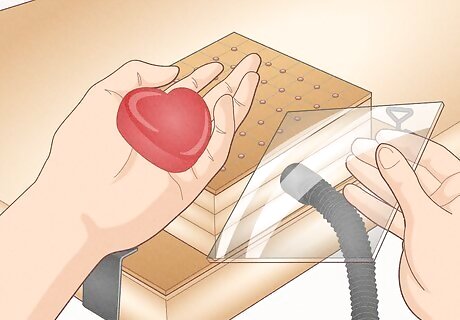
Gather your materials. Cut your desired thermoplastic into 6 inch square sheets. Choose or 3d print shapes to be formed.
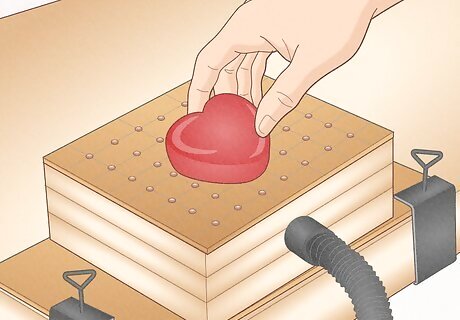
Place the objects to be molded on the platen (top). Take care to space the part around the holes to maintain clean edges.
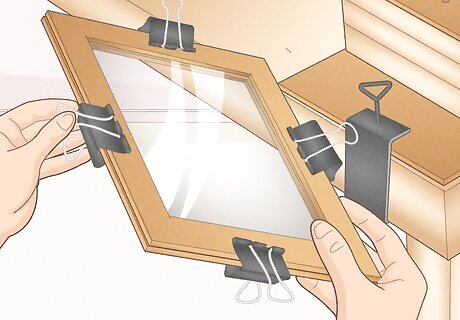
Clamp the thermoplastic sheet between the frame pieces with the binder clips.
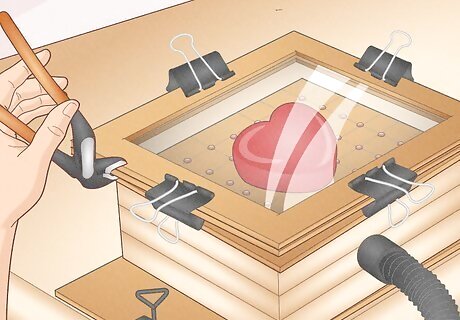
Hold frame with grips to keep heat away from your hands.
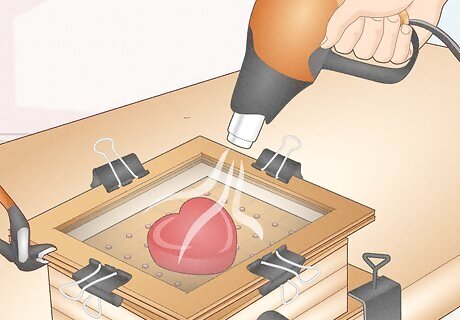
Heat plastic using slow, even motion with the heat gun. Keep going until until the plastic sags about 1.5 to 2 inches
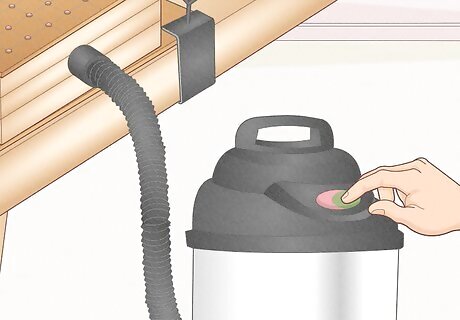
Turn on the vacuum.
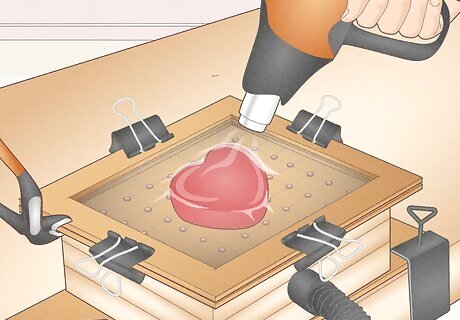
Lower the heated thermoplastic onto former over objects.
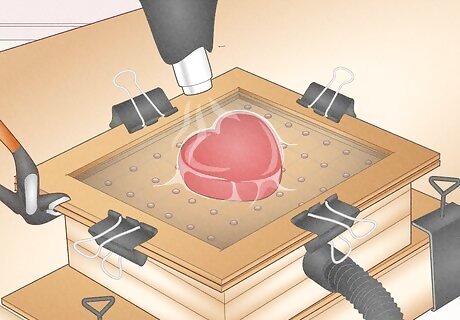
Continue to heat the thermoplastic around edges and fine details to ensure a clean mold.


Comments
0 comment