
views
On a new boat, with pristine seams between the planks, it is pretty straight forward.
On an older boat the seams may be damaged and vary in width so, a little more care is needed. However, anyone with a modicum of commonsense will have no trouble doing a competent job. The main thing to be aware of is, not to over caulk, this could lead to strained frames as the planking ‘takes up’.
Preparation

Get the boat ready for caulking. If you intend to repaint your boat, strip off the paint before starting to re-caulk.

Clean out all the old putty and caulking cotton with the raking iron, taking care not to damage the wood.
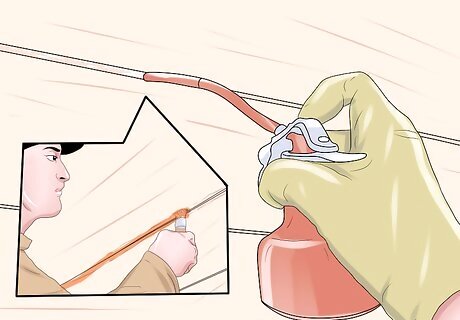
Prime the seams with the oil based paint or with red-lead paint.
Paying the cotton
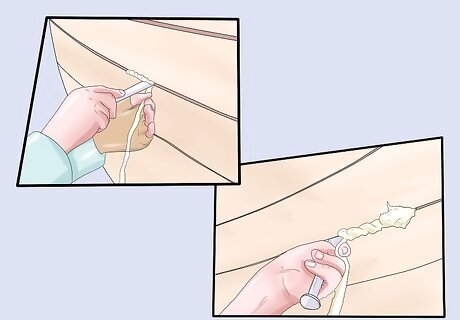
Different builders have differing ideas on where to start caulking.

Some like to do all the butt ends first then start on the lower seams and finish off with the rabbet and garboard seam.

However, here is no reason why you should not start on a seam above the water line, if you want to get into the swing of it first.

The main thing is remembering which seams have been done and which are still to do.

How many strands of cotton you use will depend on the size of the seams.

Ideally the cotton should fill the deepest third of the seam.

This means that when tapping it home the iron should go in by about two thirds of the plank thickness.

Add or subtract strands as needed.
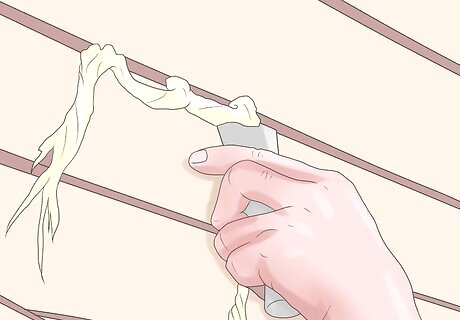
But always remember that it is to be tapped in not hammered.

Don’t over caulk, the cotton and the wood are going to swell when wet.

Some authorities suggest laying out enough cotton to do a full seam.

That is fine if you are laying it out in a perfectly clean floor.

The cotton is rather hairy and will pick up any and every bit of dirt or wood shaving on the floor.

I found that it was better to feed it straight from the ball, but keeping the ball in a cardboard box which can be pushed along with your foot as you go.

If you have to join strands mid seam do not tie a knot, this will produce a thick, hard lump.

Simply roll the ends together between finger and thumb.

Start off by using the paying iron to tack or loop the cotton loosely into a foot or two of the seam.
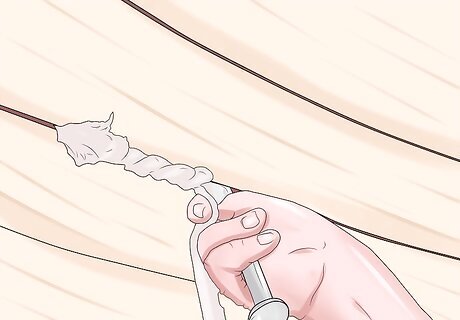
Then go back and using a rocking action with the iron tap the cotton home with the mallet.

If there are any wide seams leave them for last.

By caulking all the tight seams first you could find that this has caused the wider ones to close up.

Wide seams can be caulked in two runs, thus increasing the number of strands.

Some builders suggest priming the cotton before applying the putty.
Mixing the Putty
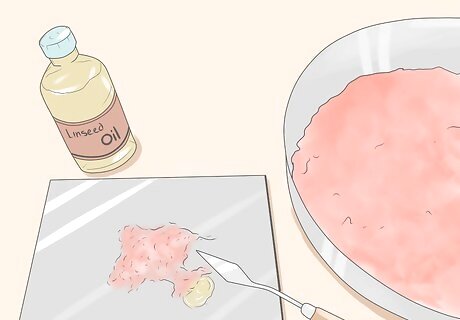
The traditional compound for stopping seams is linseed oil putty mixed with red led powder.
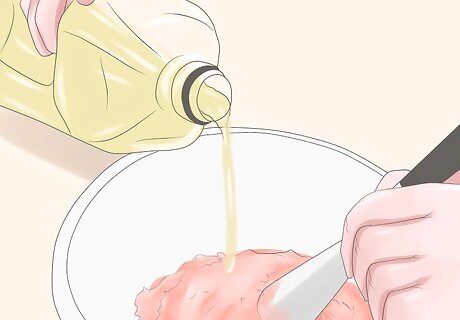
When mixing this caulking compound take a tennis ball sized dollop of the putty mix enough red lead powder to give an even red color add linseed oil if needed to keep it soft.
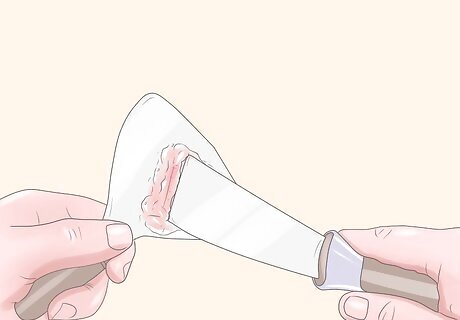
Then add a thumbnail sized dollop of multi-purpose grease, mix it well and push it into the seam with a putty knife.
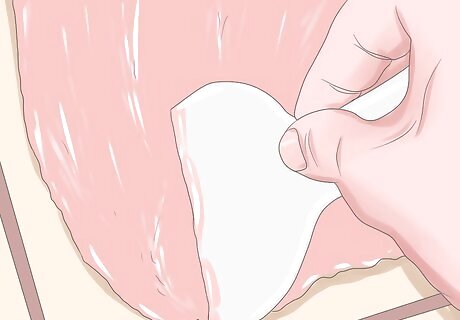
The grease will help keep the putty soft and flexible thus preventing any hardening and cracking later.
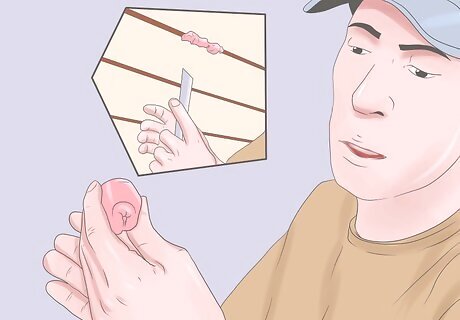
You can either smooth the putty flush with the planking or used a curved scraper to produce a concave seam.
Launch day

When it comes to launch day you might find that some of the seams have opened up.

Do not be tempted to add any more caulking cotton.

You can add some more of the paying compound but this will probably end up being squeezes out as the wood and cotton take up.

Providing the gaps are not excessive its better to use a temporary method of stopping.

Taping over the cracks with masking tape will slow water intake sufficiently while the planks take up.

Or fill the cracks with soap, use bar soap rubbed into the crevices this will eventually just wash away.

How quickly she takes up will depend on the wood of the planking.

Soft woods will usually take up faster than hardwood.

My first attempt at re-caulking a complete hull was on Mignonne, she has been in the water now for three years and she is still afloat and watertight.

If I can do it anyone can, with a little care you can do it too.






Comments
0 comment