
views
Note: If you don't own Photoshop, other free programs such as Gimp are compatible with this tutorial.
Creating a New Document
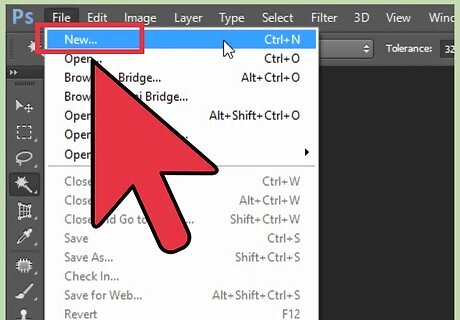
Open up a new document of course, so you click "FILE", "NEW" and you set the dimensions.
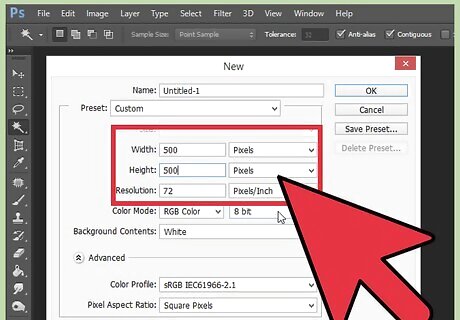
Set the width and height dimensions, here you see 500x500 pixels, but you choose whatever you would like.
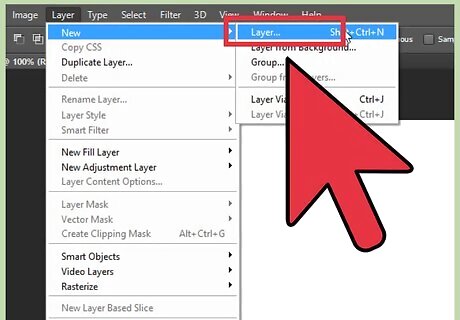
Make a layer. Once you have your canvas size the way you want, you create a new layer. First, you have to click "layer" "new" "layer." And name your layer. Name it "white"
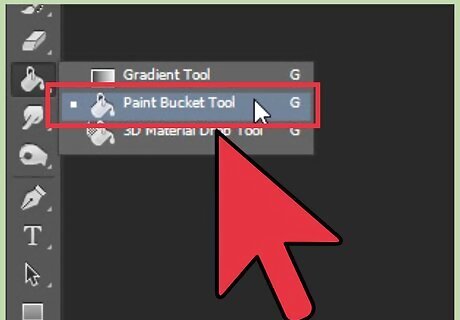
Fill in the new layer with the color white.
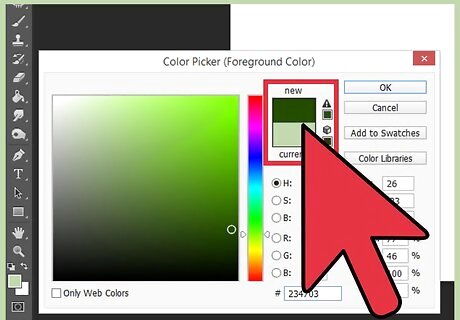
Create a new layer. Now you will start to sketch out what you would like to draw. Click on the colors and pick one.
Sketching
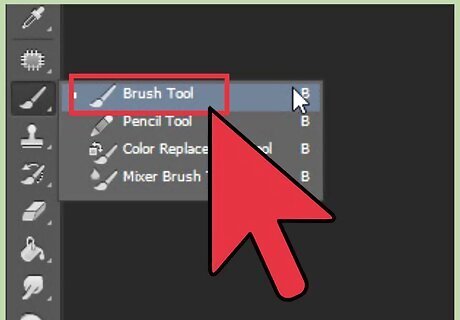
Pick a brush and apply the settings
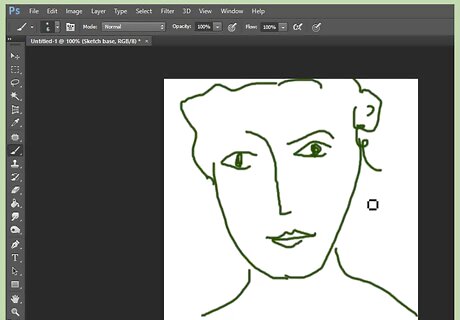
Draw. You don't have to worry about neatness, just draw away! Here's a sketch.
Outlining

Outline it. Now that you have your sketch you need to outline it to make it neater. Create a new layer. Click the pen tool, and click "freeform pen tool"
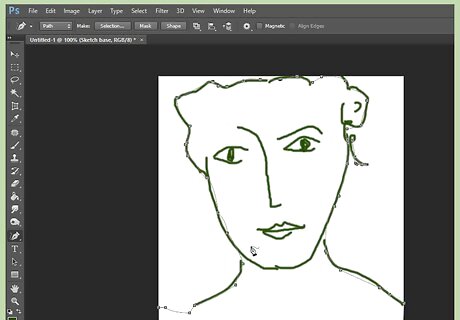
Outline one of your lines. Since the pen tool smooths your line, you may need to erase and redraw it. (not the whole thing only the line, don't worry)
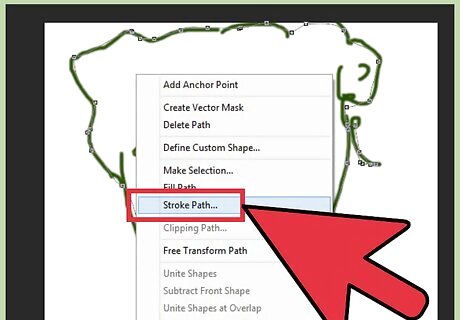
You have a line. Now you need to stroke it. Right click and click "Stroke Path" and then
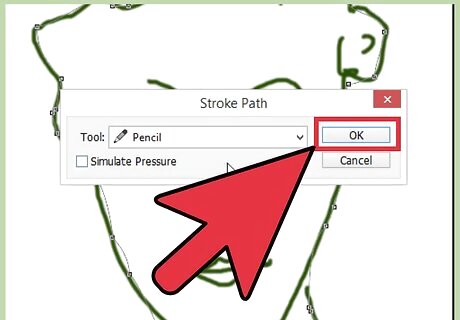
Set to paintbrush or pencil
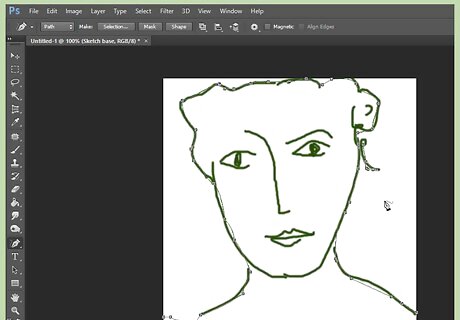
You should have this now.
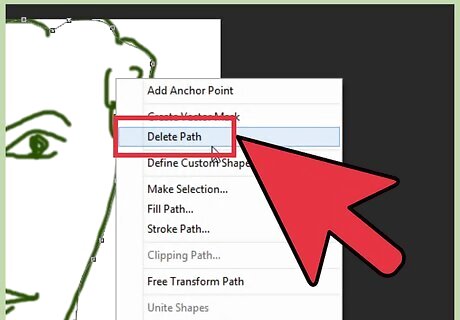
Delete the rough sketch. Delete the old line by doing this. Right click and select delete path.

Repeat for all the rest of the drawing. Here we see this:
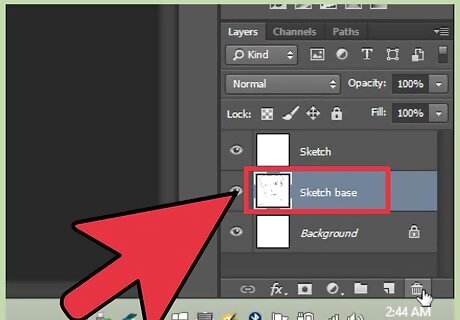
Clean up. You don't want the yucky blue lines right? You do this:
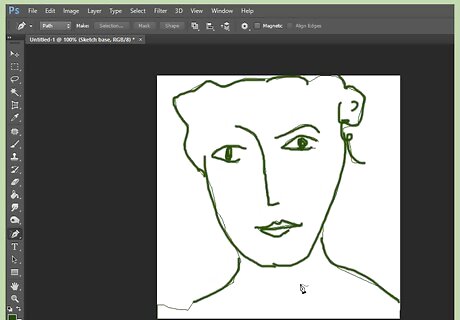
You have this.
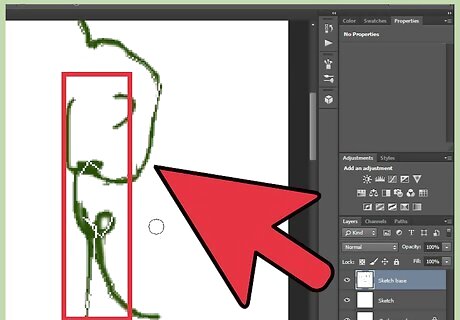
Look at the lines. Some are thick and misshapen what we need to do is taper.
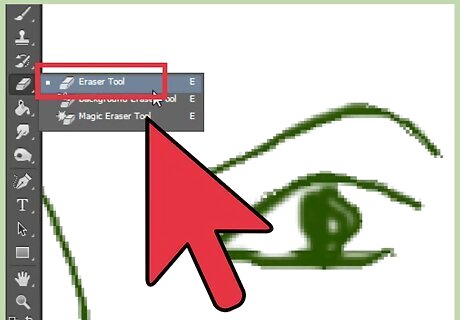
Grab the eraser and taper the lines by erasing the edges of the line.
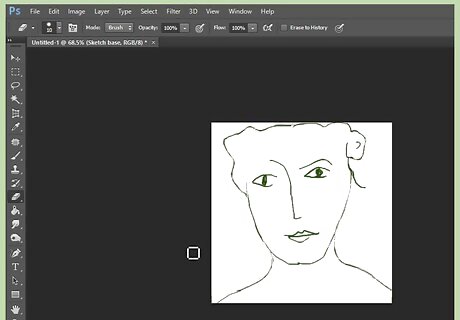
Do it to the rest of the lines.
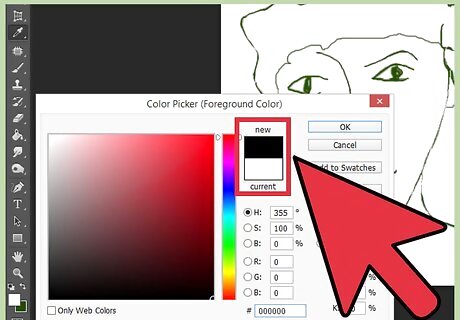
Add color.Now it is time to add color.
Coloring Method 1
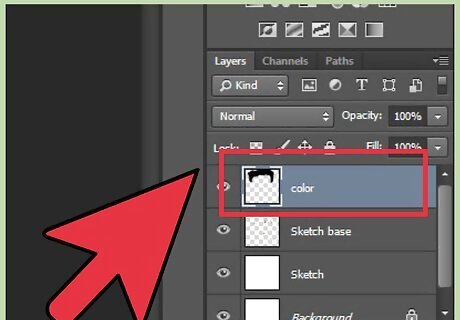
Go to the colors and pick one that you would like. Create a new layer Okay, now you color it!
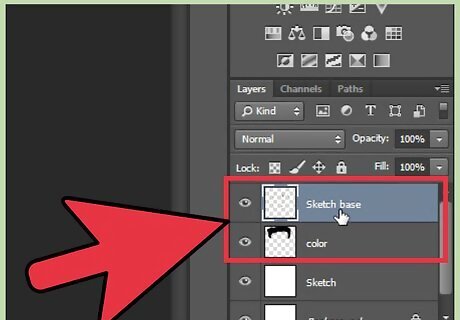
Move the "lineart" layer above the "color" layer.
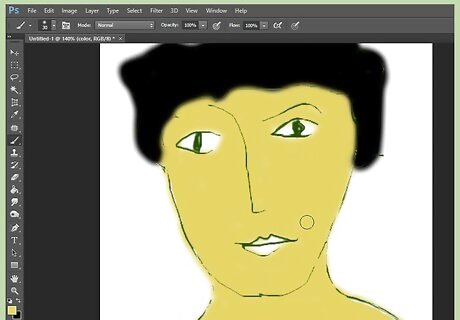
Continue to add more color. (but make sure you're still on the 'color' layer)
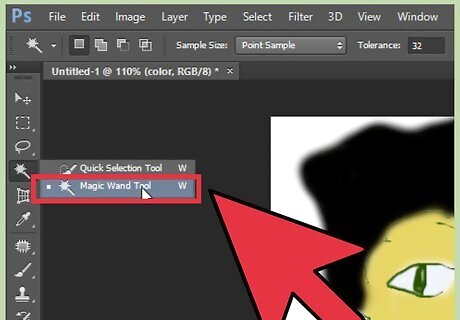
Use the magic wand. Now the lines are all out of the image right? That can be easily fixed. Click the "magic wand tool"
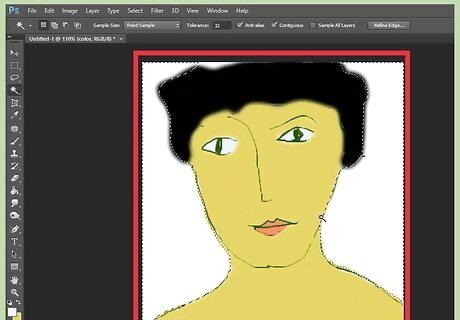
Click on the line art layer and use the wand and click the canvas. This should happen:
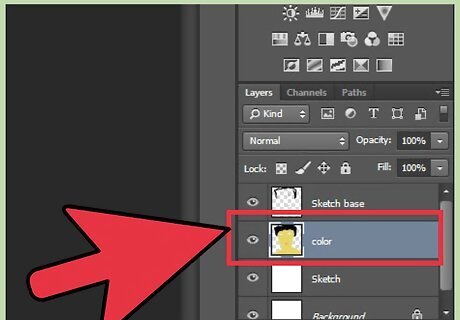
Go down to the color layer and hit "delete on your keyboard, extra coloring is gone
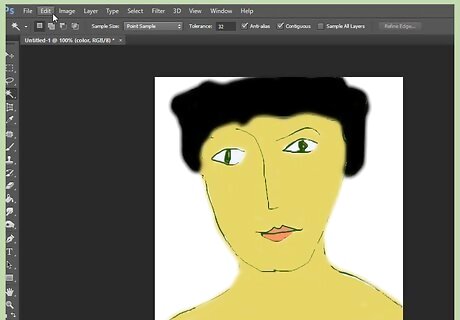
Click ctrl+D. Okay. So repeat until all your coloring is finished.
Coloring Method 2
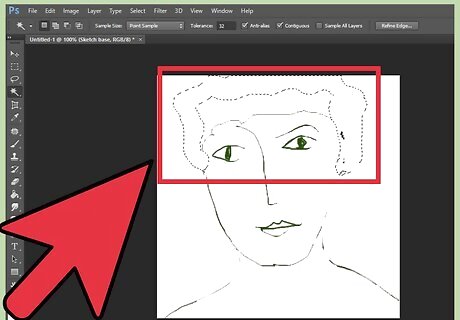
Create a new layer, and block off any open areas, such as the hands and torso. (Temporary)
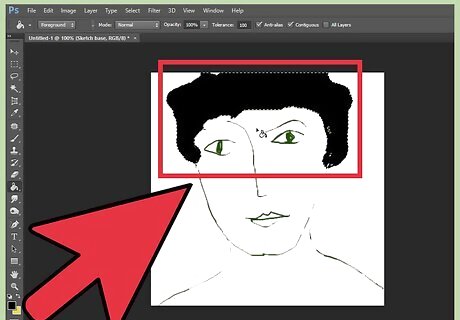
Return to your color layer. Select an area you wish to color with the magic wand tool, and color it in. The magic wand will not let you color outside of lines, so you need to select each area you want to color.
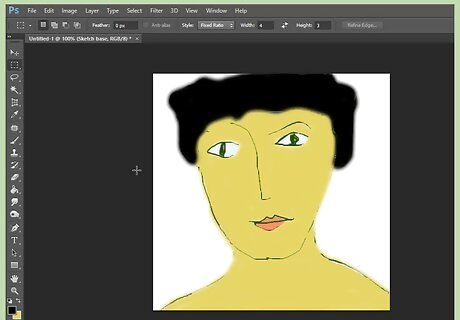
Delete the "capped" layer and you should end up with this. You may also want to return the "lineart" layer to above the "color" layer, so the lines aren't distorted.
Shading
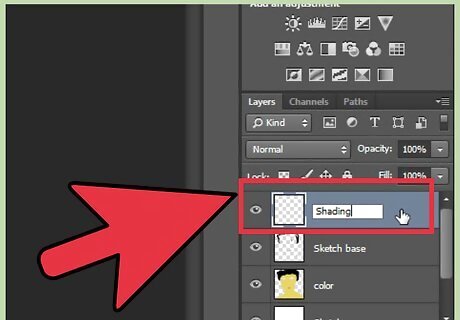
Shade and highlight Create a new layer Click the airbrush and set it to 10% opacity at the top, and pick a color darker then your original. Wherever you think there is shade go over with your airbrush.
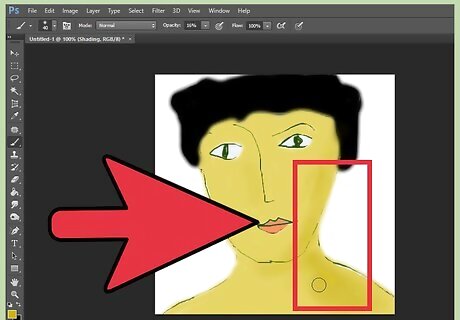
Keep going with the body.
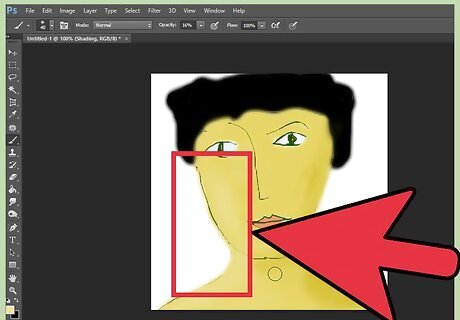
Now pick a color lighter the your original color and where you think there's light, highlight it! Add details like the eyes.



Comments
0 comment