views
Using Crimp Ring or Cinch Clamp Fittings
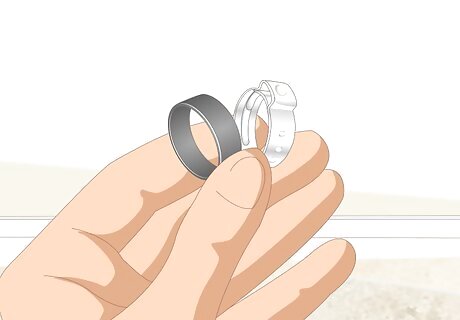
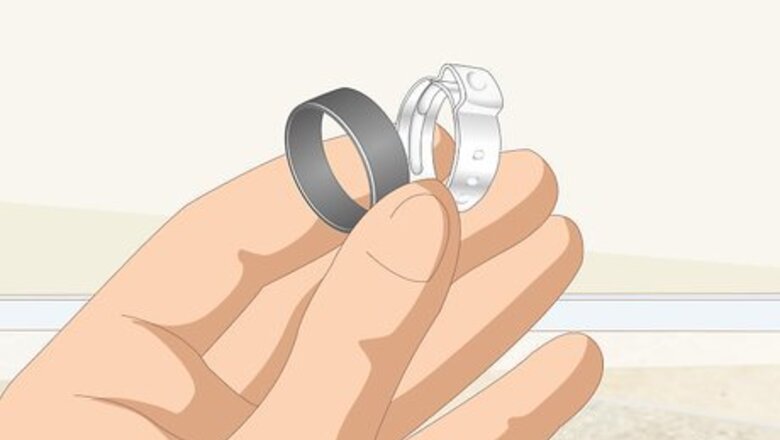
Use crimp ring or cinch clamp fittings for a cheap way to connect the tubing. Crimp ring and cinch clamp fittings both consist of a band of metal that slips over the PEX tubing. You then compress the ring with either a crimp ring tool or a cinch clamp tool to secure the tubing to the fitting.Tip: Despite the fact that you need to purchase specialty tools to use these kinds of fittings, the fittings themselves are cheaper than all other types of fittings. This makes them a good choice if you need to make multiple connections of PEX to copper tubing. If you choose crimp ring fittings, you will need to purchase a kit that has different sizes of crimp ring tools for around $100 USD. If you use cinch clamp fittings, you can get a cinch clamp tool for about $40 USD. Crimp ring and cinch clamp fittings cost around $10 USD for a pack of 25-50.
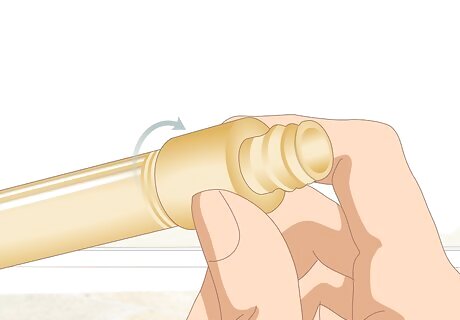
Screw the threaded part of the fitting onto the copper pipe’s fitting. Select a threaded fitting that is either male or female, depending which type of fitting the copper tubing has. Screw it on clockwise to the fitting at the end of the copper pipe to create a watertight connection. A male fitting refers to a fitting that inserts into the threads of the other end of the fitting and screws into them. A female fitting refers to one that covers the threads of the other end of the fitting and screws onto them. If the threads are on the outside of the copper pipe’s fitting, then you need a female fitting on the PEX. If the threads are on the inside of the copper pipe’s fitting, then you need a male fitting on the PEX.
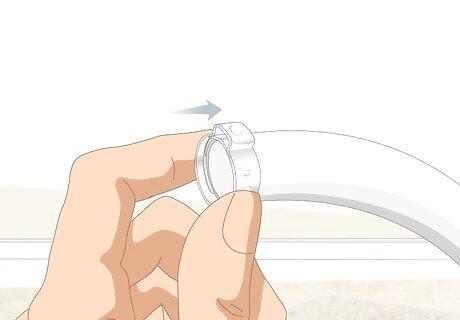
Slide the crimp ring or cinch clamp over the end of the PEX tubing. Place the ring or clamp over the end of the PEX that you want to connect to the copper tubing. Position it where the end of the tubing will cover the fitting. Make sure that the end of the PEX tubing is cut squarely so it will fit evenly over the end of the fitting.
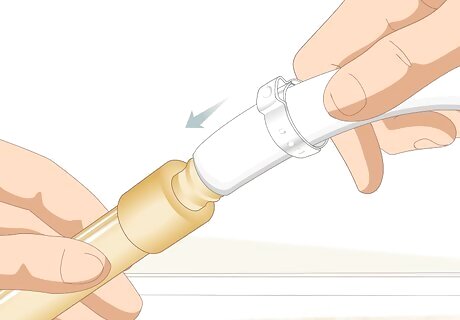
Insert the end of the PEX over the end of the fitting. Slide the end of the PEX tubing that has the crimp ring or cinch clamp on it over the end of the fitting that you screwed onto the copper tubing. Push it on as far as it will go. Reposition the ring or clamp if needed by sliding it so it is about in the middle of where the PEX tubing covers the fitting.
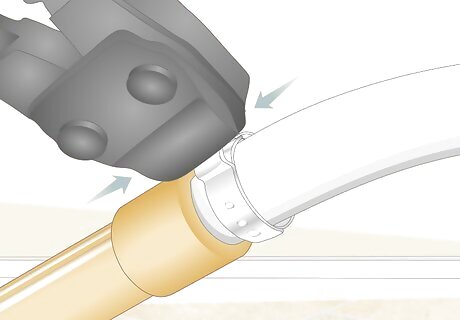
Use the crimp ring or cinch clamp tool to compress the ring around the tubing. Put the crimp ring tool over the outside of the ring and squeeze the handles to crimp it around the PEX if you used a crimp ring fitting. Put the end of the cinch clamp tool over the tab of the clamp and squeeze the handles to tighten it if you used a cinch clamp fitting. If you used a crimp ring fitting, you might need to work your way around the sides, squeezing the handles of the tool as you go, until you get a totally tight fit. The advantage of a cinch clamp over a crimp ring is that you just have to tighten it once.
Attaching Expansion Fittings to PEX
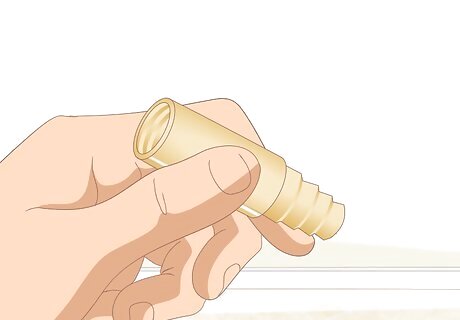
Choose expansion fittings to connect the tubing without rings or clamps. Expansion fittings are a type of stab-in fitting that make a watertight connection with only the pressure of the PEX around it. They are more expensive than other types of fittings and you will need a PEX expander tool as well. A PEX expander tool will set you back around $200 USD. They can range in price up to 4 times that much depending on the kit you want. Different kits come with more heads for different diameters of PEX. Expansion fittings cost about $20 USD for a pack of 5.
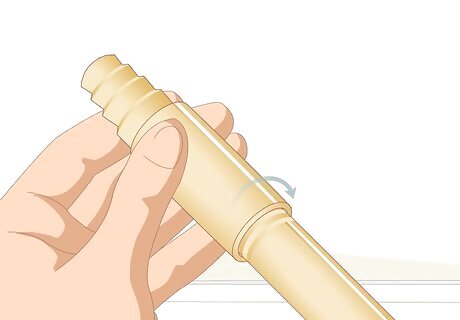
Screw a threaded expansion fitting onto the fitting at the end of the copper pipe. Choose a threaded fitting that is either male or female, depending which type of fitting the copper tubing has. Tighten it clockwise to connect it to the fitting at the end of the copper pipe. Male fittings are narrower than female fittings and screw into female fittings. Female fittings are wider and screw on top of male fittings. If the threads are on the outside of the fitting on the copper tubing, then you need a female fitting on the PEX. If the threads are on the inside fitting on the copper tubing, then you need a male fitting on the PEX.
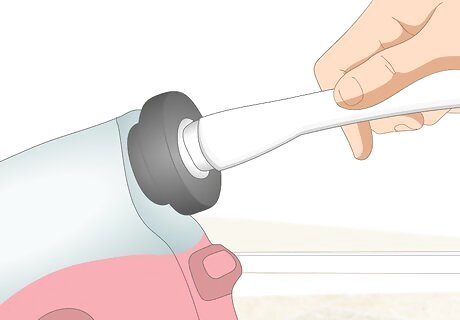
Use a PEX expander tool to expand the end of the PEX to insert the fitting. Insert the end of the tool (the cone-shaped tip) into the end of the PEX tubing. Pull the trigger on the handle to expand the tool and open up the end of the pipe enough that it will slide over the end of the fitting, then remove the tool. The end of the PEX tubing needs to be cut squarely so it will fit cleanly over the end of the expansion fitting.
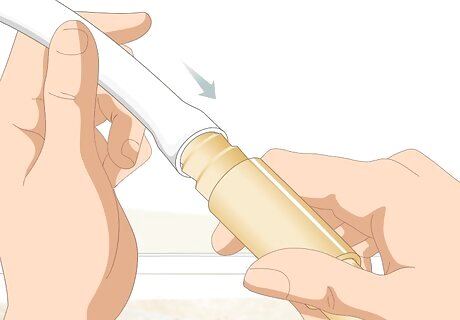
Insert the end of the PEX over the end of the fitting. Slide the PEX tubing over the expansion fitting and push it on as far as it will go. It will return to its original size and create a watertight seal around the fitting. PEX has its own “memory”, meaning that it will return to its original diameter after it is stretched out.
Connecting PEX and Copper with Push-Fit Fittings
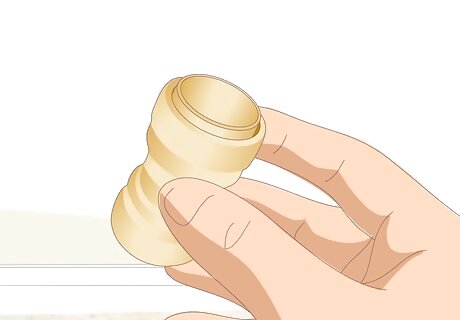
Select push-fit fittings for a tool-free way to connect PEX to copper. Push-fit fittings don’t require any special tools to attach them. They are the most expensive of the fittings you can use to connect PEX to copper.Tip: Push-fit fittings are also a good option if your copper tubing doesn’t already have a threaded fitting at the end because they just push on to make the connection. Despite being the most expensive, their ease-of-use makes push-fit fittings a good option when you only need to make a few connections of copper and PEX. Push-fit fittings cost at least $5 USD each.
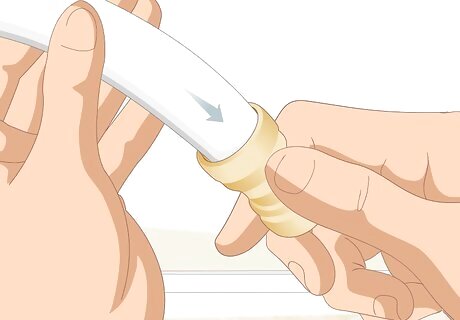
Insert the end of the PEX into one side of the fitting. Shove the end of the PEX tube into the fitting all the way. The internal mechanisms of the push-fit fitting will create a seal and hold everything in place. As with other methods, you will need to make sure the end of the PEX tubing is cut evenly so it will fit cleanly into the end of the push-fit fitting.
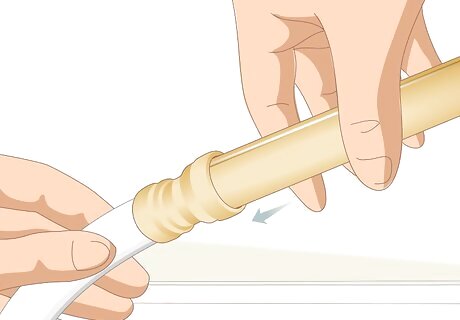
Push the other end of the fitting onto the end of the copper tubing. Snap the open end of the push-fit fitting all the way onto the open end of the copper tubing until the copper pipe is all the way inside. The PEX and copper are now connected and you don’t need to do anything else. Make sure that the end of the copper tubing is smooth around the edges before you insert it. You can sand around the end to remove any sharp edges. If the copper pipe has a threaded fitting attached to it, you will need to remove it first. You can cut the pipe just below it to make a new clean opening at the end.





Comments
0 comment