
Using a Windows PC
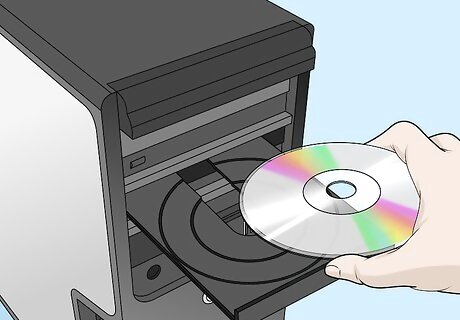
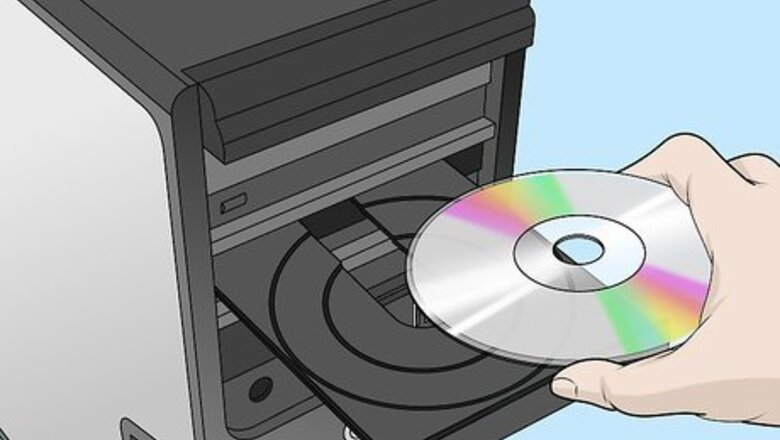
Insert the CD into your computer. Place the CD into the disc drive slot. You may need to touch a button on the side to open the drive. If you do not have a disc drive on your computer, use an external drive. You may have to purchase one separately. You can connect it to a USB port on your computer.
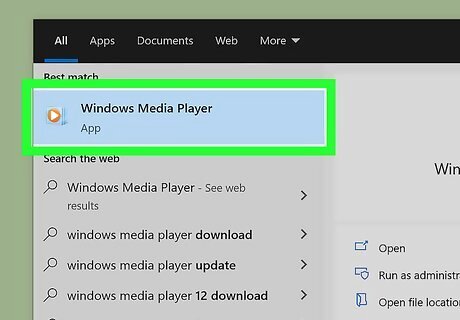
Open Windows Media Player. Search for it in the start menu by clicking the search or the windows icon and typing "Windows Media Player". If you prefer, you can use iTunes instead.
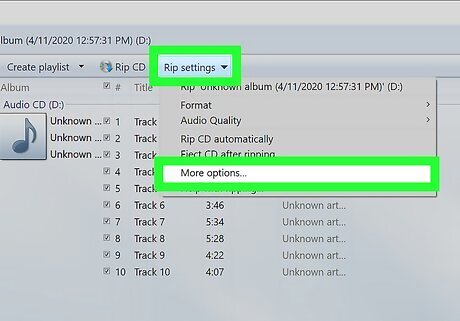
Click on Rip settings and select More options.... This is in the top right corner.
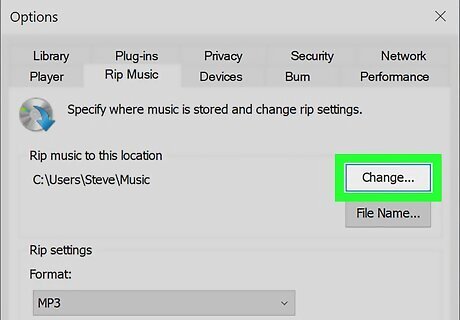
Specify a folder to save the music to. Click Change in the "Rip Music" tab and choose a location on your computer.
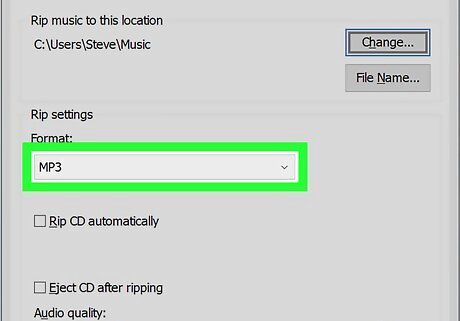
Change the format. Under "Format" in the "Rip Music" tab, click on the drop-down and select a format. If you are unsure which format to use, select MP3. This is to ensure the best compatibility across music players.
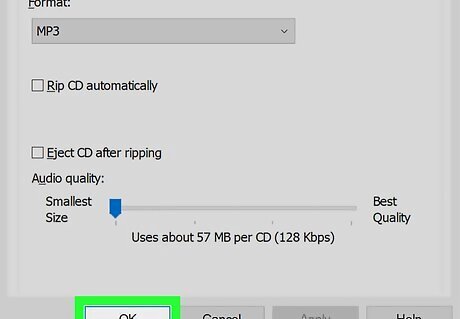
Click OK. This saves the settings.
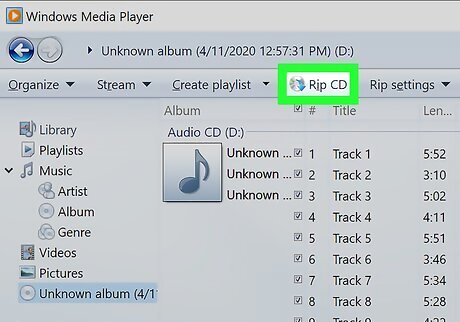
Click Rip CD. This is in the top right corner. The music will start ripping automatically and will save to your specified folder when finished.
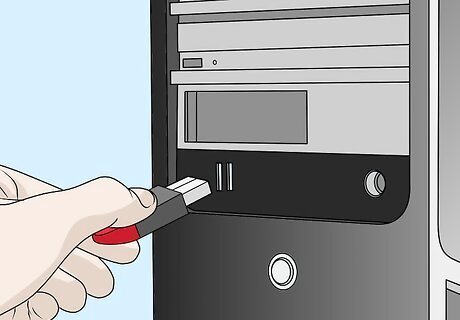
Insert the USB drive into your computer. Place the drive into a USB port.

Open File Explorer Windows File Explorer. Hold ⊞ Win+E to open File Explorer, or look for the folder icon on your desktop or taskbar.
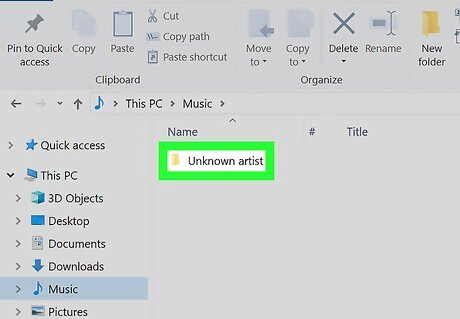
Click on the folder you chose to save the ripped music to. Use the search bar at the top to find the folder if you cannot remember where it is.
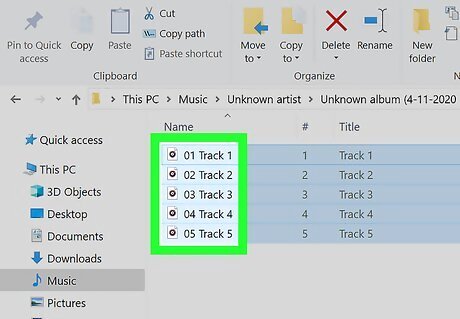
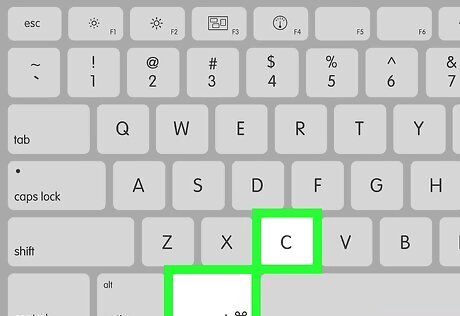
Select the music you wish to copy. Click on the file or folder. To select multiple files or folders, hold down Ctrl while clicking each file or folder.
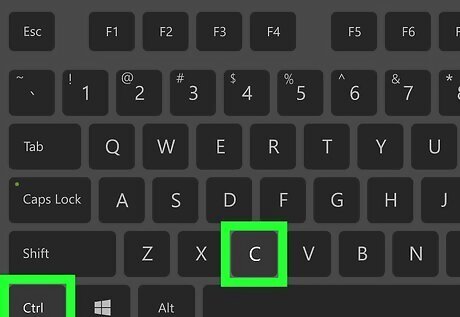
Hit Ctrl+C. This copies the files. Alternatively, you can right-click on one of the selected files or folders and select Copy. If you wish to move the music over to the USB and take it off the CD, hold Ctrl+X instead, or select Cut instead of Copy.
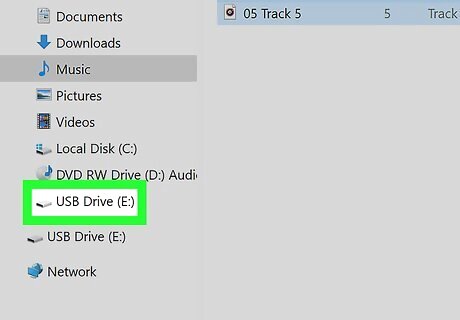
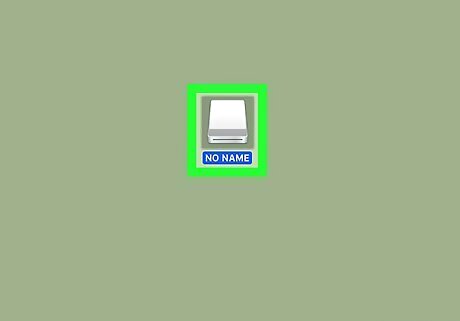
Click on the USB drive folder in the left panel to open. Look for the drive that has the USB icon, which looks like a 3-pronged fork.
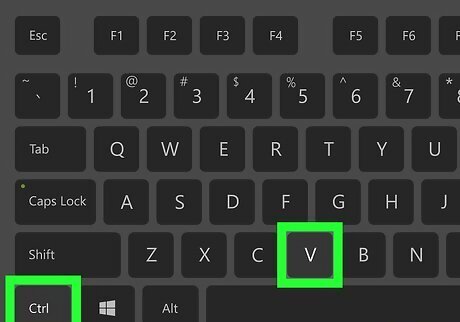
Hit Ctrl+V. This pastes the files into the USB drive's folders. Alternatively, right-click in the window and select Paste. If you wish to place the music in a certain folder, open the folder first by double-clicking on it, then paste the files.
Using a Mac
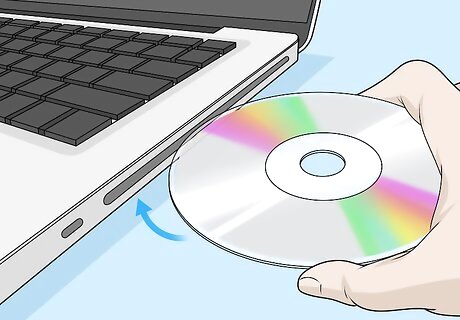
Insert the CD into your computer. Place the CD into the disc drive slot. If you do not have a disc drive on your computer, use an external drive. You may have to purchase one separately. You can connect it to a USB port on your computer.

Open iTunes. Look for the icon on your desktop, which looks like a musical note.

Click on the CD icon and select Import CD. This can be found near the top of the window.
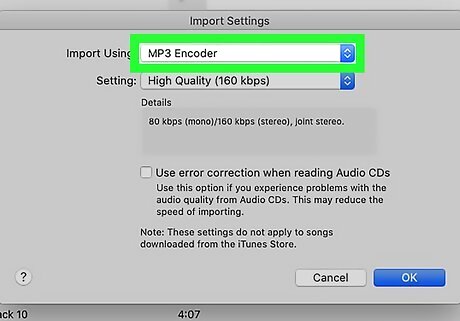
Change the format. Under "Format" in the "Rip Music" tab, click on the drop-down and select a format. If you are unsure which format to use, select MP3. This is to ensure the best compatibility across music players.

Click OK. This will start ripping the CD.
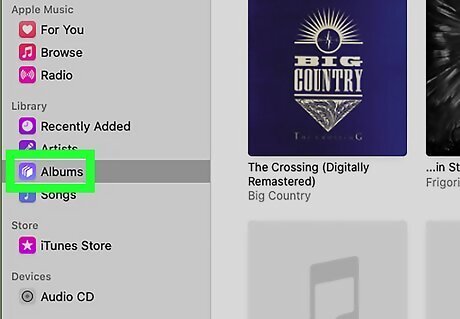
Go to the album in your iTunes library. Click Albums in the left and click on the album.

Click on a song and click File. This is in the top left.
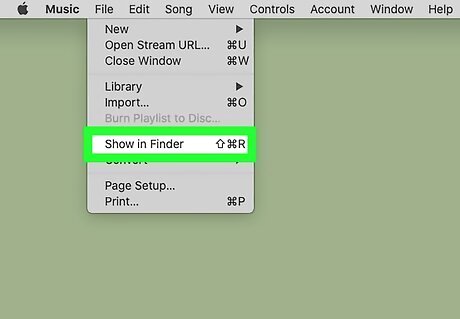
Select Show in Finder. This will open the album in Finder.
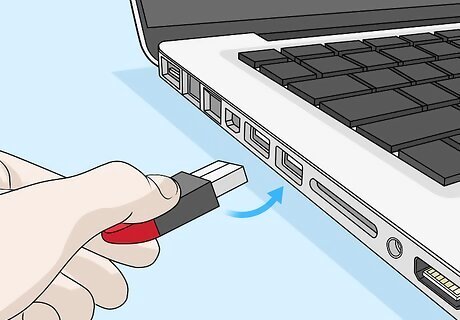
Insert the USB drive into your computer. Place the drive into a USB port.
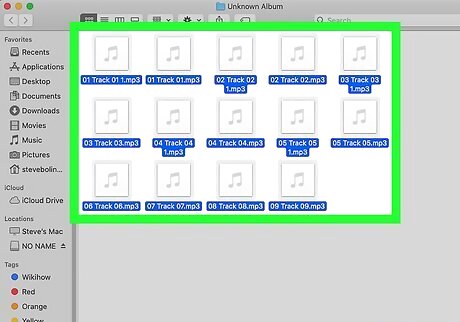
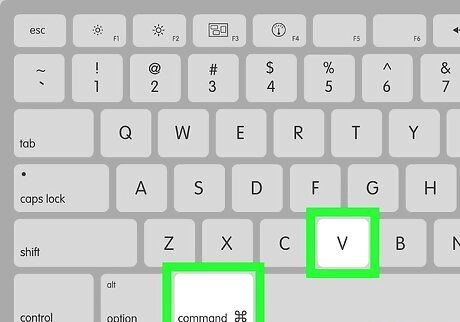
Select the music you wish to copy. Click on the file or folder while still in Finder. To select multiple files or folders, hold ⌘ Command while clicking each file or folder.
Hit ⌘ Command+C. This copies the files. Alternatively, you can click Edit when a file or folder is highlighted select Copy. If you wish to move the music over to the USB and take it off the CD, hold ⌘ Command+X instead, or select Cut instead of Copy.
Double-click the USB drive icon on your desktop. This launches the USB drive folder window.
Hit ⌘ Command+V. This pastes the files into the USB drive's folders. Alternatively, click Edit then select Paste.


Comments
0 comment