
Steps
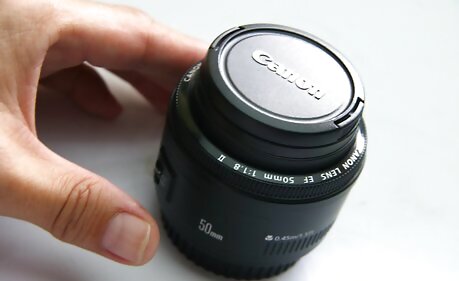
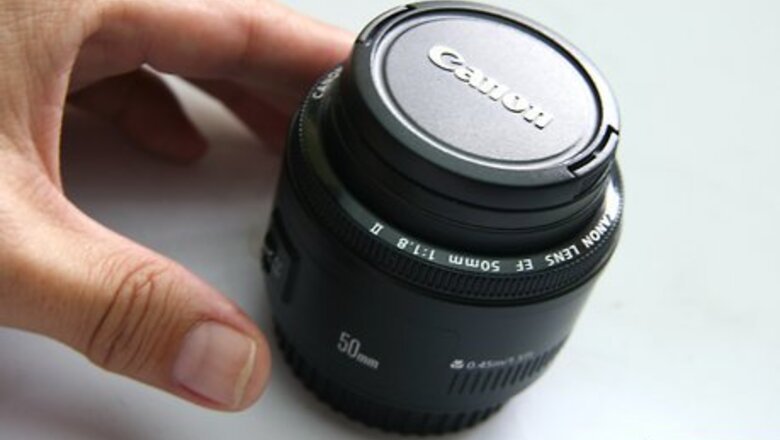
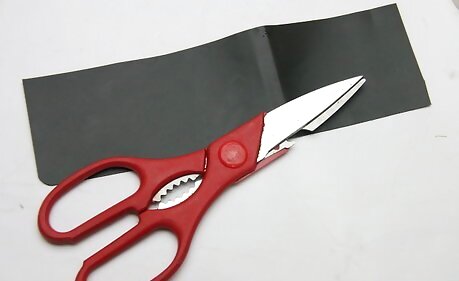
Get the lens that you will be putting the custom bokeh on.
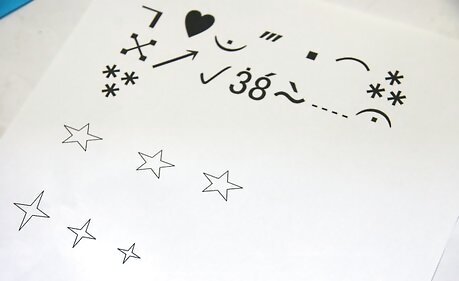
Find a font that you like. Wingdings and Dingbats are good sources. If you don't have anything you like, do a search for them on the Internet. Alternatively, if you are good at freehand, you can draw or cut it out without any type of assistance.

Use the character map to insert the graphic and then size it at about 60. That should be about the right size of symbol.
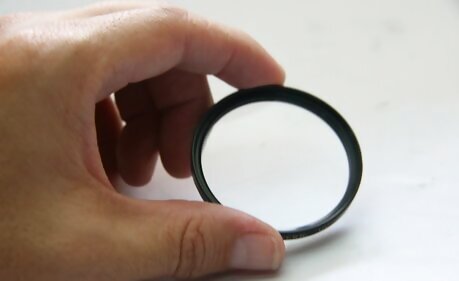
Decide on the way you are going to make your bokeh. If you have a UV filter, you can use that and put the bokeh into it.
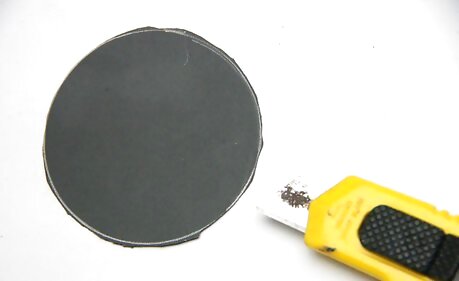
Make a template for each lens. You want them to be the right size to block out as much superfluous light as possible. Some suggestions for creating a circle are: Use a string and measure half the width of the lens. Using a pen or pencil on one end of the string and stick a pin in the other end of the string, draw a circle. Using this image as an example, imagine a straight pin holding one end of the string, a pen on the other end, and drawing a circle. Find a lid of some type that matches the size of your target circle.Make a Custom Bokeh Step 5Bullet2.jpg
Put the design in the exact center of the circle that you have cut out. Your lens will be having to shoot through the cutout, so the closer to exact center that you are at, the better. Depending on the size of your lens, your finished design/shape will be about ⁄2 to ⁄4 inch (1.3 to 1.9 cm) in size. The size of the bokeh needs to be smaller than the aperture you are using. For example, If you use 5.6, then the bokeh shape needs to be 8 or less.
UV Filter Bokeh
If using a filter, measure the inside circumference of the filter. This example traces the outside of the filter which is actually too large. If you have a compass, once you know the size that it needs to be, that will simplify the matter greatly.
Once you have the measurements, make a template. You will probably want one for each different size lens that you have. Keep in mind that the template for fitting inside of a filter and going onto a 'hood' for your lens will be two different sizes.
Hooded Bokeh
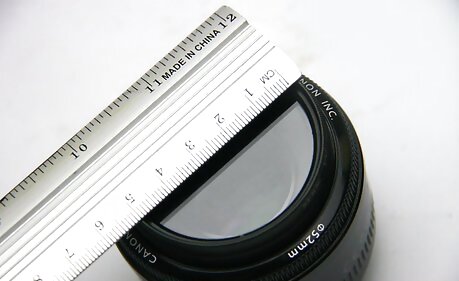
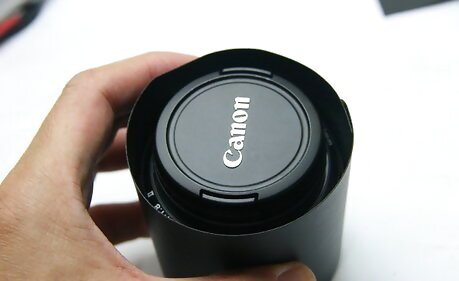
Measure the outside circumference of your lens. One way of doing this, if you don't have a tape measure is to take a string and measure around the lens and then add an inch to an inch and a half. If it is too long, you can always trim it.
Cut a rectangular piece of whatever you are using, (thin plastic, poster board) with enough left over so that you can fasten it somehow.
Measure the circumference of the bokeh after assembled for the 'end cap'.
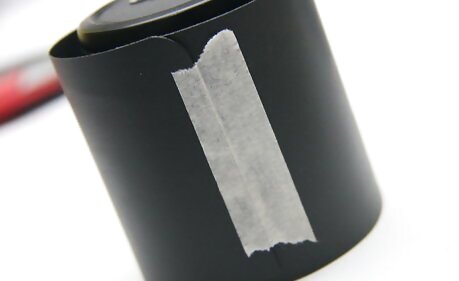
Fasten it together with some type of tape.

Put the pieces together. Note that there is a very small gap. It might indicate that your end cap needs to be slightly larger.
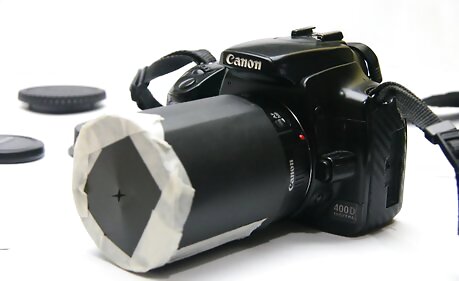
Measure all the parts. If you are just starting out making your own bokehs, you will want to have the measurements so that you can make a collection. The lens measurements for this example were 10 and 1/2 inches x 2 and 1/4 inches. The end cap's circumference was 2 and 3/4 inches. A wingding about the size 48 is a good size for the center piece.
Finished.


Comments
0 comment