views
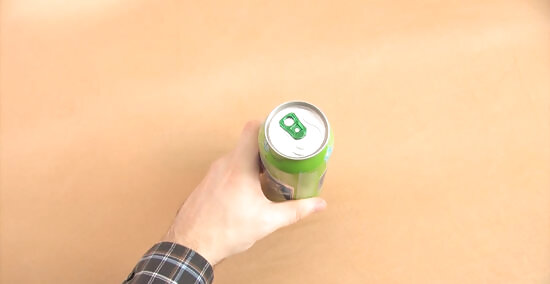
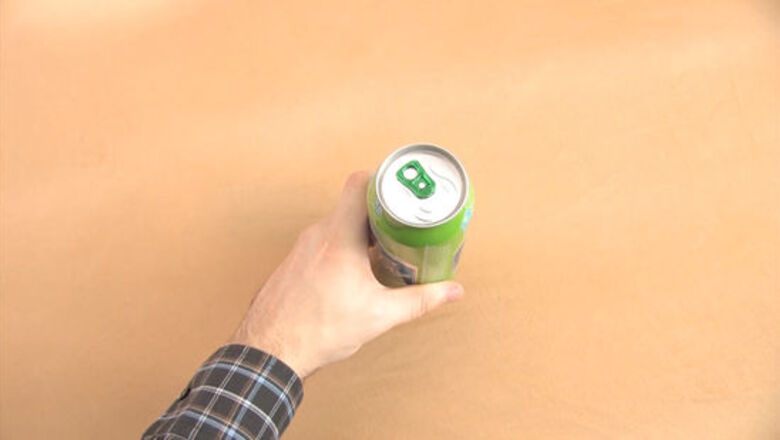
Find a good can. You can use just about any aluminum soda or beer can. They are all thin enough to cut a shim.The only requirement is that the sides of the can be smooth (without ridges), since you will be using the metal from the sides to make the shim.
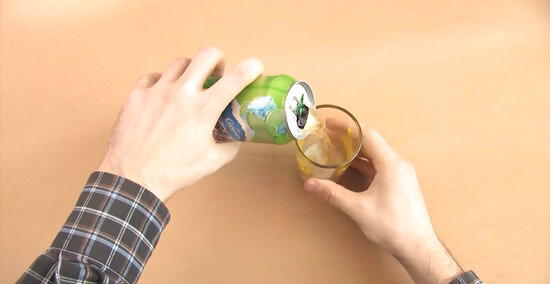
Empty the can completely and rinse it out with warm water.
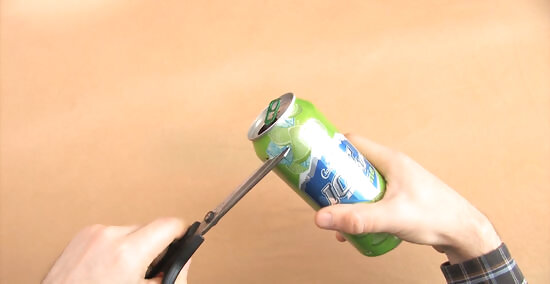
Use scissors, tin snips, or a knife to cut off the top and bottom of the can. Cut right at the border at the point where the sides taper at the top and bottom. You may want to use a knife or razor blade to make a small starter cut in the taper so that you can easily get your tin snips or scissors in. Try to make the cutting line as straight as possible, but don’t worry about it too much, as you will trim them later. To maximize the metal you have to work with, try to avoid cutting too much into the flat part of the can’s side. Instead, err on the side of the taper. Take your time when cutting the shims. The straighter and smoother your cuts, the better your shims will work. You’ll also be able to make more shims per can if you’re careful with your cuts.
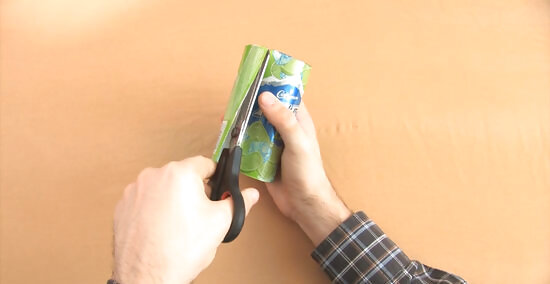
Cut a straight vertical line down the side of the can. Try to make the cut as straight as possible––many cans have a “seam” that you can use as a guide. You want to be able to flatten out the piece of metal into a rectangle.
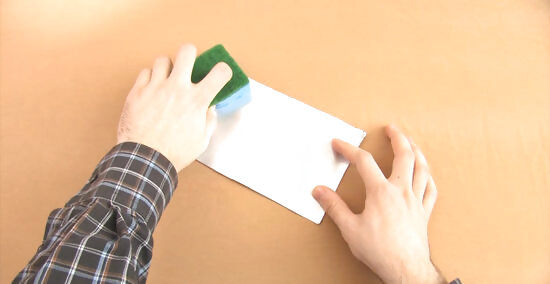
Clean it up. Now that the can is easier to work with, trim the top and bottom to get rid of the rough edges. If the metal still has some sticky residue on it, scrub and rinse it off with warm, soapy water, and rinse off the cutting tool, as well.
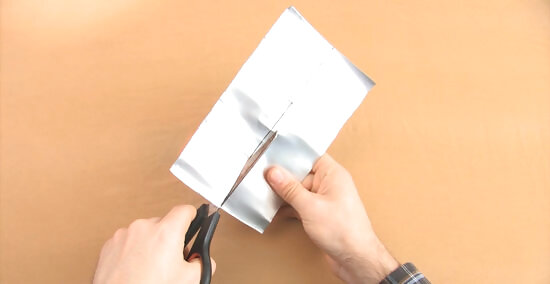
Cut the metal rectangle in half with a line running the long way of the rectangle. Divide the metal into two long strips.
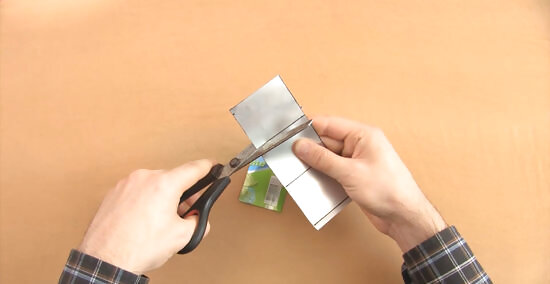
Cut the strips into squares. You should be able to make four or five squares, each about 1.5-2 inches (3.8-5cm) on each side. Make sure the edges are smooth and straight.
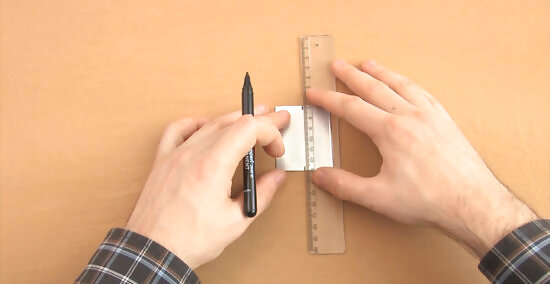
Use a marker to divide the squares in half. You should have two equal rectangles.
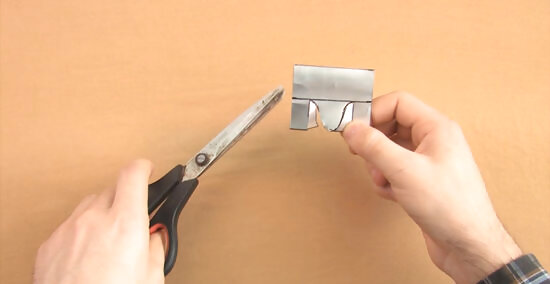
Cut an M-shaped design on half of the square. Aim to create the point of the shim by cutting out two humps a little bit in from each side of metal (see picture). Try to make the cuts as smooth as possible, and try to get rounded humps, as opposed to pointed triangles.
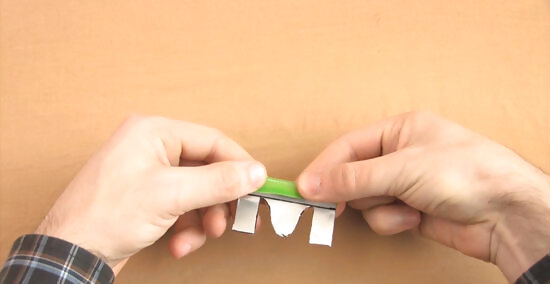
Fold the uncut part in half. The fold should bring it down just above the humps of the “M”. This will be the handle.
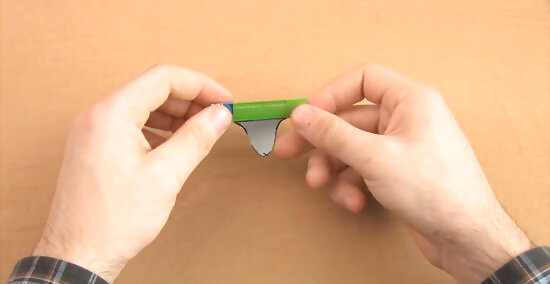
Fold the outside flaps of the M up over the piece you just folded down. Bend the flaps back and away from you, over the handle piece.
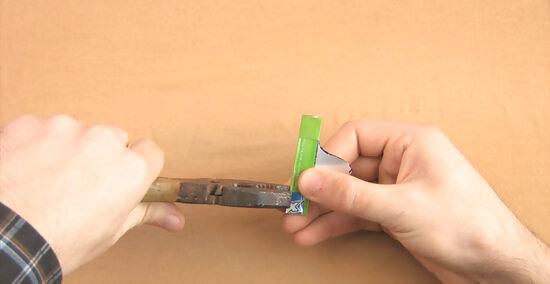
Use pliers to crimp the handle.
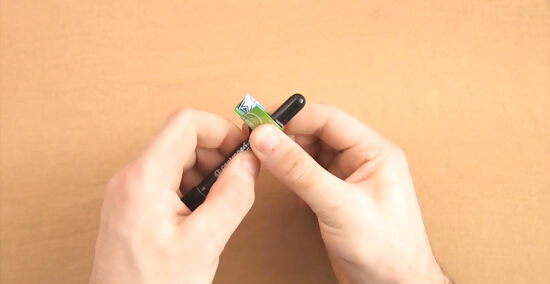
Shape the shim. Aim to round the shim so that its shape fits the lock shackle. You can do this by bending the shim around the shackle itself, or you can shape it around a pen or pencil (as long as the pen or pencil doesn’t have ridges). Your shim is now finished.
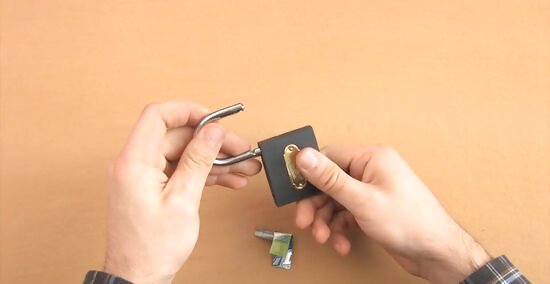
Use the shim on a padlock. Some more advanced locks will require you to use two-one shim on each side of the shackle. Using a shim takes a bit of practice. It’s easy to bend them or tear them in the small space between the shackle and the locking mechanism, and it can be hard to get them into position. Fortunately, you can make many shims out of a can, and once you get the hang of it, the process will become much easier. Just don’t try to force anything, because if you get a piece of the shim stuck in the lock, it will make your job even harder. Once you have driven the shim into the shackle housing, take the tabs you created and pull on them from side to side. Even if the shim itself doesn't move, this motion is vital to opening the lock. Some locks require that you insert a shim into both sides of the shackle (both holes where the shackle enters the lock). If you can't seem to get the lock open with one shim, try two. Once you hear a click similar to that of when you pull an unlocked shackle out of its housing, the lock will be able to be opened.


Comments
0 comment