views
Making a Split-Hem T-Shirt
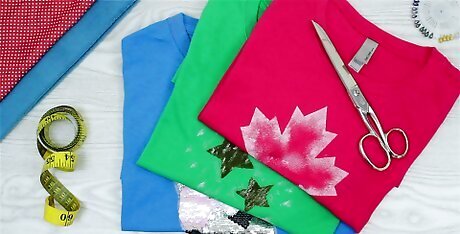
Get a t-shirt. This style works best with baggy t-shirts, but you can use a fitted one too. You will be modifying your t-shirt to have a slit in the side that starts at the bottom hem.
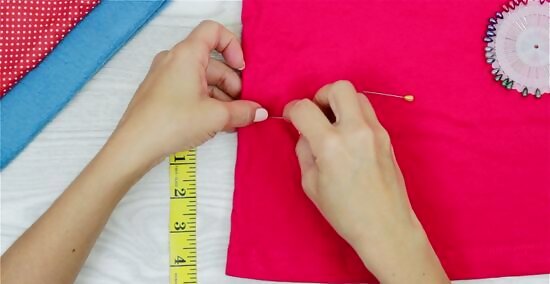
Decide how far up the sides you want the slit to go. You can have the slit go up just past the hem for a subtle look, or even further for something more boho-chic. Half-way up is a great look for this. Place a pin where you want the slit to end, or mark it with a pen. Only do one side of the shirt for now.
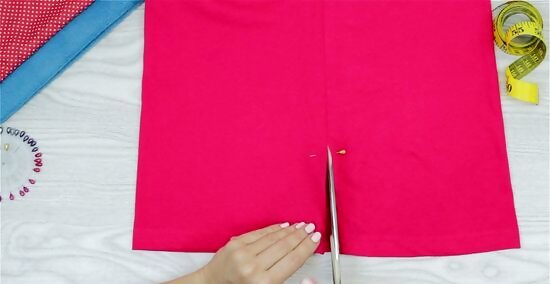
Cut the side of the shirt up to that point. Set the shirt down onto a flat surface and smooth out any wrinkles. Use sharp, fabric scissors to cut along the seam to where you want the slit to end. Don't cut the other side of the shirt just yet.

Fold the shirt in half, then cut the other side. Use the seam you just cut as a guide for the second seam. Unfold the shirt when you are down.

Gently tug on the corners of the shirt. The bottom of your shirt will have four corners: two on the front, and two on the back. Gently tug on each of these corners. This will help stretch the hem out and cause the raw edges to curve inward.
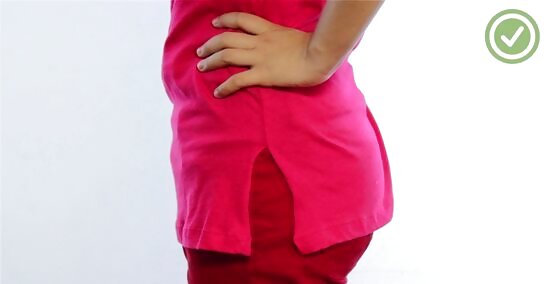
Seal the cut seams, if desired. T-shirt material doesn't fray, so you don't have to worry about hemming it. The side seams can unravel, however. If you are worried about this, you can seal them with a drop of fabric glue or a few stitches with a needle and thread.
Making a Slit and Tied T-Shirt
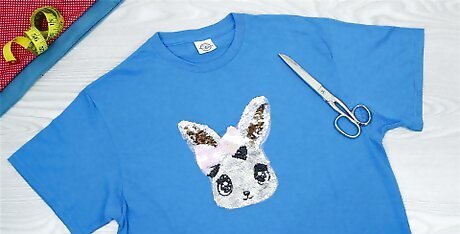
Get a baggy t-shirt. You will be cutting the sides of this shirt into a fringe, then tying them together. This will give the shirt a boho look as well as make it more fitted. A tight-fitting shirt is not recommended for this, as it may end up too tight.

Cut the sleeves, hem, and/or collar off, if desired. You don't have to do this, but it will give your shirt more character. While you can always save this step for last, it is much easier to do it now. Be careful of how much you cut off, however. It is easier to cut more off than to add fabric back. Listed below are some cutting ideas: Cut the collar off to complete the rugged look. Follow the original hem, or cut it lower on the front to create a scoop neck. Cut the entire bottom hem off if you need the shirt to be longer. Cut the sleeves off to make this a tank top. Be sure to cut along the original seam; you don't want that left on the shirt.

Cut the shirt apart at the side seams. Start cutting at the bottom hem and finish cutting at the armpit. For a neater finish, turn the shirt inside out and cut out the entire seam. Make sure that you turn it right-side out when you are done. If you want to turn this into a tank top, cut the sleeves off as well. Make sure that you cut off the entire seam.
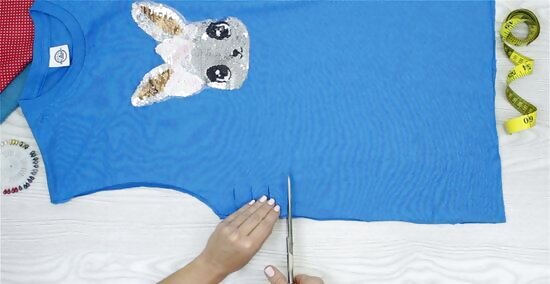
Cut a fringe into the side of the shirt. Set the shirt down onto a flat surface and smooth out any wrinkles. Use a sharp pair of fabric scissors to cut a fringe into each side of the shirt. #* Make the fringe about ½-inch (1.27-centimeterS) wide and 1 to 2 inches (2.54 to 5.08 centimeters) deep. Make sure that you are cutting through both layers of fabric, otherwise the next step won't work.
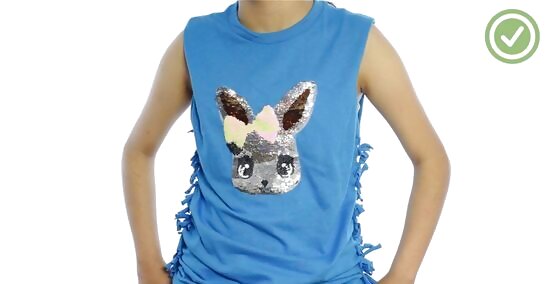
Tie the front fringe to the back fringe. Starting at the bottom, left side of the shirt, tie the first tassel to the matching one on the back. Use a tight, double-knot for this. Work your way up the shirt until you reach the armpit. Repeat this step for the back. If the tassels are too short, try tugging on them first. If that doesn't help, cut them longer.
Peek-a-Boo Tank Top Shirt

Get a fitted t-shirt. In this style, the bottom hem is left intact. The sleeves are cut off, and the side seam is split open. This slit will open the shirt up, so a baggy t-shirt is not recommended for this.
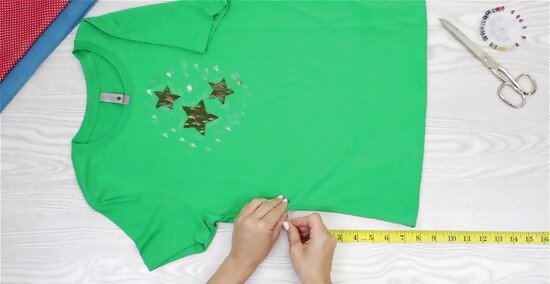
Make a mark 4 to 6 inches (10.16 to 15.25 centimeters) above the bottom hem. You can make the mark with a pen or use a sewing pin instead. You only need to do this for one side of the shirt.
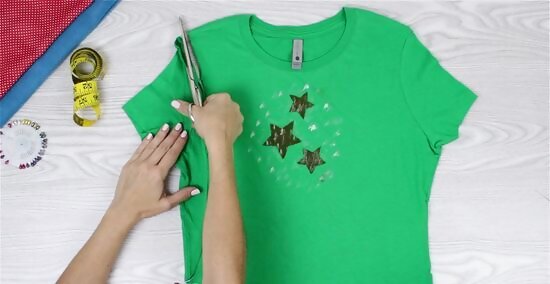
Cut along the side of the shirt, from shoulder to mark. Begin cutting at the top shoulder, just inside the seam. Angle the cut down towards the mark/sewing pin. Make sure that you are cutting the entire sleeve off, seams included.
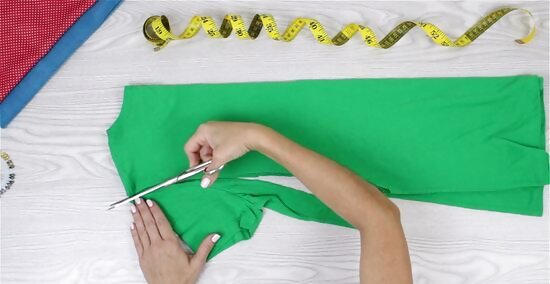
Fold and cut the other side of the shirt. Fold the shirt in half, so that the cut side is on top. Use the cut side as a guide for cutting the other side of the shirt. If you want to, you can trace the cut side first, then cut it.
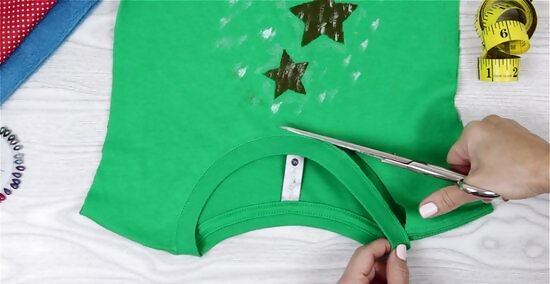
Cut the collar off, if desired. You don't have to do this, but it will help give the shirt that rough look. Simply cut along the collar, just below the stitching. You can also cut the shirt 1 to 2 inches (2.54 to 5.08 centimeters) past the collar on the front to make it a scoop neck, if you prefer.

Seal the cut seams, if desired. T-shirt material does not fray, so you do not need to hem it. The cut seams may unravel, however. You can keep this from happening by sewing a few stitches at the top shoulder and bottom side seam with a needle and thread. If you don't know how to sew, use a drop of fabric glue instead. If you cut the collar off, you may want to seal the seams on the inner shoulder as well.
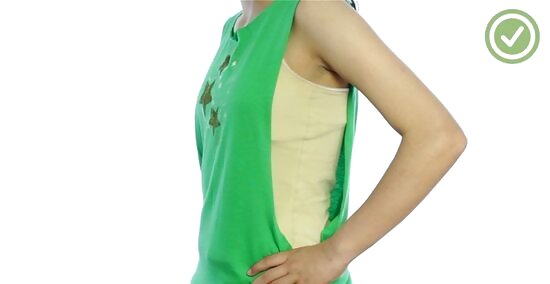
Gently tug on the shirt lengthwise. You will need to do this for each cut side of the shirt. This will cause the cut hems to stretch and curl inwards. It will give a cleaner look and hide any unevenness.




Comments
0 comment