views
Making Edible Glitter

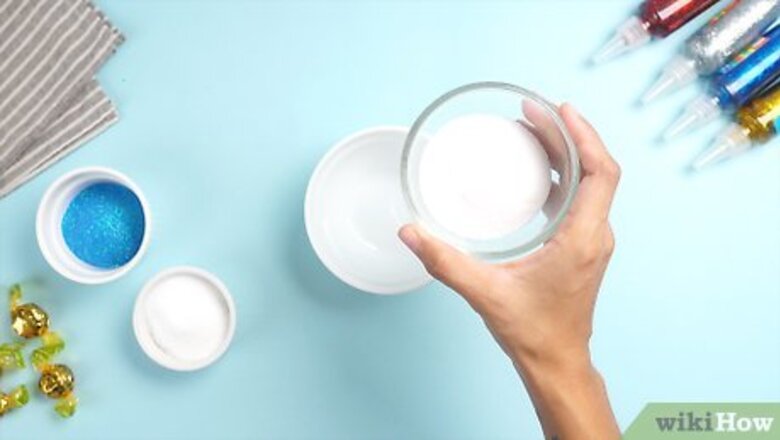
Put salt in a closable container. You can use table salt, sea salt, or any other kind of white or colorless salt. Place the salt in zip-locked bags or containers with a sealed lid. Use one container for each color of glitter. Use an amount of salt equivalent to the amount of glitter that you want. There are no other ingredients besides food coloring, so the amount you start with will be the amount of glitter you get. For a sweeter glitter, you can try using granulated white sugar instead. There's a risk that sugar might melt into a syrup, which will not happen with salt.

Mix in food coloring. Add one drop of food coloring, then seal the container and shake vigorously. Repeat until you get the color you want. If you're using a zip-locked bag, lay it on the counter and knead it to distribute the color.

Spread the mixture out on a baking sheet. Spread the glitter onto a baking sheet in a thin, even layer. If you're using sugar, cover the baking sheet with parchment paper first. This makes cleanup easier if the sugar melts.

Heat in the oven. Preheat the oven to 350ºF (175ºC). Place the tray inside and heat for about 10 minutes. The glitter is ready once the salt is dry again. If using sugar, preheat it to 300ºF (150ºC) instead. This should stop it melting, but keep a close eye on it if your oven runs hot. You can just leave the tray out overnight to dry. Make sure it is out of reach of pets and young children.
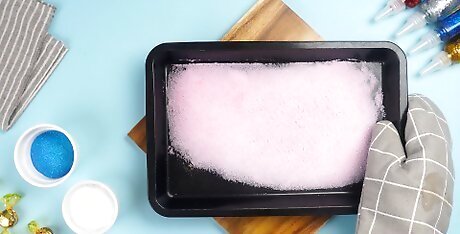
Let the glitter cool. Turn off the oven and put on an oven mitt. Take out the tray and place it on a heat-safe surface. Let cool for about one hour, or until glitter has reached room temperature. Store in a sealed container or salt shaker until you're ready to decorate your food. If the salt has clumped together, break it up with a spoon.
Making Paper Glitter

Collect or make shiny paper. Here are two ways to get the shiny paper you need: Collect and wash brightly-colored sweet wrappers or gift wrapping paper. You can also lay sheets of tissue paper out over newspaper, and cover completely with clear nail varnish or clear-drying glue. Wait until dry, then repeat until there are two coats on each side of the paper.

Cut with scissors. Place two or more wrappers on top of each other, as many as you can still easily cut with your scissors. Cut it into thin horizontal strips, leaving the last edge intact so the paper is still in one piece. Rotate 90º and cut into strips in the other direction. You'll end up with tiny squares of glitter confetti. Store in a closed container, or attach to craft projects with glue.

Cut shapes with a hole punch. Alternatively, you can stick a few sheets of paper into a hole punch and press down to turn it into small pieces. This method is faster, but tends to waste some paper by tearing it or sending it flying across the room. You can get special hole punches that cut your paper into hearts, stars, or other shapes.







Comments
0 comment