views
Spray Painting PVC
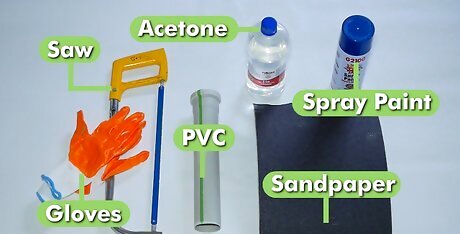
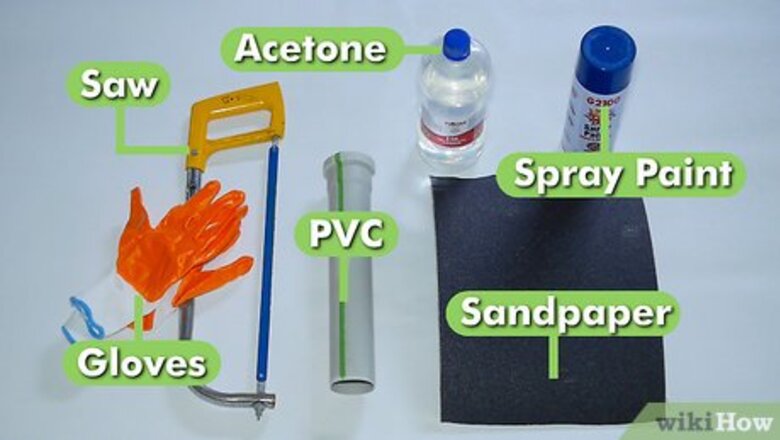
Gather your materials. For a basic PVC paint job, you'll need a large sheet of high-grit sandpaper, a small container of acetone, a clean washcloth, one or more cans of spray paint in your chosen color and the PVC you wish to paint. Make sure you have everything you need before you begin painting. Practice proper workshop safety. Wear gloves, protective eyewear and a ventilated facemask to filter out dust and chemicals. Choose a spray paint that's specially formulated for use on plastics, such as Krylon Fusion or Rust-Oleum Plastic.
Prepare your work area. Lay down a large dropcloth or plastic tarp where you plan to do your painting. Keep all furniture and nearby appliances and electronics covered. Remember to work in a space that permits proper airflow, like a garage or workshop with the doors and windows open. Work in a well-ventilated, open space. This will not only help the paint dry faster but keep you from being exposed to harmful acetone and paint fumes. Spray paint tends to disperse when it's applied, so a dropcloth will be useful for protecting floors, countertops and other work surfaces. If you don't have access to a dropcloth, you could also use a few overlapping sheets of newspaper.
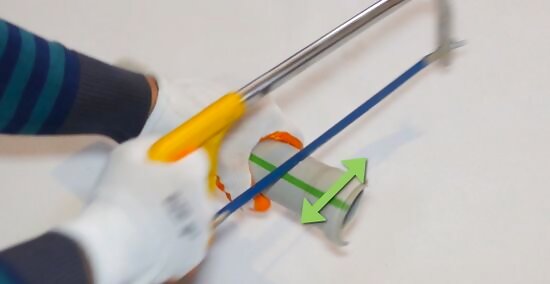
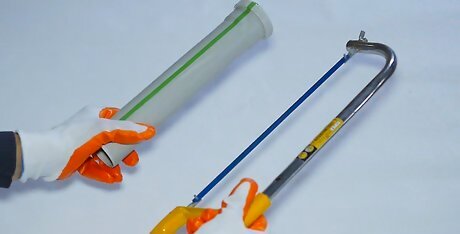
Measure and cut the PVC for its intended use. The PVC should already be the right size and shape for the project you have planned. Take care of any necessary measuring, cutting and assembling in advance. That way, all you'll have to do is add a custom color and install. If the PVC you're painting needs to be fitted with elbow corners, for instance, they should be in place prior to sanding and painting.
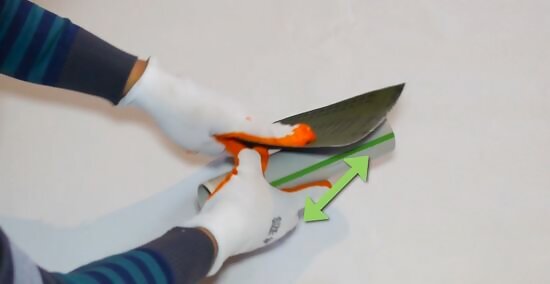
Sand the outside of the PVC. Go over the outer surface of the PVC with a high-grit sandpaper. The most efficient way to do this is to place the sheet of sandpaper in your palm and wrap your whole hand around the pipe. You can then scour the PVC from one end to the other with a wrapping motion to achieve a uniform finish. Avoid over-sanding the PVC, as this can result in walls of inconsistent thicknesses that may wear out at a faster rate. A fine sandpaper with a grit of 220 or higher is recommended.

Treat the PVC with acetone. Place the corner of a clean, dry cloth over the mouth of an upturned bottle of acetone to dampen it. Then, wipe the acetone over the sanded PVC. You don't need to use a lot—just enough to prepare the surface of the PVC for painting. Wiping the PVC will help remove any loose grit left over from sanding. The acetone will also cause the plastic to expand and become more porous, allowing it to hold paint better.
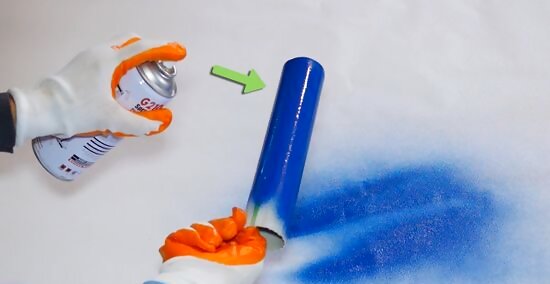
Apply multiple coats of spray paint. Using slow, steady strokes, spray a light mist of paint down the length of the PVC pipe, making each pass as light as possible to prevent drips or runs. After you've painted one edge of the PVC, rotate it to paint the other side. Aim for a smooth, even finish free of bald spots and defects. Continue applying additional coats until you reach the desired depth of color. Let the paint dry for 20 to 30 minutes between coats.
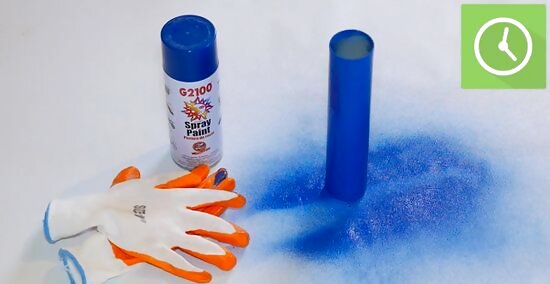
Allow the painted PVC to dry. Once you've achieved the color and coverage you want, set the PVC aside and let it begin to set. Painted PVC will require 24 hours or more to dry to the touch. The paint should be sufficiently cured to withstand heat, pressure and scratches before being used in household or construction projects. If you plan on using the PVC for especially messy or heavy-duty jobs, it may need to cure for as long as one 20-30 days.
Painting PVC by Hand

Sand the PVC to prepare it for painting. Scour the entire area of the PVC pipe to roughen up the slick exterior. This will help color settle into the plastic more easily. Use a consistent pressure and stroke length to get an even finish. Think twice before using an electric sander. This can shave away too much of the PVC.
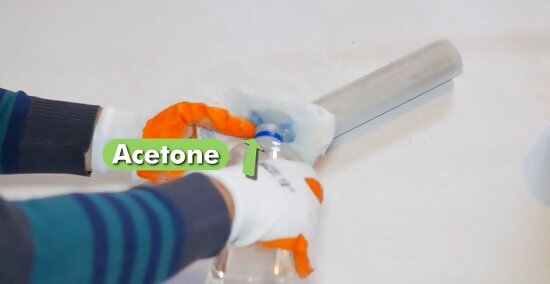
Wipe the PVC down with acetone. Clear away as much dust and grit as you can. Let the acetone dry for 20-30 minutes. Be sure to wear gloves and work in a well-ventilated space during this part. Rewet the cloth as needed to cover the area you sanded. Try not to oversaturate the PVC. Too much acetone may eat away at the plastic, weakening its structure.
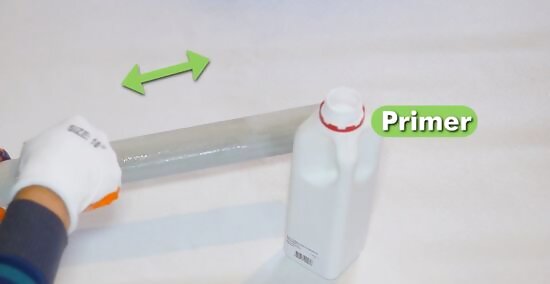
Apply a base coat of primer. Brush on a light layer of primer, working lengthwise from end to end. Primer is indispensable for encouraging paint to stick to surfaces that are otherwise too smooth to hold it. A single coat should be enough to do the trick. Look for primer in a basic matte white. This will be versatile enough to make any shade of paint show up clearly and vividly.
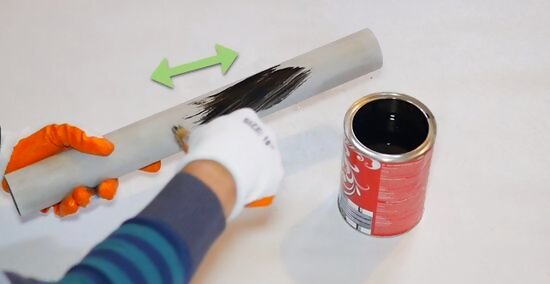
Brush on the first coat of paint. Once again, apply the paint in long, smooth strokes from one end to the other, the same way you did the primer. Turn the PVC as you go, painting overlapping stripes until you you've covered every edge. Use a small, soft-bristled brush not much wider than the pipe. Look for paints that will mimic the waterproofing effect of PVC, like a semigloss satin, latex or acrylic.
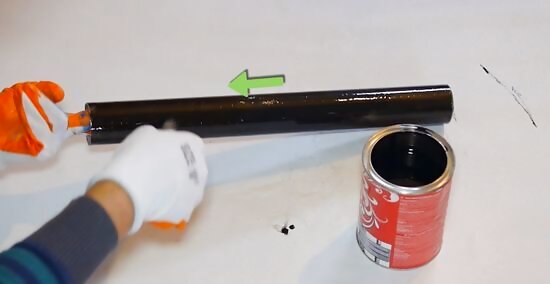
Use additional coats as needed. You may need to layer on multiple coats before the color really starts to show. The color will darken and deepen with each subsequent coat. When you're done, leave the PVC to dry for 24-48 hours. Afterwards, you'll have a vibrant, resilient section of plastic piping to put to use in just about any project imaginable! Most paint jobs will require an average of 2-3 separate coats. Be careful not to apply the paint so heavily that it creates visible drips.




Comments
0 comment