
Bags of Love seeks to give each of these children some personal items such as toiletries, a blanket and a few toys to call their own. Hence the name "It's My Very Own" or "Bags of Love". It's My Very Own and Bags of Love have local Chapters––groups of citizens who make the bags, fill the bags with age appropriate necessities, and deliver those bags to social service agencies for distribution to children in need. This article gives basic instructions for construction of the bags.
Measuring and Cutting the Fabric for the Bag

Understand the pattern of the bag. This article will show you how to make a simple and serviceable bag. It will have one main pocket and one small pocket at the front of the bag. You will learn how to add a handle to this bag and fasten the main pocket with a drawstring. Note: You can change the size of the bag and its handle as per your choice and material at hand. One way to determine the size of the fabric is by roughly understand the size of the items you intend to fit inside the bag. You can increases the size of the fabric by about 5inches more than the objects size.
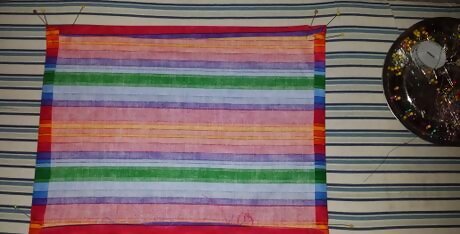
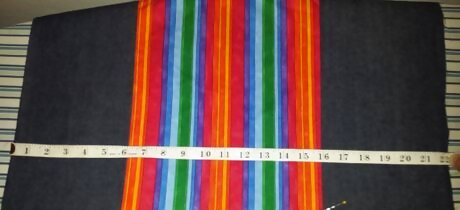
Cut the fabric for the main pocket. Measure and cut the sturdy fabric into four pieces, as follows: Two rectangles measuring 22 inches by 29 inches (56cm x 73.5cm). The 22 inches is for the horizontal measurement and 29 is vertical. One rectangle measuring 11 inches by 14 inches (28cm x 33cm). Eleven inches will be the horizontal measurement.
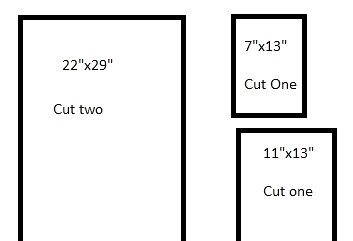
Cut the fabric for the small front pocket. Cut a small rectangular piece measuring 7 inches by 14 inches (18cm x 33cm).Bag pieces.jpg
Prepare for the handle. Cut a five foot long (152cm) length of sturdy twine or cordage. Prevent fraying by either tying the ends. In case of a nylon type rope, you may melt the ends in a flame to prevent their fraying.
Making the Outside Pocket and Flap
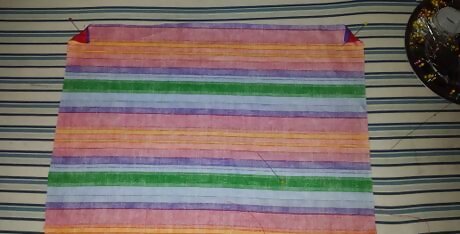
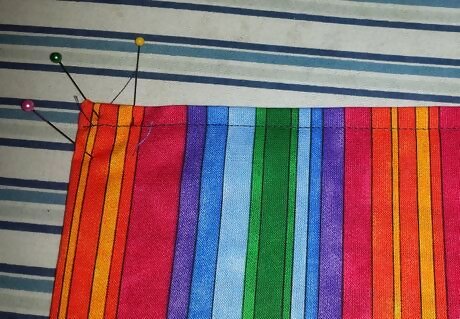
Fold (miter) each of the corners of the 11 x 14 inches (28cm x 33cm) rectangle. Pin or baste in place.
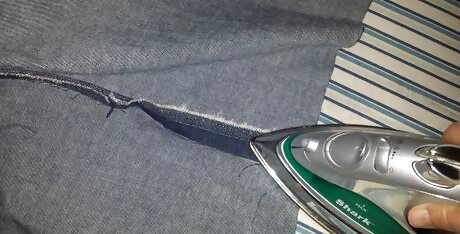
Fold all four edges under approximately 1/2 inch (1.27cm) to the back or 'wrong' side of the pocket. Pin or baste in place. If the fabric is particularly slippery, you may also wish to press or starch the folded edges with a hot iron.
Top stitch one of the narrow ends to hold the folded edge down. This top stitched edge will be the top edge of the pocket.
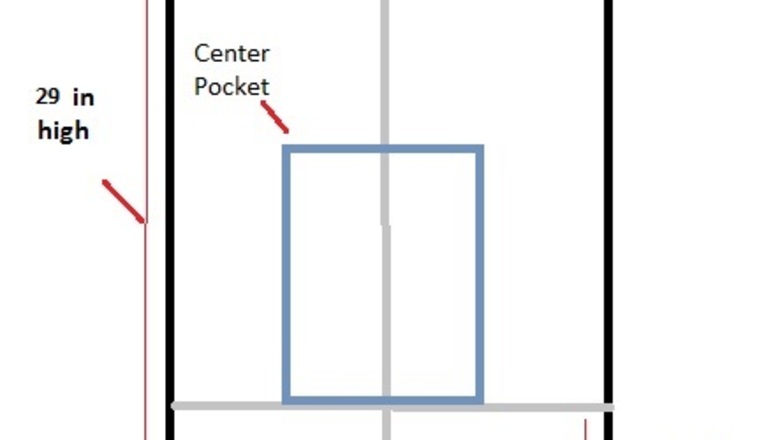
Find the vertical center of one of the large rectangles. Do this by folding the rectangle "hot dog" style, so that the two long edges lie parallel and together. Use pins or tailors chalk to mark the center line.
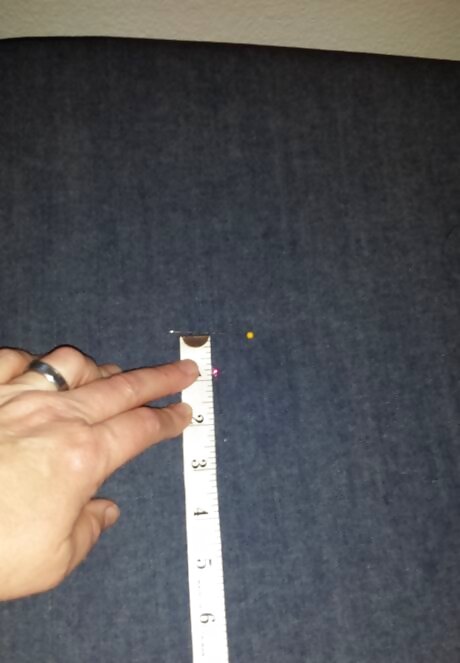
Open the fold you just made to find center. Measure up along the center line from the short edge. Mark the 7 inch (18cm) point with pins or chalk.
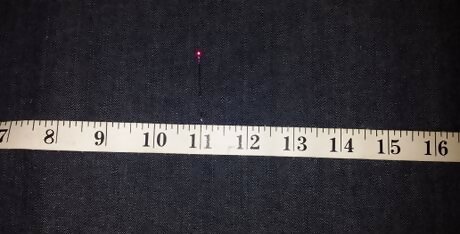
Measure out 5 inches (12.5cm) on either side of the center line and 7 inches (18cm) up from the bottom of the rectangle. These three points will make the lines on which you need to place the pocket.
Place the basted pocket, wrong or "back" side to the right or 'top' side of the pocket. Take care to place the top stitched edge up.
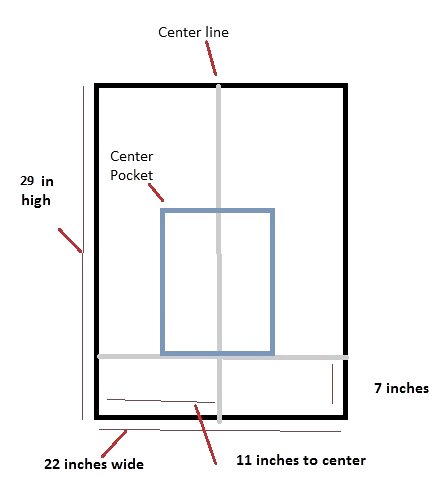
Center the bottom of the pocket over the center line and just above the pins marking 7 inches (18cm) from the bottom.
Pin or baste the pocket in place for top stitching.
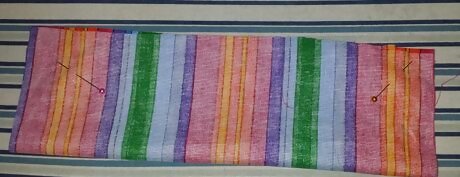
Now for the flap. Fold the 13 x 7 inches (33cm x 18cm) rectangle with right sides together. Fold it "hot dog" style, so that you create a 13 x 3.5 inch (33cm x 9cm) rectangle.
Sew the raw edges together, leaving gap in the seam so you can turn it "right" side out when done.
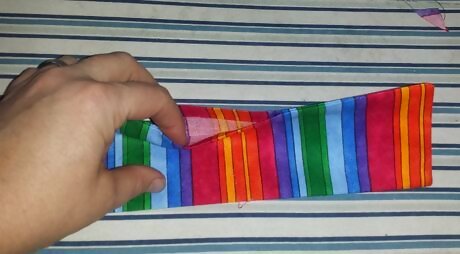
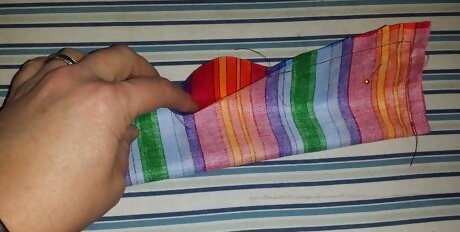
Trim the corners and turn it right side out and pin the opening closed.
Place the flap over the top edge of the pocket and pin into place. About half of the flap should overlap the top edge of the pocket.
Top stitch the pocket and pocket flap to the bag. (This pocket measures 10 x 12 inches (25cm x 30cm) when finished, a good size for some children's books or a notebook.) Note that if you place the folded edge of the flap down over the pocket, that the opening left for “turning right side out” will be stitched closed as you top stitch the flap to the bag.
Creating a Casing and Adding the Drawstrings
At the top opening, pick one of your side seams to be the opening for your drawstring. Stitch the seam allowances flat on either side of this to hold them down and out of the way when your drawstring is pulled through.
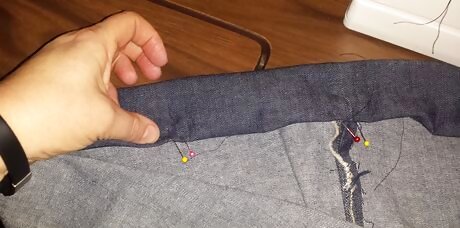
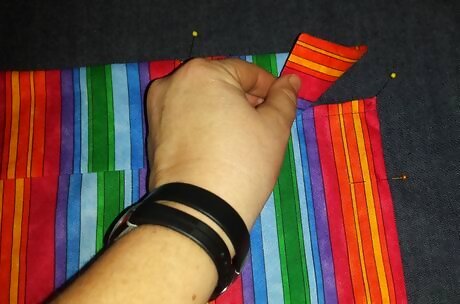
Fold over the top edge of the bag sides by two inches (5cm). Be sure that the "right" side (patterned side) of the fabric is facing the outside of the bag. Pin or baste in place.
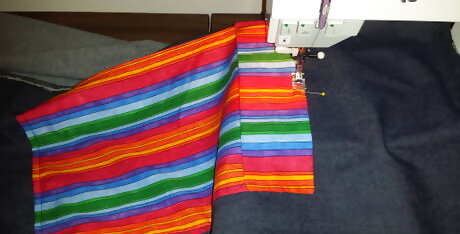
Sew the 2 inch (5cm) flap down to create the rope channel.
Trim all loose threads and turn the bag "right" side out.
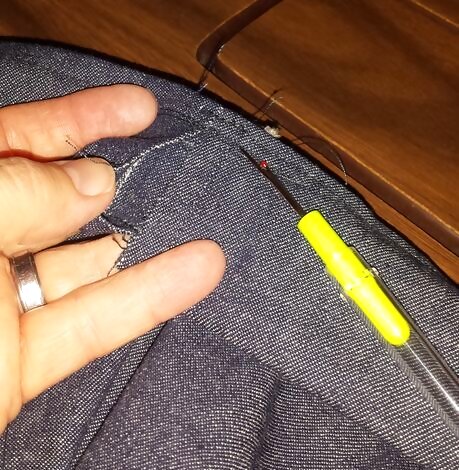
Use a seam ripper tool to open the rope channel at one side of the bag and pass the cordage through. Tie or sew ends of the cordage to create a loop. (Prevents the cord from getting lost or pulled out of the channel.)
Completing and Delivering
Decorate the bag if you wish. Just keep in mind that bags intended for small children should be devoid of anything which they could tear off and swallow. (Fabric paints are a good alternative.)

Deliver your Bag of Love to the nearest Chapter for use. Enjoy the feeling of accomplishment and goodwill you have created with your simple act of generosity.


Comments
0 comment