views
Disabling the Control Lock
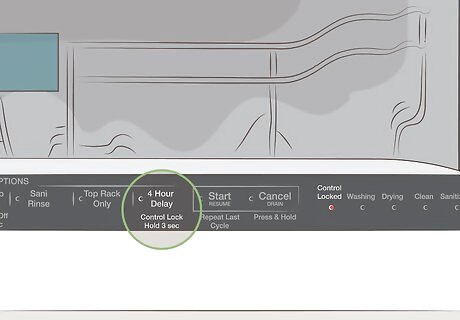
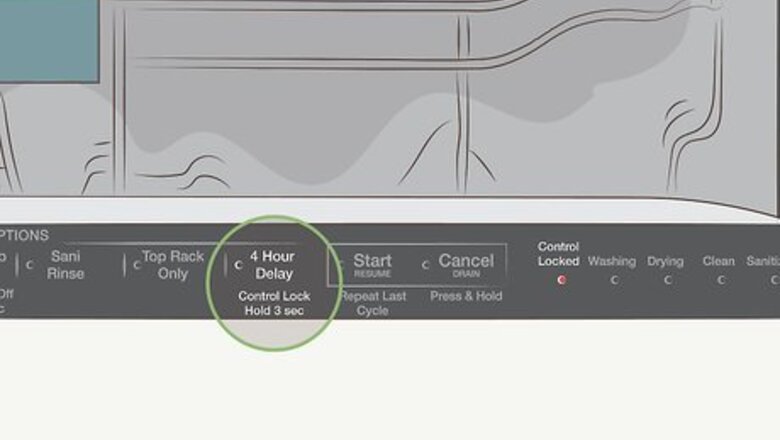
Find the control lock button on the dishwasher’s keypad. The button responsible for the control lock varies from model to model. Many Kitchenaid dishwashers have a separate button labeled “Control Lock.” If yours doesn’t have this button, check the 4 Hour Delay button for the words “Control Lock” printed underneath it. These buttons will either be above or on top of the door, depending on the dishwasher model. Some other buttons to try include “Proscrub Upper” and “Bottle Wash” if your dishwasher has them. Mostly, though, Kitchenaid dishwashers use a control or delay button. If you’re not sure what button controls the lock, refer to the owner’s manual if you still have it. You could also search your dishwasher’s model number online for more information.
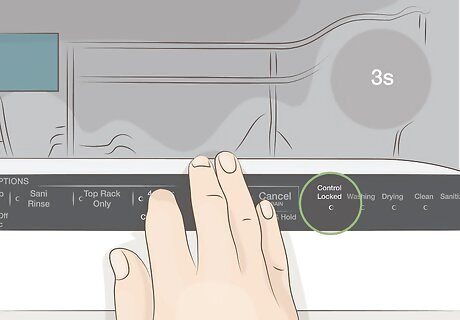
Hold the lock button for 3 seconds to unlock the control panel. Keep an eye on the red control light next to the buttons on the control panel. The light may blink 3 times before it turns off. It just means your attempt was a success! Once the light turns off, you can set the dishwasher for a new wash cycle like you normally would. If you aren’t sure which button controls the lock, try them all in succession. Hold each one down for at least 3 seconds to see if the control light responds. If one button doesn’t work, try the next one. If you’re certain you pressed the correct button but the lock still doesn’t disengage, you may need to reset the control panel or call a technician to repair your dishwasher.
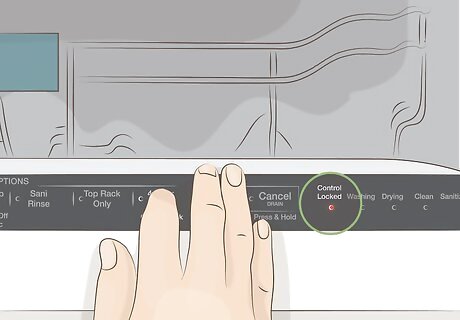
Lock the dishwasher by pressing the control button for 3 seconds. Use the control lock, 4 Hour Delay, or whatever button you used to disengage the lock. Hold it down until the red light labeled “Control Locked” blinks on. This means that the controls are locked, so you won’t be able to change wash cycle settings while the dishwasher is operational. The control lock is useful for preventing anyone from changing the dishwasher settings during a wash cycle. However, it can also be easy to engage by accident. When you’re ready to disengage the lock again, hold down the corresponding control lock button.
Rebooting and Resetting the Controls
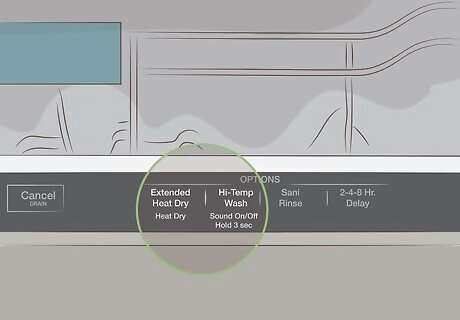
Locate the wash and dry buttons on the control panel. The control panel is above or on the upper edge of the dishwasher door. The available buttons differ from model to model, so read the labels carefully. Look for a “Hi Temp” scrub or wash button. Then, find a button labeled “Heated Dry,” “Energy Saver Dry,” or “Air Dry.” Check the owner’s manual if you aren’t familiar with the controls. Kitchenaid dishwashers often have a single wash and dry button, so finding them doesn’t get too confusing. If your machine has a rinse, delay, or option buttons, ignore them during the reset.
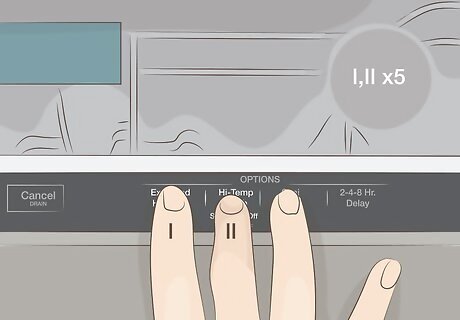
Alternate pressing the wash and dry buttons 5 times. Start with the high temperature wash button. Press it, then move over to the dry button. Push it once before attempting to press the wash button again. Repeat this until the dishwasher’s diagnostic mode activates. If you accidentally press another button, start over from the beginning. The wash and dry buttons have to be pushed consecutively. Although you don’t have to move at an extremely fast pace, don’t wait too long. Press one button after the other to ensure the dishwasher responds to the input.
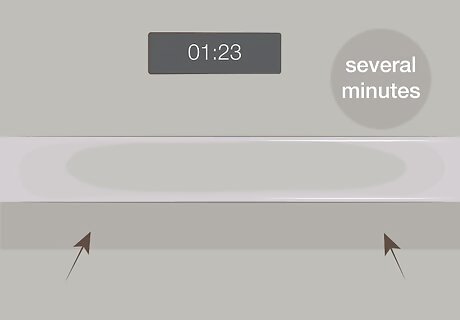
Let the dishwasher run once you hear it activate. Watch for the lock and other display lights on the control panel to blink and turn off. As the dishwasher goes into diagnostic mode, it begins rebooting. Expect to hear various parts, including the rinse arms and heating element, activate. Leave the dishwasher alone for several minutes until it stops running. The sounds are from the dishwasher’s software checking all of the components. Don’t try to open the door or mess with the controls at this time. Once it finishes, the lock light should stay off.
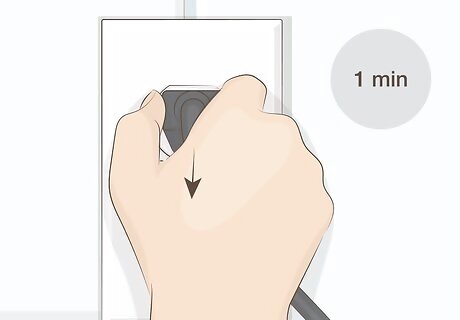
Unplug the dishwasher for 1 minute if you still can’t unlock it. Pull the power cord out from the wall and wait. If you can’t access the power cord, you could also go to your home’s fuse box or circuit breaker, which is typically hidden on the lower floor. Flip the switch controlling power to your kitchen and dishwasher. After 1 minute passes, reactivate the power and try to run your dishwasher again. The fuse box or circuit breaker is often in the basement or garage. It could also be hidden in a closet or another out of the way spot. The fuse box and circuit breaker switches are usually labeled. If they aren’t labeled, you could flip different switches until you find the one controlling your kitchen. Otherwise, use the big, main switch to shut off your home’s electricity. If the door and control panel still don’t unlock after this, your dishwasher most likely has a defective circuit board. Call a repair technician for more advice.
Removing a Locked Rinse Aid Cap
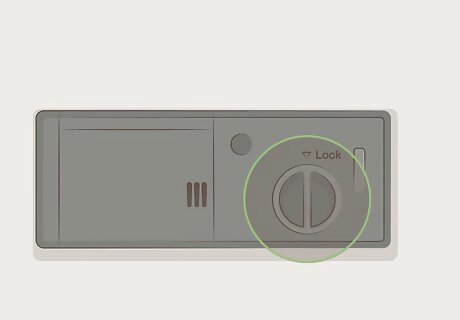
Locate the cap next to the detergent tray inside the front door. Lower the dishwasher door all the way down. The dispenser panel will either be in the center of the door or to one side. Look for a round cap next to a separate opening meant to hold dishwashing detergent. The cap is used to hold and dispense a liquid rinse aid during a wash cycle. A rinse aid is a liquid that causes water to dry more quickly and evenly from dishes. It’s useful if your area receives hard water, which is water with a lot of minerals like calcium in it. The minerals leave water spots on your dishes. Some Kitchenaid dishwashers also have a gauge that tells you how full the rinse aid dispenser is. The gauge will either be near the dispenser or the control panel.
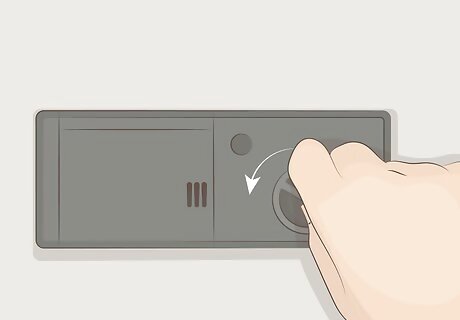
Rotate the cap counterclockwise if the rinse aid chamber locks. A locking rinse aid chamber looks a lot like a dial. Initially, the cap on the dispenser will point toward the word “lock” printed above it. Give the cap a ¼ turn counterclockwise to unlock it. Then, lift it off the door so you can fill the dispenser. Be gentle with the cap and don’t try to force it out. If it doesn’t unlock right away, keep rotating it until it comes loose.
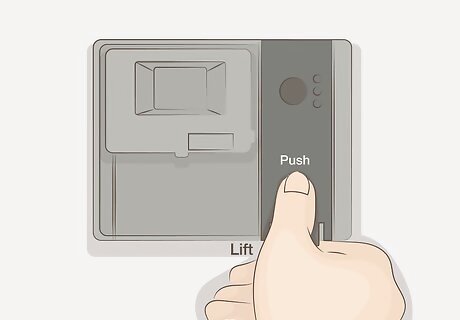
Pull the lid out by hand if it doesn’t have a clear locking mechanism. Some Kitchenaid dishwashers have a different type of cap that fits over the dispenser. To open it, gently push the center of the cap down with your thumb. While pushing, pry up the edges with your other fingers. Take the cap out to add a rinse aid to the dishwasher. Dishwashers with this style of rinse aid don’t have locks. If you don’t see the word lock or a ridged cap inside the dishwasher, then you most likely have this style.
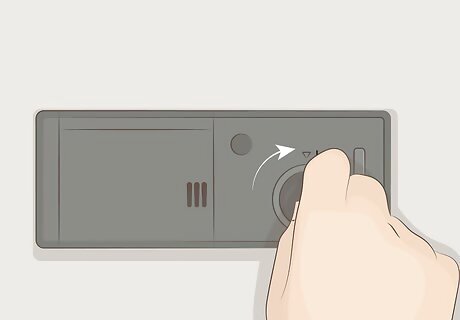
Replace the cap and turn it clockwise to lock it again. Do the opposite of what you did to remove the cap. If it has a lock, place it in the dispenser opening and give it a ¼ turn clockwise. Make sure the ridge along the cap’s center points to the word “lock” printed above the dispenser. If it doesn’t have a lock, push it into the opening until it is firmly in place. Make sure the cap is tightly in place before operating the dishwasher or else it could come off and let the rinse aid leak everywhere.
Detaching the Locked Filter
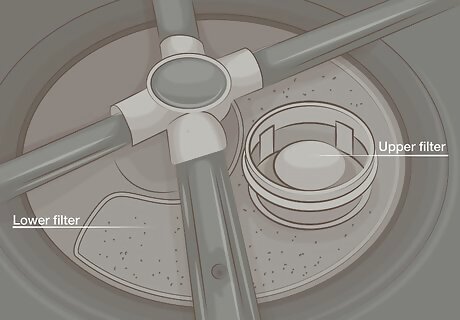
Open the door to find the filter on the dishwasher's floor. The filter is underneath the water spraying arms on the dishwasher’s floor. Look for an open cylinder plugged into the bottom of the appliance. It is usually colored black or gray. The opening is pretty wide and there isn’t anything similar to it on the dishwasher’s floor. If you’re unsure about the location, refer to the owner’s manual. For the most part, the filter is pretty easy noticeable even without a reference guide.
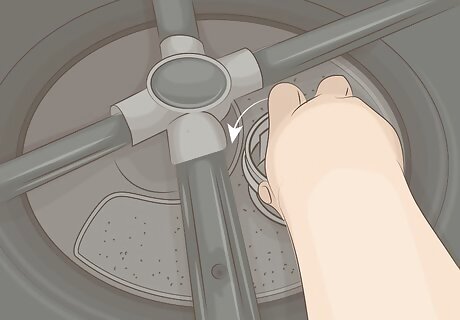
Turn the upper filter counterclockwise to unlock it. The filter consists of 2 parts, and the upper spout locks into the base below it. Give it a ¼ turn counterclockwise to detach it from the lower part. This will allow you to lift it out of the dishwasher. Remember to avoid forcing the filter out. If it doesn’t come off right away, keep rotating it until it becomes loose enough to remove.
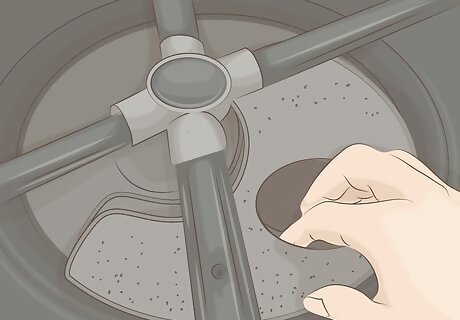
Pull the lower part out of the dishwasher to remove it. The lower half of the filter isn’t locked in place, so all you have to do is lift it by hand. Stick your fingers inside the central opening where the upper half was. Gently begin lifting it up. You won’t be able to lift it all the way out of the hole at first, so pull it toward you to separate it from the dishwasher floor. To clean the filter, move it to your sink. Rinse it off with warm water, but don’t attempt to scrub it. Wire brushes, scouring pads, and other devices could crack the delicate plastic.
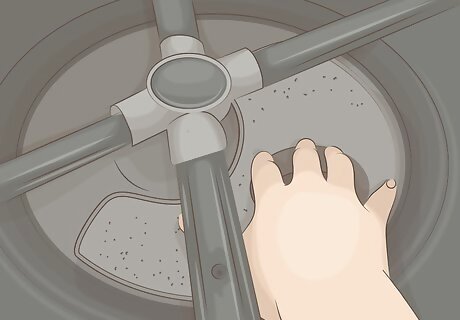
Return the lower filter to the dishwasher after you have washed it. Push the filter into the opening on the dishwasher floor. There are tabs around the opening that will lock it in place once you get it all the way in the hole. Make sure the filter’s opening aligns with the one at the bottom of the dishwasher or else the upper filter won’t be able to drain properly. Clean this filter half with warm water in the sink. Make sure you get any grime on it before reinstalling it. If you can’t get everything off with water, use a soft kitchen brush or old toothbrush to gently scrub it clean.
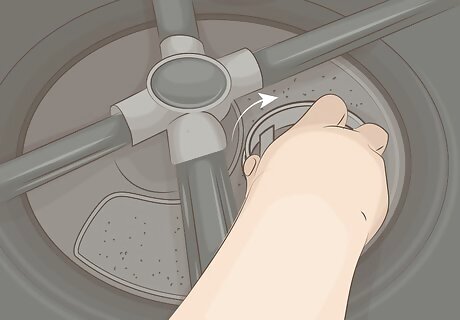
Place the upper filter inside the lower one and turn it clockwise. Once you have it in place, rotate it clockwise until it locks into place. It usually requires ¼ of a turn, but check it by attempting to rotate it beyond that. Keep turning it until it stays in place. If the filter isn’t locked in place, it will continue moving when you turn it. Just keep turning it clockwise until it stops moving. It has to be locked down or else it could come loose and damage your dishwasher during a wash cycle.




Comments
0 comment