views
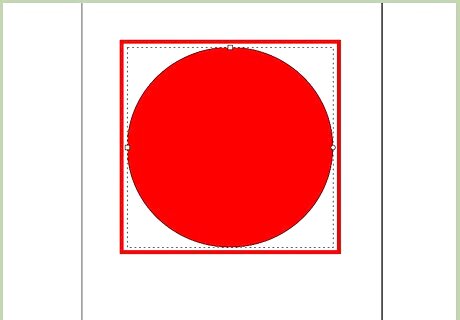
Create a shape to work with. Maybe a circle, for practicing commands.
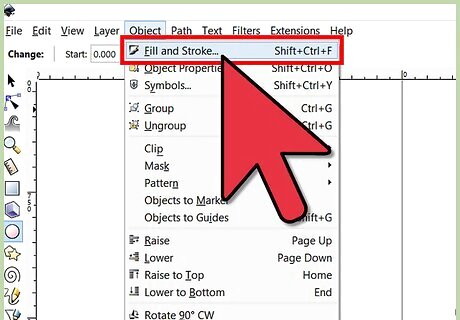
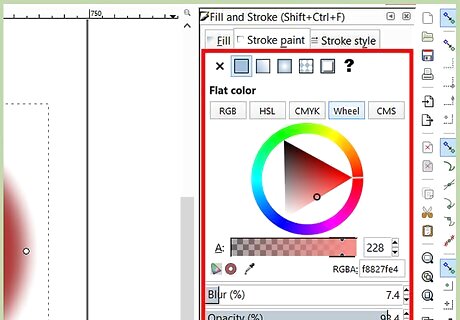
Open the Fill and Stroke dialog box by selecting Object >> Fill and Stroke... (alternatively, Shift + CTRL + F).
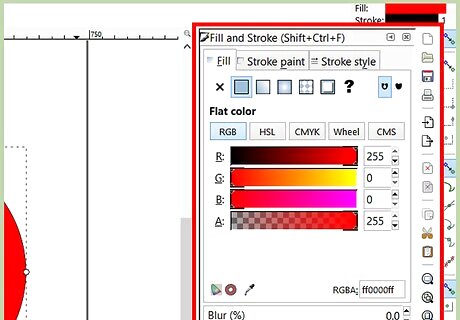
Unless you have moved it, look to the right of your screen. That is where it will come up.
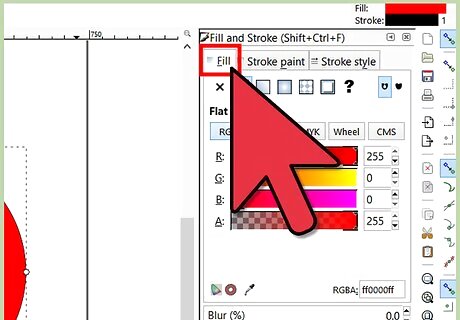
Make sure your shape is selected, then click on the Fill tab. This will bring up your Fill options. Immediately below the tab, you will see six icons and a question mark. They are: No Paint Flat Color Linear Gradient Radial Gradient Pattern Swatch Unset Paint (the question mark) This article will be using Flat Color
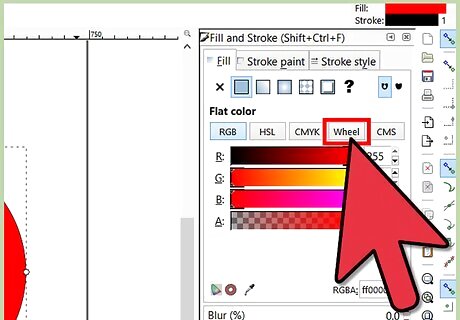
Check out the various color 'options'. Basically, they are different ways of looking at your color choices. For the purposes of this article, select the Wheel tab.
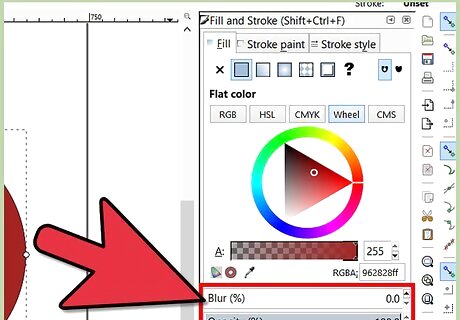
Experiment with the blur and opacity until you get something that appeals to you.
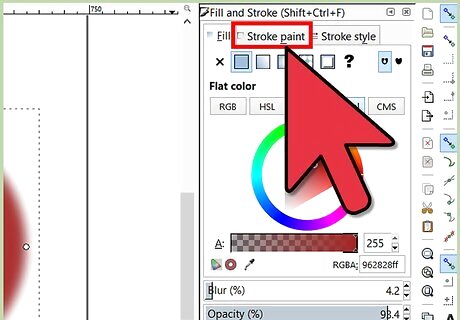
Select the Stroke paint tab. Colorwise, you will see the same choices you had with the Fill tab. The only difference is that they are applied to the outer stroke color.
Decide on how you want your border to look. Dashes, solid, invisible...just what are you looking for.
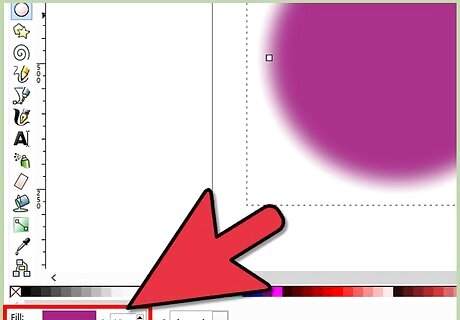
Learn the alternative way of changing the color of the Fill and Stroke. Look to the lower left of your screen. You should see a color palette and a status bar. In this screenshot, you see both of these dialogs. Turn them on, if you don't see them. Do this by clicking on View >> Show/Hide and make sure that there are checkmarks by their name. Select the one you want to change. You will see Fill and Stroke. Select the one that you want to change. Change the color in the palette. Slide the slider bar until you find the color you want to change it to. Alternatively, click and hold the mouse click on the one that you want to change. Scroll your mouse left and right until it looks like you want it.





Comments
0 comment