views
On a PC

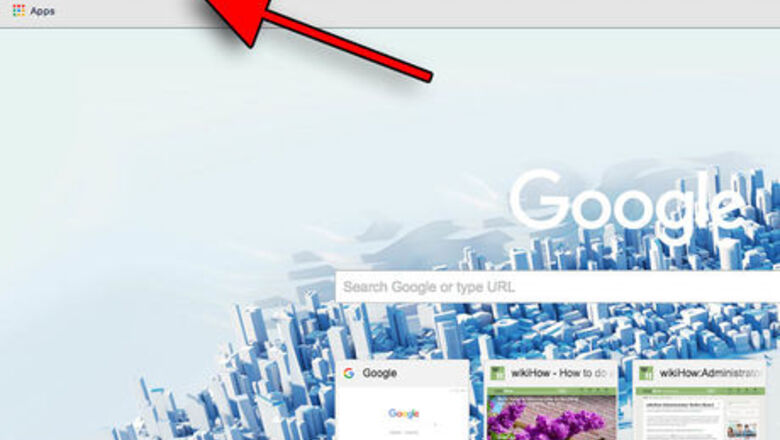
Access Weavesilk. The Weavesilk website is weavesilk.com. It's free to use, but it's not possible to access the website on mobile web browsers, and you'll have to have internet access on your computer to use it.
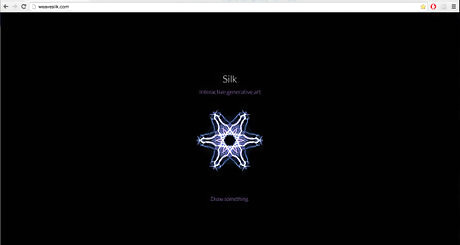
Start up Silk. You will start off on a screen with a small example thumbnail of what can be created with Silk. Click anywhere on the screen to start up Silk. You will automatically start on a new canvas.

Look for the menu. In the upper left-hand corner, there will be a small rectangular menu with the words "New" and "Share", and four symbols underneath it. This is important if you want to change up the settings of your creations. There are six options on the computer version's menu. You can hover over the icons to see what they do. The "New" button refreshes the canvas, giving you a blank canvas to draw on. You can also press Space to refresh the canvas. The "Share" button allows you to share your creation to social media. You can post it to Facebook, Twitter, Pinterest, or just send it to someone via email. The icon with four arrows is the Fullscreen icon and puts Silk into full-screen mode. The camera icon is for saving photos. On the computer, clicking this will download the image you have created to the file directory of your choice. The colored circle is the settings of your drawing, which includes the color you're drawing in. The rounded arrow is the Undo button. You can only undo your most recent edit to the program; pressing "Undo" twice will just put what you removed back in.
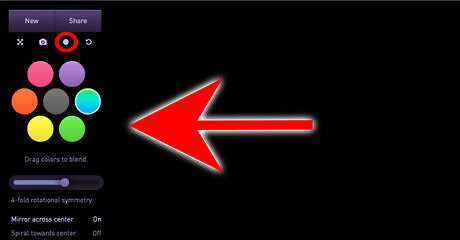
Change the settings of your drawing. To alter the settings of what you're drawing and get different results, click on the colored circle in the menu. This will bring up a list of things you can change. There are seven colors available to draw in - red, orange, yellow, green, blue, purple, and light gray (which shows up as black in the "color wheel"). You can select one color by clicking on it or draw in multiple colors by clicking and dragging one color into another. Dragging a color such as hot pink across to blue will give you two colors - hot pink and blue. Don't be afraid to experiment around and find the colors you like. To reset back to one color, click the color that you dragged. Rotational symmetry is how many "points" the program draws at a time. Having no rotational symmetry will just create one line; setting it to higher rotational symmetry will create multiple lines and permit for different creations to be made. "Mirror across center" will enable or disable whether what you draw will be reflected across the screen. If it's set to "On", your drawing will be reflected the same way on both sides from the center of the screen; setting it to "Off" will allow for non-parallel creations. "Spiral towards center" changes the way that the lines are drawn; as implied by the name, the lines drawn will spiral towards the center of the screen.

Draw. To begin drawing on Silk, click and hold your mouse button, or use the touchscreen if your computer has one. Experiment around with the settings, colors, and different motions to see what you like and what you want to save. Every time you click, the program will draw a new pattern. This way, you can't create the same drawing twice.

Save or share your drawing. If you really like what you've created on Silk, you can share your creation to social media, or download your newly-created picture to your computer. To share your creation, click on the "Share" button and select the social media site that you want to share your Silk drawing with. If you share it to Facebook, Twitter, or Pinterest, you'll be brought to the page of the respective social media site so you can add a caption before posting; if you choose to email it, you will be redirected to your email account and be able to choose who to send it to. You can also simply copy a link to your creation.Sharing options.jpg To save your creation, click on the "Save Photo" icon, which is the picture of the camera. A thumbnail of your image will pop up; right-click it and click "Save image as...". You'll be asked which file directory you want to save your image to - simply select the one you want and hit "OK" to save your photo.Save ws image as.jpg
On a Mobile Device
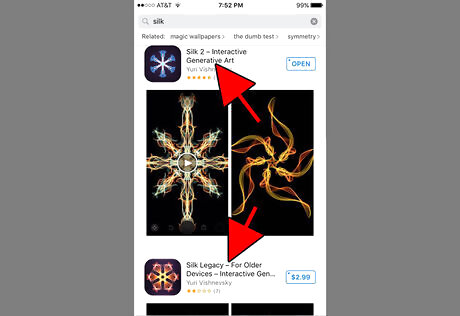
Purchase Silk from the App Store. There are two versions of the Silk app - one is called Silk, and the other is called Silk Legacy, the latter of which is meant for older devices. Both cost $2.99 on the App Store. There is a version of Silk on the Google Play store called Silk Art, but the settings cannot be changed like they can in the iOS versions.
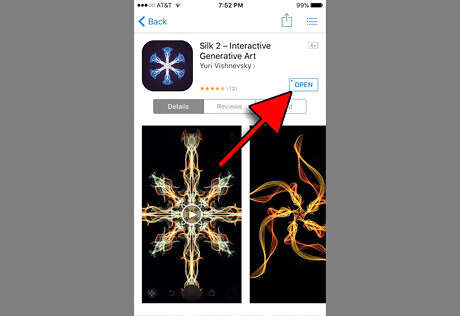
Open Silk. Once you've purchased the app and it's finished downloading, find it and tap on the icon to open it. You can also open it via the App Store on an iOS device.
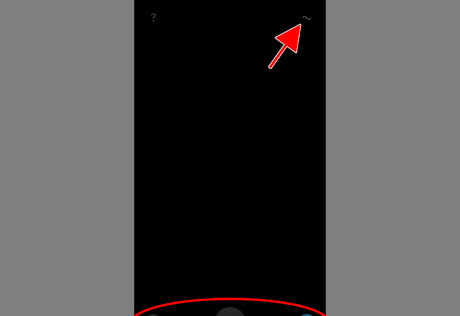
Familiarize yourself with the menu. Especially if you've only used the PC version of Silk before, the menu can be very hard to orient to. Take some time to get used to the menu. The button with the rotating rectangles is the tool being used to create your drawing. The curved arrow is the Undo button. You can undo as many times as you wish; tapping Undo will cause a Redo button to appear above the Undo button. The black button centered between all of the options clears the canvas. You can also tap three fingers to the screen to clear the canvas. The square with the upwards arrow is the button to share or save your creations. The colored circle represents the color(s) that are currently selected. The line in the upper right-hand corner is the "effect" that occurs when drawing the line. You can draw straight lines, create a colored hue in the background, or draw more curved lines - or draw lines while making hues! The intensity can be adjusted by a slider on the right-hand side of the screen. The question mark is attribution information.
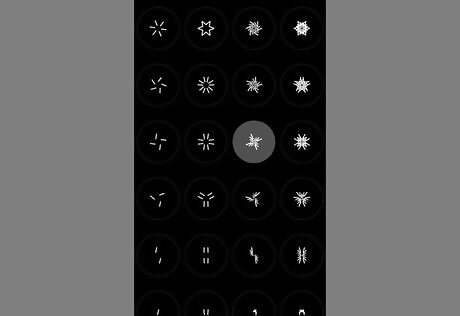
Alter the type of drawing you're making. Unlike the computer version of Silk, you have more control over what kinds of patterns you draw. Tap on the button with the rotating rectangles, and a menu will come up. Select the pattern that you want to draw in. You can only draw in one pattern at a time, but it's possible to draw in one pattern, change to a different pattern, and then draw in your newly-selected pattern. This allows for more unique designs. The asterisk at the bottom of the menu can be tapped on to enable the ability to draw on different parts of the screen, as opposed to just the center. Tap again to turn it off.
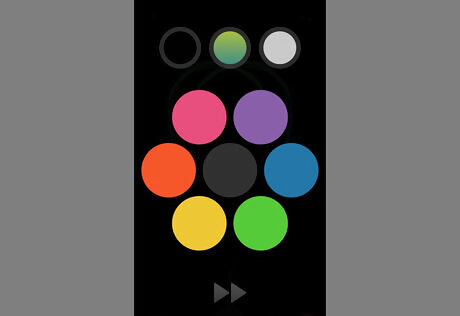
Change the colors of your creation. Aside from the original seven-color color wheel (which has red, orange, yellow, green, blue, purple, and light gray), there's also black, white, and a "rainbow" option, which allows you to use all the colors in the palette at once. There are also color wheels not on the PC version of Silk, all with different varieties of color. To use two colors at once, tap and drag a color into another one. There are five total color palettes available. To cycle through the color palettes, tap on the button with two arrows under the color wheel.
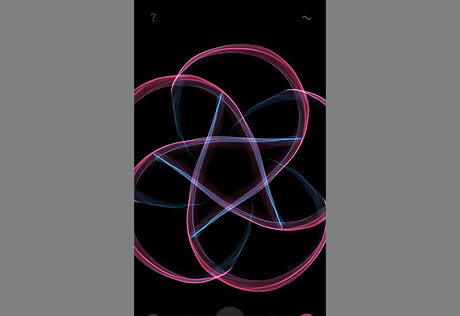
Draw. To draw on the mobile version of Silk, just press one or two fingers to the screen and move your fingertips around on the screen to create patterns or drawings.
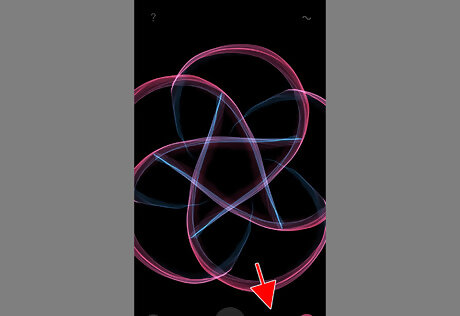
Save or share your picture. If you want to put your creation somewhere, whether it's online or just on your phone, tap on the Share icon (the square with the arrow coming out of it). A menu will come up, and from that menu, you have several options. You can text or email your creation to someone, add your Silk creation to your Notes app, share it to social media, copy the image, or just save the image to your camera roll, either in normal or HD quality.


Comments
0 comment