
The main advantage of WinBuilder is the relative ease of use, friendly GUI, and the ongoing community effort to further automate and develop the customization of these boot disks.
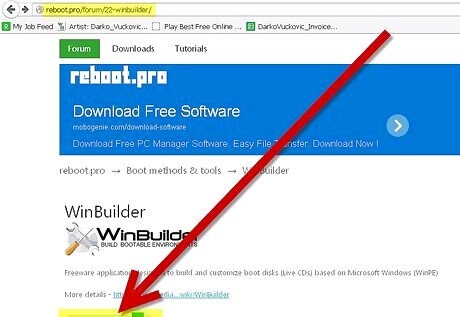
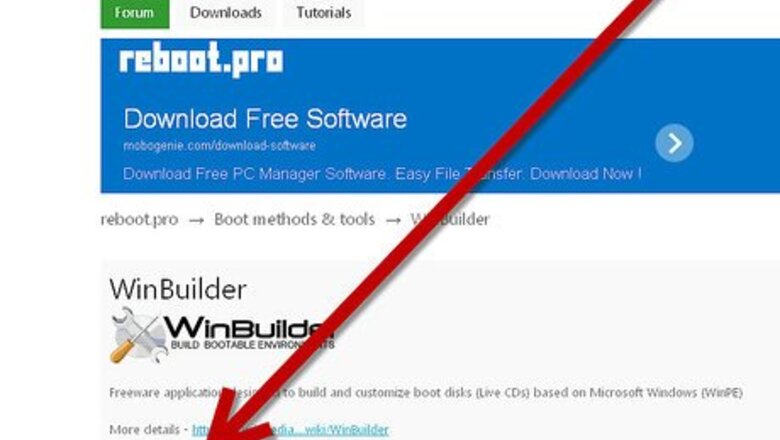
Download Winbuilder from this link. Run the file you downloaded.
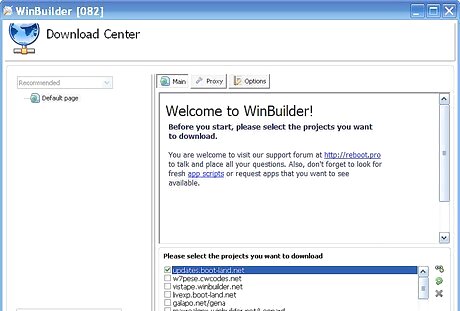
Download Center is what you should first see.
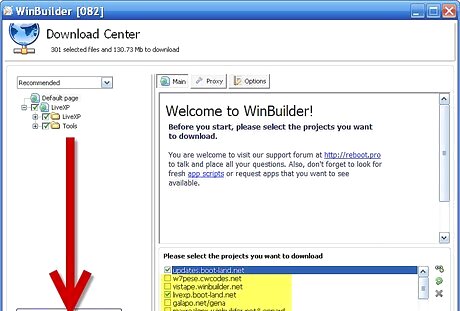
If you don't have any projects you need to download some, check one of the boxes and choose minimum instead of recommended if you like.
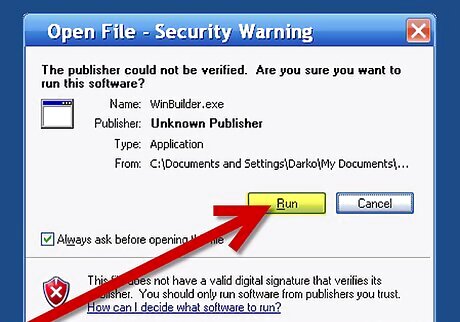
After the download is completed you will see Open File - Security Warning window. Click "Run" to start WinBuilder.
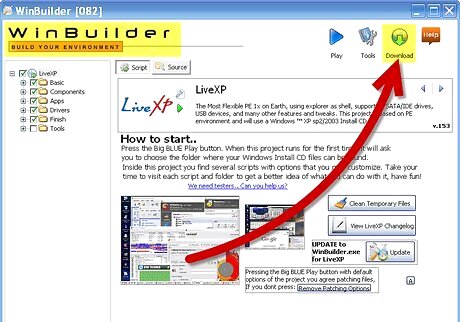
WinBuilder will start and you can access the main interface. To return to Download Center click Download at the top right.
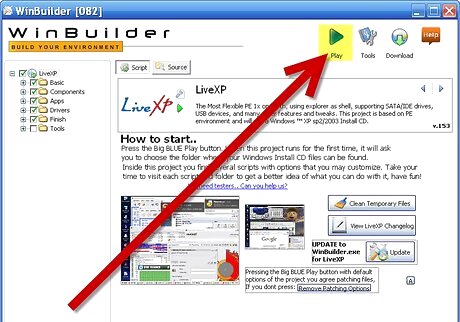
Ensure your installation disk is inserted if you plan to use it, and hit the big blue play button to start creating your boot disk.
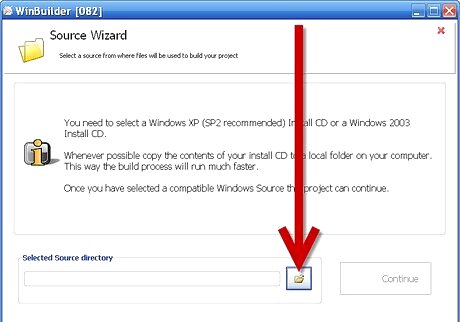
Next to Selected source directory click on the yellow folder icon. Choose the location of your installation disk (or installation folder if you have copied it to the hard disk). Then click Continue.Use Winbuilder Step 7Bullet1.jpg
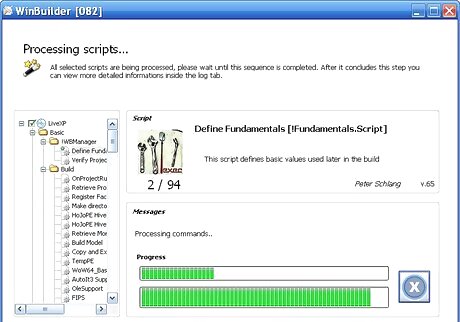
The program will start processing scripts. Wait until it finishes.

Your live CD should be created as an image (in your ISO folder which is in your WinBuilder folder) which you then need to burn as an image onto a CD.


Comments
0 comment