views
Making a Flat Blossom
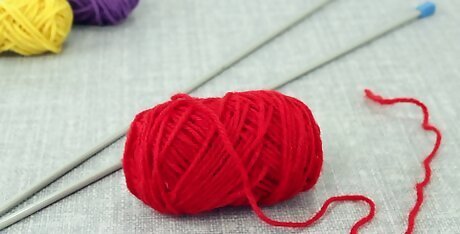
Select a light yarn in any color and size 6 US (4.0 mm) needles. Determine what color yarn you want to make the blossom; think about what colors look nice together. Choose a yarn that's light worsted weight. You'll also need to get out a pair of single pointed needles. Light worsted weight is sometimes labled as #3 weight.
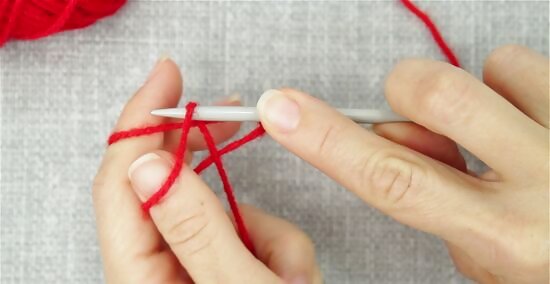
Cast on 51 stitches. Make a slipknot using the yarn you chose and slide it onto one of your needles. Hold the needle in your non-dominant hand. Then cast on 51 stitches to make the foundation of your blossom. This will make a blossom that's 3 inches (7.6 cm) in diameter. If you'd like to make a blossom that's smaller or larger, cast on a multiple of 10 stitches plus 1.
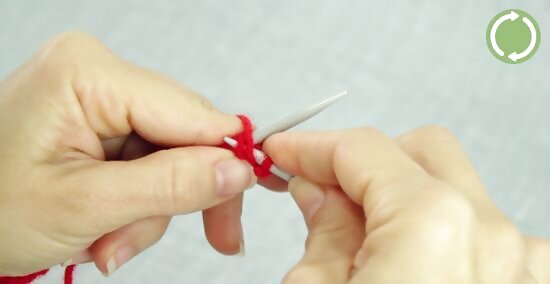
Make 4 rows of stockinette stitch. To knit the 4 rows in this pattern, you'll need to knit every stitch for the first row. Then purl every stitch for the second row. Knit every stitch of the third row and finish by purling every stitch for the fourth row. The pattern will look like this: 1: Knit all 2: Purl all 3: Knit all 4: Purl all
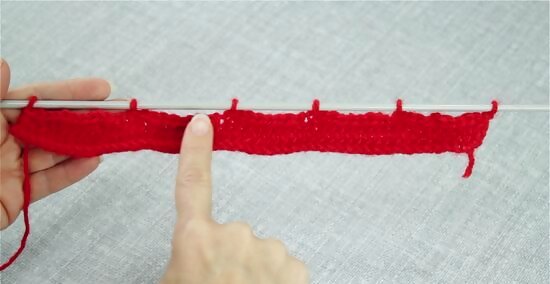
Knit 1 and bind off 9 stitches across row 5. To begin shaping the petals of the blossom, knit the first stitch of row 5. Then bind off the following 9 stitches. You should now see just 2 stitches on your left needle separated by a gap where you bound off the 9 stitches. Continue to K1, BO 9 across the row. Once you reach the end of the fifth row, you'll have 6 stitches on your needle with gaps in between. These will form the petals of your blossom.
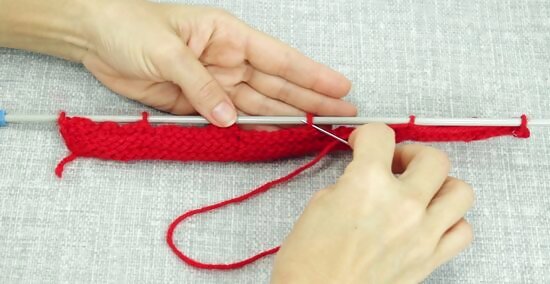
Cut a long yarn tail and sew through the 6 stitches on your needle. Pull about 18 inches (46 cm) of the working yarn and cut it to make a long tail. Thread the tail through a tapestry needle and insert it through each of the loops on the needle. Slide the stitches off as you go.
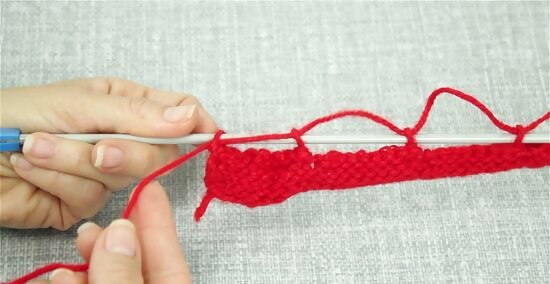
Pull the yarn tail through the stitches to gather the blossom. Once you've sewn through each of the stitches and you don't have any more on your needle, pull all of the yarn tail until it begins to cinch the center of the flower together. The knitted piece should now be circular like a blossom. You should see a decorative center in the middle of the work.
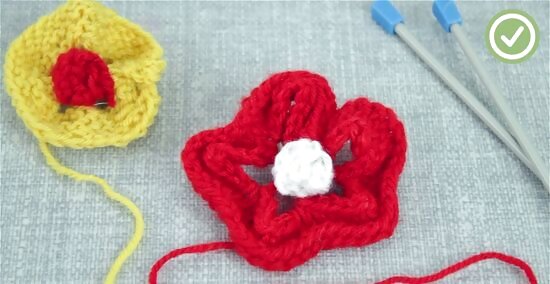
Whipstitch the sides and petals. Ensure that the yarn tail is still threaded onto the tapestry needle and use it to sew the sides of the blossom together so they're flush. Then whipstitch between each petal down towards the center of the blossom. Remember to leave a long yarn tail once you finish so you can attach the blossom to another project. Pull on the yarn tail as you sew so the center of the blossom becomes secure. Whipstitching between the petals will create a distinctive blossom shape. If you'd like to decorate the blossom, sew a knit center or button onto the middle.
Knitting a Ruffled Rosette
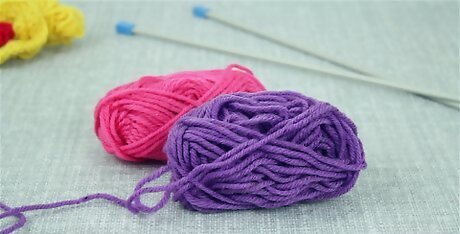
Choose a light yarn in any color and size 7 US (4.5 mm) needles. Decide what color yarn you want to make the rosette and use yarn that's light worsted weight. You'll also need a pair of single pointed needles. You may see light worsted weight yarn labled as #3.
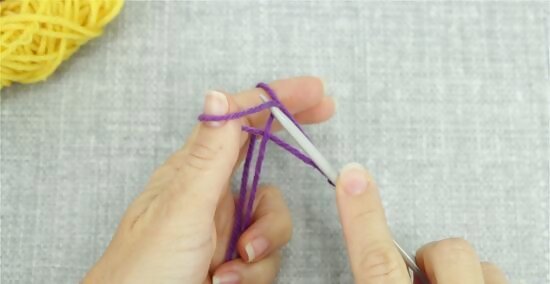
Cast on 70 stitches. Take your yarn and make a slipknot. Slide it onto one of your needles and hold the needle in your non-dominant hand. Cast on 51 stitches to make the foundation of your rosette. This will make a blossom that's 2 inches (5.1 cm) in diameter. For a smaller rose, cast on 50 to 60 stitches instead.
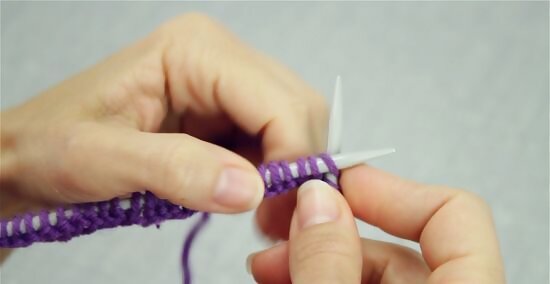
Knit 6 rows of garter stitch. To make the 6 rows in this pattern, you'll need to knit every stitch for each row. If you'd like to make the rosette taller, knit more than 6 rows. For a shorter rosette, knit 3 or 4 rows instead of 6. You should now have a thin rectangle of knit fabric on your needle.
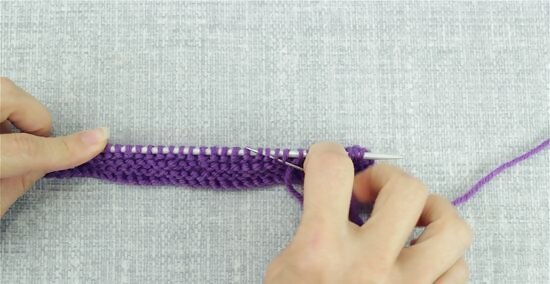
Cut a 12 in (30 cm) tail and sew through the 70 stitches on your needle. Use sharp scissors to cut a long tail and thread it onto a tapestry needle. Insert the needle through each stitch on your knitting needle. Then slide the knitting needle out from the stitches. By sewing through the stitches, you won't need to bind them off individually.
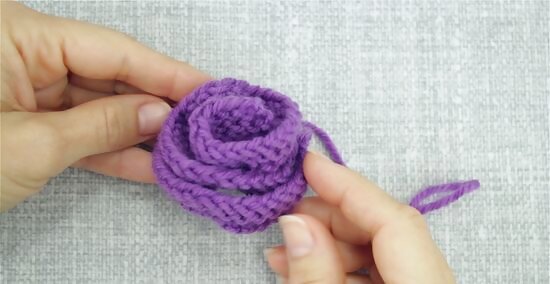
Wrap and shape the knitted piece into a rosette. Hold one end of the knit fabric and use your other hand to twist the rest of the rectangle around the center. This should give you a rough rosette shape. Keep holding the rosette with one hand since it's not secured yet.
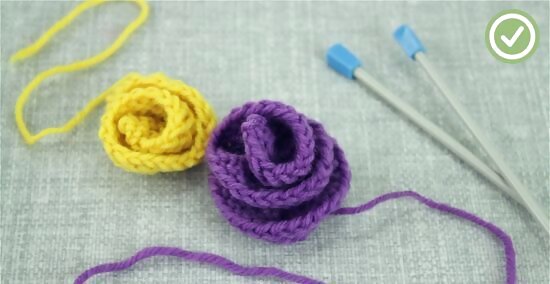
Sew the bottom of the rosette in place. Keep the yarn tail threaded onto the tapestry needle and insert it into the bottom of the rosette. Whipstitch across the bottom of the rosette so it won't unfurl when you let go. Trim the end of the yarn tail if you plan on simply giving someone the rosette. If you plan on attaching it to another project, keep the yarn tail long so you can sew it onto the other fabric.








Comments
0 comment