views
Using Glow Sticks
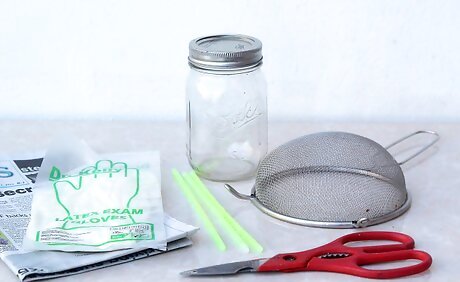
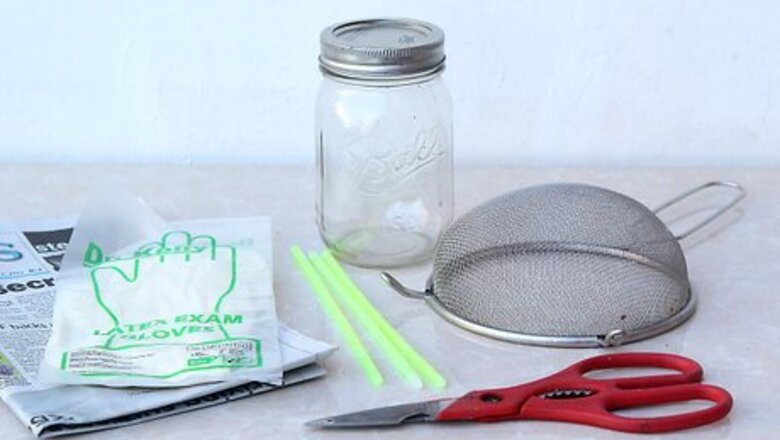
Gather your supplies and plan ahead. Glow sticks only glow for two to six hours, depending on the size. Because of this, plan on making the glow jar just before you plan on using it. This will allow you to enjoy your jar for longer. Here's a list of what you will need: 1 glow stick or 2 – 3 bracelet glow sticks Craft knife or scissors Jar with lid Newspaper Rubber or latex gloves Strainer Glitter (optional)

Cover your work surface with newspaper. This project can get messy, so you might want to protect your table. If you don't have newspaper, paper bags or even a cheap, plastic tablecloth would work.
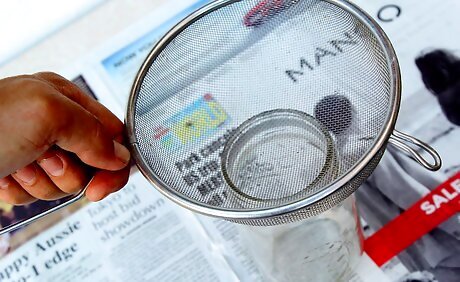
Open a glass jar and place a strainer over it. Glow sticks have a glass tube inside. When you activate a glow stick by snapping it in half, this glass tube shatters. The strainer will catch the glass shards. Do not plan on using this strainer for cooking again. Even if you clean it, there might be a glass shard stuck in it.
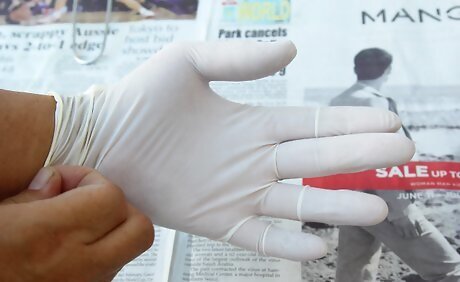
Put on a pair of rubber or latex gloves. Although glow sticks are considered to be non-toxic, the chemicals inside can still irritate skin. You will also be working with shattered glass.
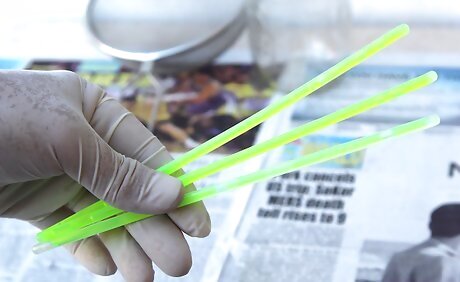
Activate the glow stick. Hold the glow stick with two hands, then snap it briskly in half. Shake it to mix the chemicals inside. It should begin to glow brightly.
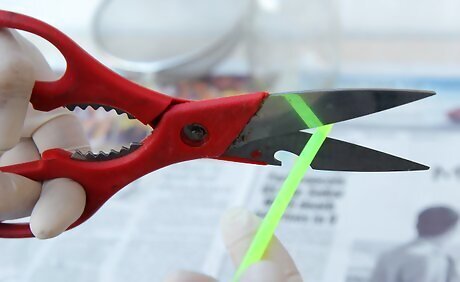
Cut the tip of the glow stick off. Hold the glow stick over the jar, and cut it using a craft knife or a pair of sharp scissors. Be careful so that the fluid doesn't spray you. If you are a child, ask a parent to help you.
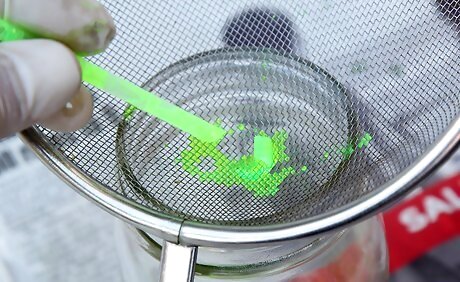
Empty the glow stick into the jar. Turn the glow stick upside down so the liquid can flow into the jar. The glass shards will get caught in the strainer. You may have to shake and jiggle the glow stick to get everything out.
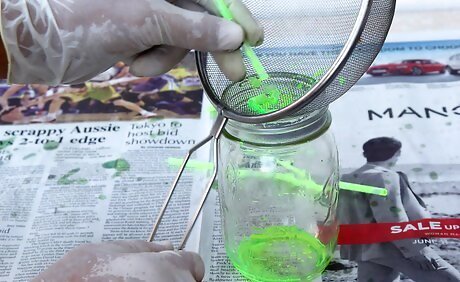
Repeat for the remaining glow sticks. Try to use glow sticks that are all one color. Some colors can look nice when they are mixed together, (such as red and white) but others will turn out muddy (such as red and green).
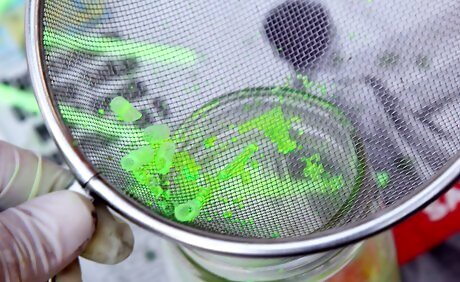
Discard the glow stick case and the glass shards. Throw everything away into the trash can. Make sure that you shake the strainer against the side of the trashcan to dislodge any glass shards that might be stuck in it.
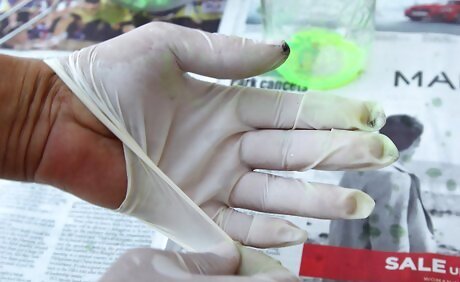
Pull the gloves off. The best way to do is to grip the glove by the cuff, and tug down on it. The glove will flip inside out. You won't have to worry about touching the glow stick fluid that's on it.
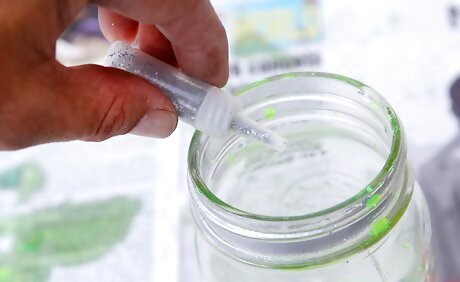
Consider adding some glitter. Your glow jar is almost ready to be used, but you can make it fancier buy adding in about a teaspoon of glitter. You can use any color of glitter you want, but iridescent or a color that matches the glow stick might look best.
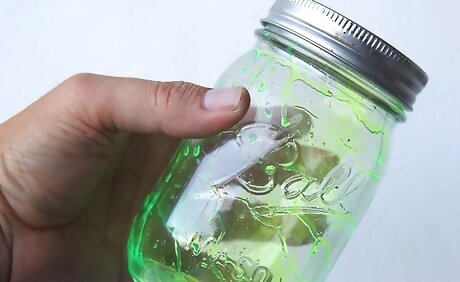
Close the lid on the jar and shake the jar. This will cause the glow stick liquid to coat the walls.
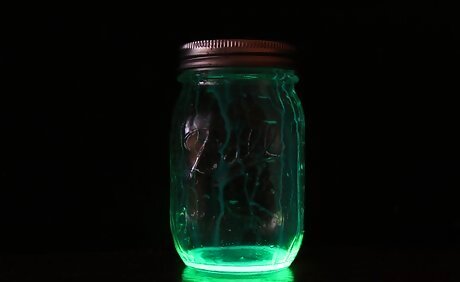
Take the jar into a dark room. Enjoy the glow while it lasts. It will begin to fade after two to six hours. If you want, you can add more glow stick liquid to the jar the next night.
Using Glow-in-the-Dark Paint
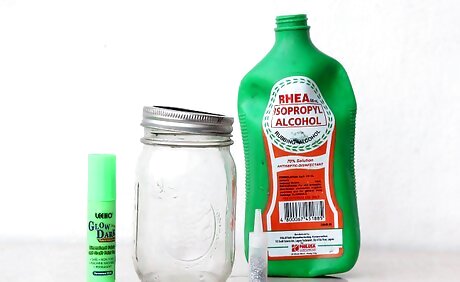
Gather your supplies. Unlike glow jars made using glow sticks, these ones never stop glowing. You just have to recharge them every so often by placing them under a bright light for at least 15 minutes. Here's a list of what you will need: Jar (lid optional) Rubbing alcohol Glow-in-the-Dark paint Super fine scrapbooking glitter (optional)
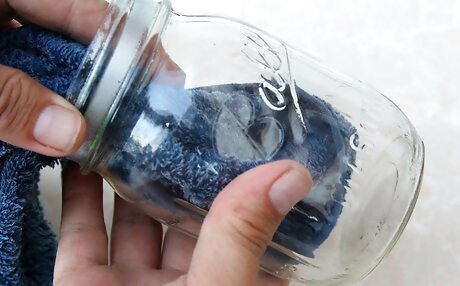
Wash the jar using soap and warm water. Even if the jar looks clean, there might still be some dust on it. Dry the jar off using a clean towel.
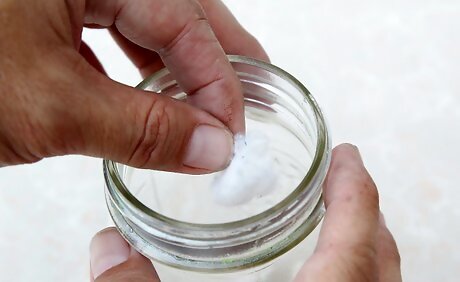
Wipe down the inside of the jar with rubbing alcohol. Soak a cotton ball with rubbing alcohol and wipe it down. The rubbing alcohol will get rid of any oil residue, which might prevent the paint from sticking.
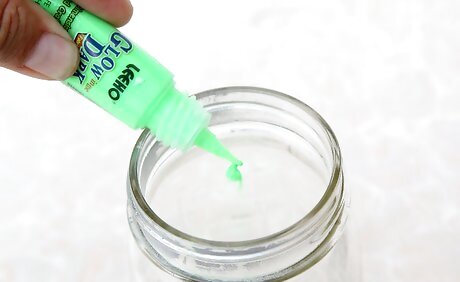
Add a few squirts of paint into the jar. You are putting the paint inside the jar, so it will be less-likely to get chipped or scratched. You don't need a lot of paint, because you will be shaking the jar to spread the paint around. Consider adding some super fine scrapbooking glitter. This glitter will get mixed in with the paint, and give your jar an extra sparkle.
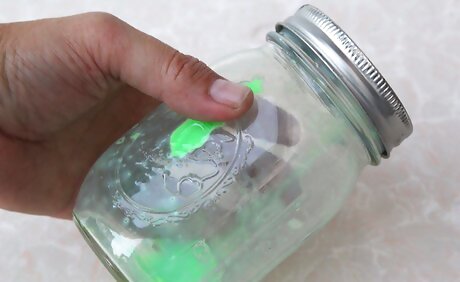
Close the lid and shake the jar until the paint covers the inside. You can also tilt the jar and rotate it to help spread the paint around. If the paint doesn't spread very easily, it could be because you did not add enough paint or the paint is too thick. Try adding in a few more squirts of paint, or a few drops of warm water, then shake the jar again.
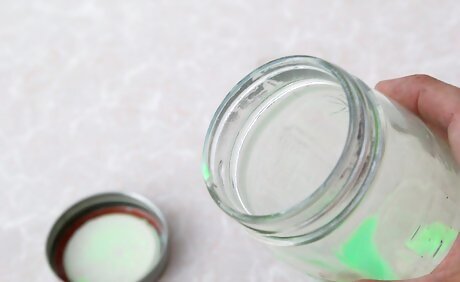
Open the jar and pour the excess paint back into the bottle. This way, the paint will dry faster, and you won't be wasting any paint.
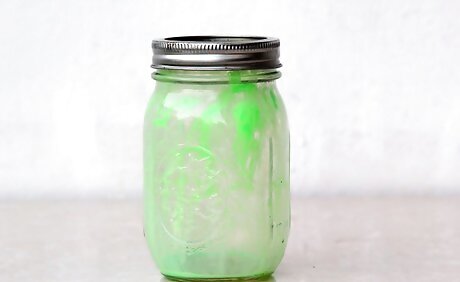
Wait for the paint to dry. Most paints will dry in about two hours, depending on how warm or humid it is. Refer to the label for more specific drying times, as each brand will be different.
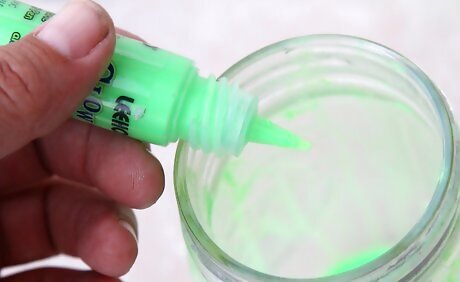
Consider doing one to two more coats for a more intense glow. The first coat you just did is likely very thin; this means that it won't glow very brightly Once the first coat dries, simply pour more paint into the jar and pour the excess out as before. Let each coat dry completely before adding another one.
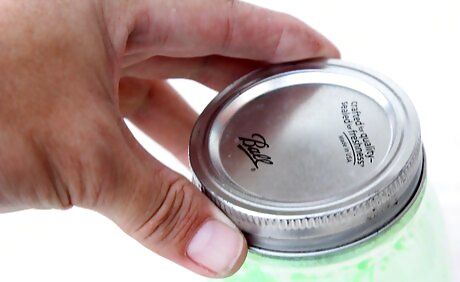
Close the jar, if you want. Because this jar doesn't have anything that could spill out of it, it doesn't really need a lid. On the other hand, a lid will help keep the jar clean and dust-free on the inside; it will also help protect the paint.
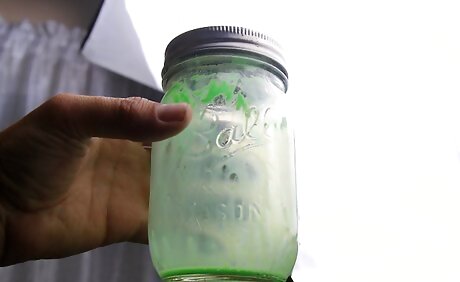
Leave the jar under a bright light for at least 15 minutes before using it. Glow-in-the-dark paint does not need a black light in order to glow, but it does need to be charged. Once the glow starts to fade, all you have to do is charge it for another 15 minutes under a bright light.
Using Highlighter Ink and Water
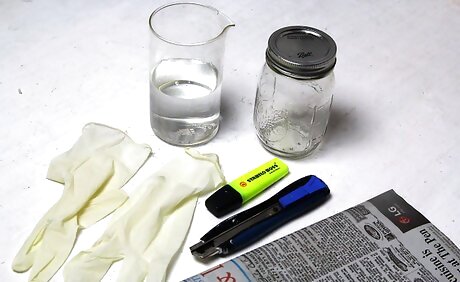
Gather your supplies. This jar cannot glow on its own in the dark. It requires a black light in order to glow, but the glow you do get in the end is bright and worth the effort. Here's a list of what you will need: Black light Highlighter Craft knife Jar with lid Water Newspaper Rubber or latex gloves
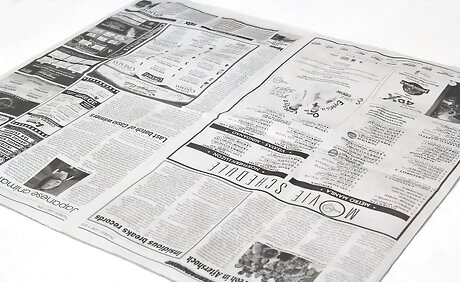
Protect your work surface. This project can get a little messy, so you might want to cover your table with a few sheets of newspaper. If you don't have any newspaper, try using a few paper bags or a cheap, plastic tablecloth.
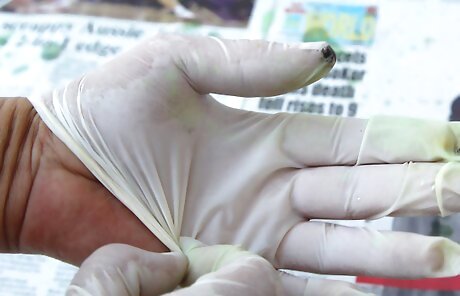
Put on a pair of rubber or latex gloves. You will be working with a highlighter ink cartridge, which can get very messy. The gloves will keep your hands from getting stained.
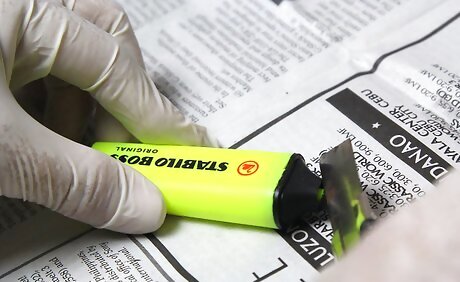
Cut open a highlighter using a craft knife. Pull the cap off of a highlighter, and put the highlighter down on the newspaper. Hold the highlighter with one hand, and cut the plastic case open using your other hand. Try not to cut the ink cartridge inside. Instead, try rotating the highlighter as you cut. If you are a child, please ask an adult to help you with this step.
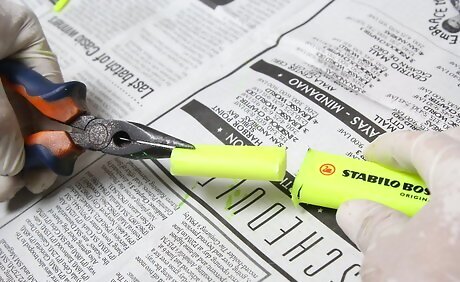
Pull the ink cartridge out. It will look like a felt stick. Some may have a clear piece of plastic wrapped around it. You don't need to remove this clear plastic wrapping, if there is one. If you want, you can also pull the felt tip out using a pair of tweezers.
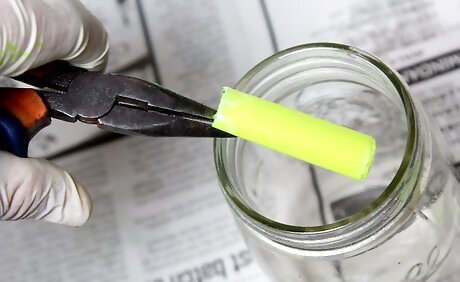
Put the highlighter ink cartridge in the jar. You only need one ink cartridge per jar. If you pulled the felt tip out, add that to the jar as well.
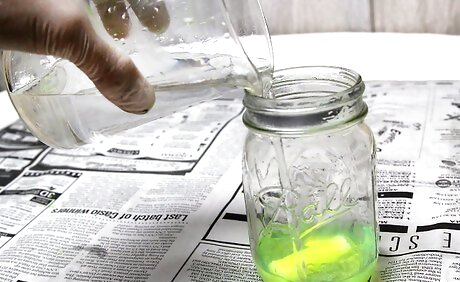
Fill the jar with hot water. The water will help dissolve the ink inside the highlighter. You will be throwing out the ink cartridge out. The water will then glow under a black light.
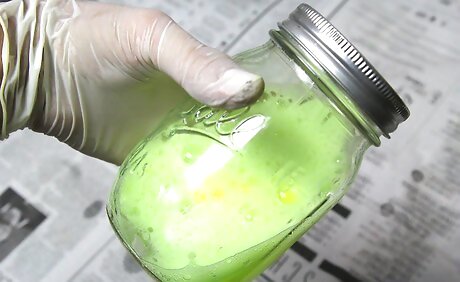
Close the jar and shake it. This will help loosen any ink inside the cartridge, and help it start to flow out into the water.
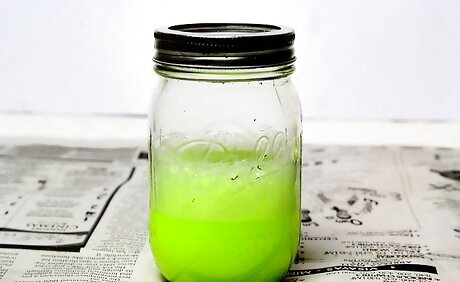
Let the highlighter cartridge sit in the water for four to six hours. This will give the ink enough time to flow out of the cartridge and into the water. Over time, you may notice the water start to take on the color of the ink.
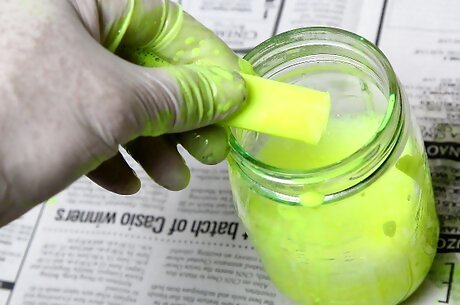
Pull out the ink cartridge and squeeze the excess water back into the jar. Be sure to wear your rubber or latex gloves for this step. If you added the felt tip into the jar as well, you will want to fish it out using a pair of tweezers. Most felt tips are too hard to be squeezed, so don't worry about that.
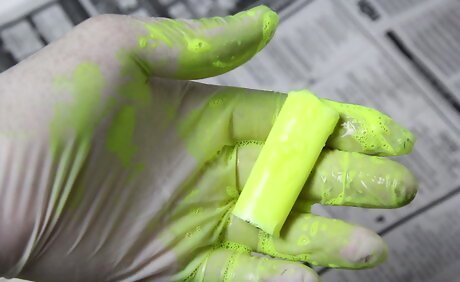
Discard the ink cartridge and pull off the gloves. If you used the felt tip as well, then throw it out too. Once you have thrown away the cartridge, pull the gloves off. Tug the glove down by the cuff. This will cause the glove to flip inside out; you won't have to touch the highlighter ink that's on it. Once you have the gloves off, toss them.
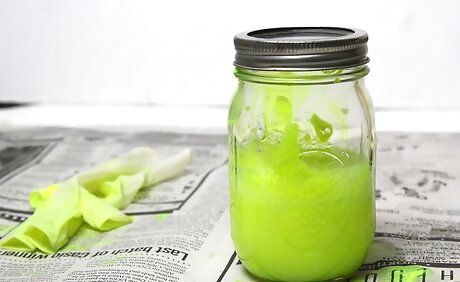
Put the lid on the jar. If you want, you can put some super glue along the rim of the jar before putting the lid on; this will prevent anyone from opening the jar and making a mess. Like the jars made with glow-in-the-dark paint, this jar won't run out of glowing power and does not need to be refilled like a glow stick jar.
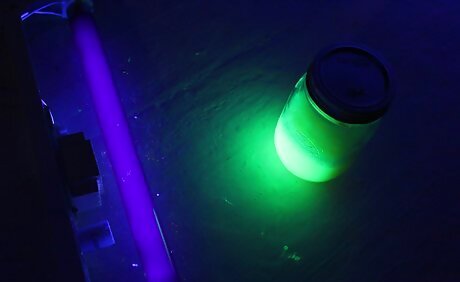
Place the jar under a black light to make it glow. Highlighter ink is fluorescent. It won't glow on its own, like glow-in-the-dark paint. It needs a little help from a black light. The jar will only glow under a black light; you cannot charge it to glow in the dark, like a glow-in-the-dark paint jar.
Using Paint and Water
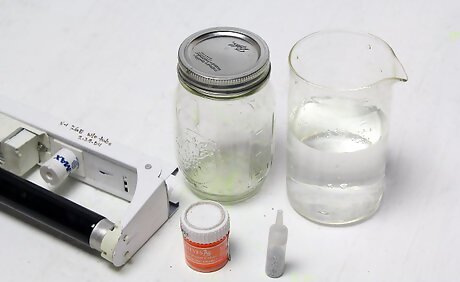
Gather your supplies. Jars filled with paint and water can make great glow jars. If you add glitter to them, they can be used as timers or calming jars. Here's what you'll need to make one: Jar with lid Water Glow-in-the-dark or fluorescent paint Black light (if using fluorescent paint) Super fine scrapbooking glitter
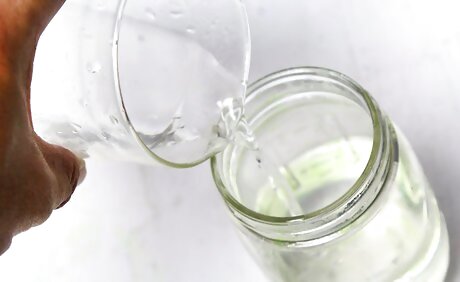
Fill a jar with warm water. Do not fill the jar all the way with water. The paint will add volume once you add it.
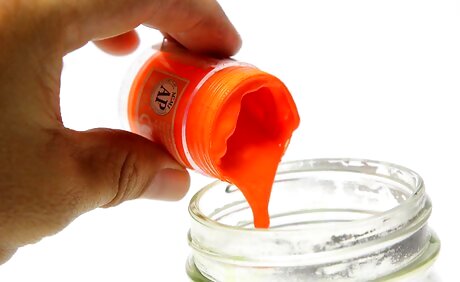
Add a few squirts of paint into the jar. The more paint you add, the more intense the glow will be. You can use fluorescent paint or glow-in-the-dark paint. Here are differences between the two: If you use fluorescent paint, you will need a black light in order to make the paint glow. The paint will stop glowing if you take the black light away. If you use glow-in-the-dark paint, you will need to leave it under a bright light for at least 15 minutes. It will glow in the dark for up to an hour.
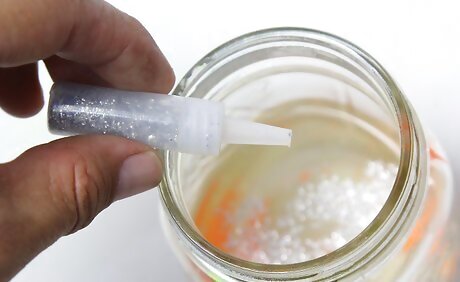
Consider adding some glitter to give the jar some extra sparkle. You will only need about a teaspoon or so. Try to match the glitter color to the paint color.
Put the lid on the jar and close it tightly. You can also put a line of super glue around the rim of the jar before you close it. This will prevent anyone from opening the jar and making a mess.
Shake the jar to mix the paint water. Keep shaking until the water is an even color. There should be no swirls or clouds of paint.
Install a black light if you are using a jar made with fluorescent paint. Unlike glow-in-the-dark paint, fluorescent paint cannot be "charged." It needs to be next to a black light in order to glow. The minute you take it away from a black light, it will stop glowing. You can buy black lights at party stores and craft stores.
Charge a jar made with glow-in-the-dark paint by leaving it under a bright light for at least 15 minutes. After this, the jar will glow on its own for up to an hour. You can re-charge the jar however many times you want.
Turn the lights off and watch the jar glow. If you are using a black light, turn the regular lights off, and the black light on.
Re-shake the jar if necessary. The paint and water may separate over time. If the paint sinks to the bottom of the jar, simply shake the jar to mix it up again.
Making Other Types of Jars and Decorating Them
Fill a jar with tonic water and close the light tightly. To make the jar glow, place it near a black light. The tonic water will glow a bright blue.
Use glow-in-the dark paint to draw dots all over a jar. This will create a starry-night effect. Simply take some glow-in-the-dark puff paint and make little dots all over the jar. Let the paint dry, then close the lid. Place the jar under a bright light for at least 15 minutes, then take it into a dark room. This jar does not need a bright light in order to glow.
Decorate the lid. A plain lid can look classic, especially on a mason jar. You can also decorate the lid to make your jar look extra special. Here are some ideas: Cover the lid with glue, then sprinkle it with glitter. Wait for the glue to dry, then tap the extra glitter off. To prevent the glitter from getting all over the place, spray the lid with a clear, glossy acrylic sealer. Paint the lid another color using acrylic paint or spray paint. Glue some ribbon around the edge of the lid using hot glue. Glue a figurine to the top of the lid using super glue. You can leave the lid and figurine as they are, or you can use spray paint to give it a solid color. Use super glue to stick on some rhinestones onto the lid. Put a drop of super glue onto the lid where you want the rhinestone to go, then press the rhinestone down onto it. Do one rhinestone at a time. Decorate the lid with some stickers. Try using some star-shaped, glow-in-the-dark stickers.
Decorate your jar on the outside using a black paint pen. You can draw designs and make your jar look like a Jack-o-Lantern or a Day of the Dead sugar skull. You can even draw swirls. This will work best on jars made with glowing sticks or highlighter water.
Consider adding glitter to your jar. You will need about a teaspoon or so. This will give your jar some extra sparkle. Try to match the color of the glitter to your paint color for the best results.
Make a galaxy jar. Cover the jar with some star-shaped stickers, then paint the jar a solid color using spray paint or acrylic paint. Wait for the paint to dry, then peel off the stickers. The jar will glow through the star-shaped holes.
Give your jar a softer glow by painting it with white school glue. Squirt some white school glue onto a paper plate. Use a foam brush to apply the glue to the outside of the jar. Wait for the glue to dry before using the jar. The matte coating will soften the glow. This would work best for glow stick jars. It is not recommended for glow-in-the-dark paint jars, because they will already have a softer glow.









Comments
0 comment