
views
- When setting up a FTA satellite system, you'll need a compatible satellite network.
- Place your satellite dish in an optimal position to properly receive signals.
- Keep your wires organized by threading wires through walls or carefully pinning them in place.
Preparing to Install

Select a satellite network. In order to check your satellite's compatibility with your current location, you'll have to know the name of the satellite itself. You can check the American Digital Satellite website for different satellites by going to https://www.americandigitalsatellite.com/all_free_to_air_satellite_channels.html and scrolling down to the list of available satellites.

Make sure that you can receive your satellite's signal. Before attempting to set up an FTA system, you should know if it's possible for you to receive your selected satellite's signal. You can test this by going to https://www.dishpointer.com/ and doing the following: Type your city and state (e.g., "Palo Alto, California") into the "Your location" text box on the left side of the page. Select your satellite's name from the drop-down box on the right side of the page. Click Search! Make sure that there is a green line indicating line-of-sight for your satellite. If this line is red, the satellite won't work properly in your area.
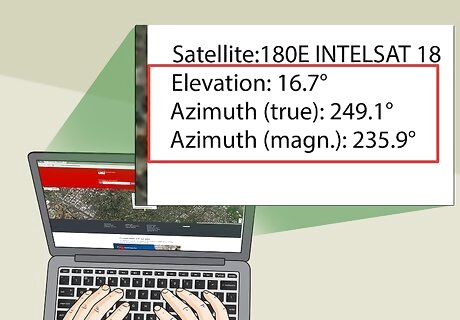
Note the network's bearings. In the pop-up box on the map, look at both the "Elevation" number and the "Azimuth (true)" number. You'll use these numbers (in degrees) to adjust your dish later.
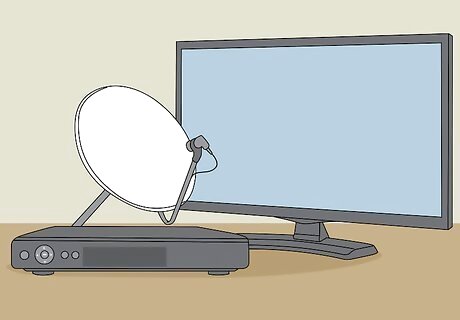
Ensure that you have the proper hardware. You'll need the following equipment before you can actually install the satellite dish: Satellite dish — Used to receive the satellite's signal. You'll need an 8-foot dish for C-band channels or a 35-inch dish for KU-band channels. Satellite receiver — Used to receive the satellite dish's input and translate it into channels for your TV. Satellite tuner — Used to fine-tune the satellite dish's position. HDTV — Necessary for most FTA systems, as the receiver will generally require an HDMI input on the TV itself. Coaxial cable — Usually packaged with the satellite dish, but you may need to buy a longer or shorter cable depending on your satellite dish's location.
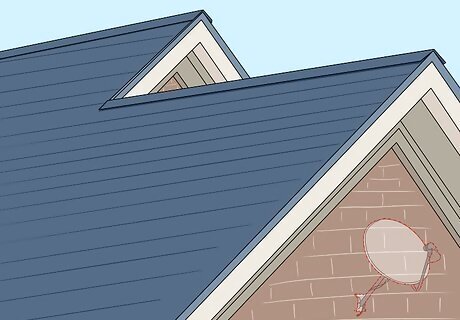
Determine your satellite dish's optimal position. You'll want to aim your satellite dish at the satellite itself, so find a high location (e.g., a rooftop or a balcony) from which the dish can face the satellite without losing track of the satellite's bearings. You'll also need to ensure that your satellite dish isn't obstructed by trees, buildings, or other obstacles.
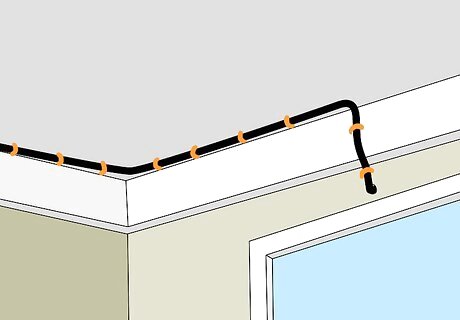
Figure out the best route from your dish to your TV. Since you'll need to run a coaxial cable from the dish to the receiver inside your house, you'll want to find a path that minimizes the cable's exposure to the elements while keeping the cable as short as possible. Many dish users route the cable along the side of the house and through a wall where necessary, but your cable setup may vary. If necessary, buy a new coaxial cable that will reach your dish from the receiver before proceeding.
Installing the Receiver Dish
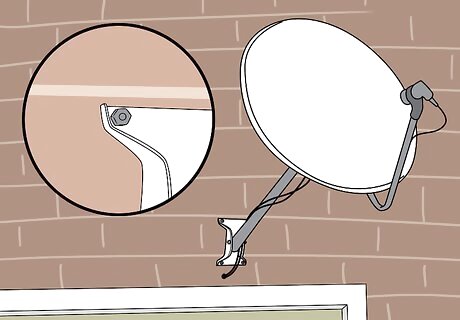
Secure the dish in your selected position. Place the dish's mast and dish itself on a stable surface, then lock down its position using the included bolts or fasteners. It's incredibly important to make sure that the dish is secured as tightly as possible so that it doesn't become loose during a windstorm. If the dish is mounted on a wood roof, you can caulk around the base to make it waterproof.
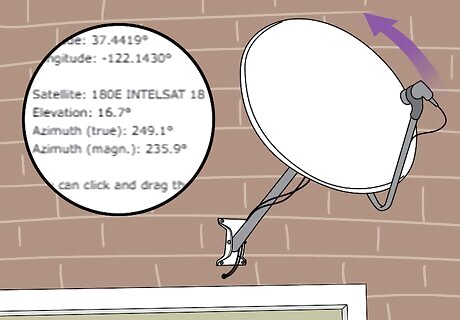
Point the dish toward your satellite. Using the "Elevation" and "Azimuth" numbers as guides, angle your satellite dish toward the satellite that you want to use. This will ensure that the dish is roughly positioned toward the satellite. You'll most likely need a compass for this step.
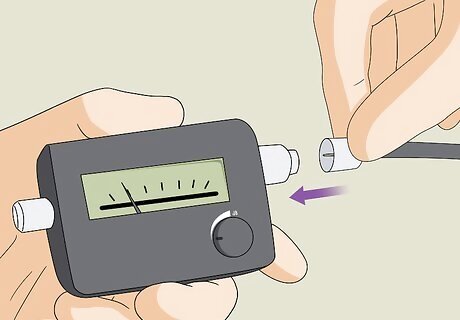
Connect the satellite tuner. Using the 6 foot (1.8 m)-long coaxial cable on your satellite, plug in the satellite tuner.
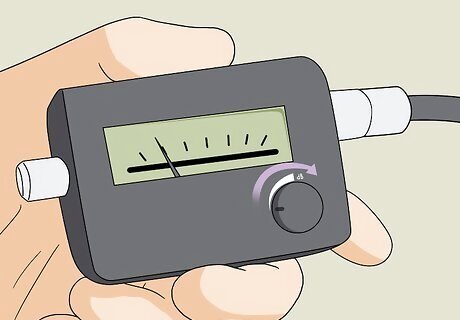
Use the satellite tuner to fine-tune your dish's horizontal axis. Turn on the satellite finder, input the satellite name or select it from a list, and enter the satellite's frequency. You should hear a continuous beeping sound which will allow you to corroborate your dish's position: Rotate the dish left or right. Listen for quicker beeping to ensure that you're rotating the dish in the correct direction. Rotate the dish the other way if the spaces between beeps get longer.
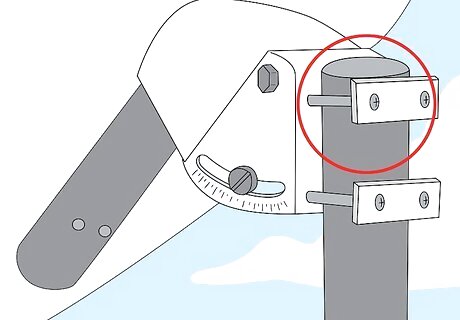
Secure your dish's horizontal axis. Tighten the rotation control screw completely to fix this angle.
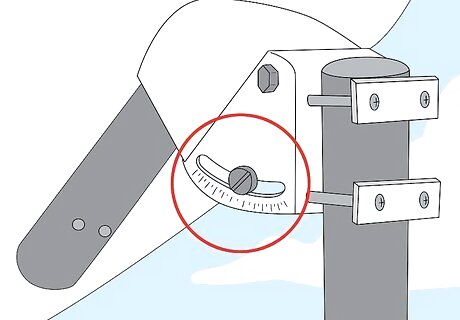
Adjust the vertical axis. You'll do this in the same way as you adjusted the horizontal axis; once the beeping is as quick as you can manage to achieve, you can tighten the vertical axis screw.
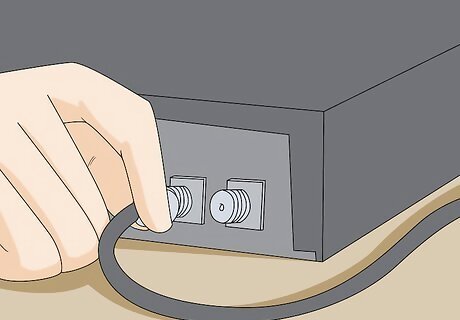
Connect your satellite dish to your receiver. You'll use the long coaxial cable for this step. The coaxial cable should plug into the back of the satellite dish's receiver. You can use a staple gun to staple the coaxial cable to your house's siding in order to prevent it from hanging freely. Depending on your house's layout, you may need to drill a hole in the wall in order to thread your coaxial cable through to the receiver. If so, make sure not to drill through any pipes or wires.
Setting up the Receiver
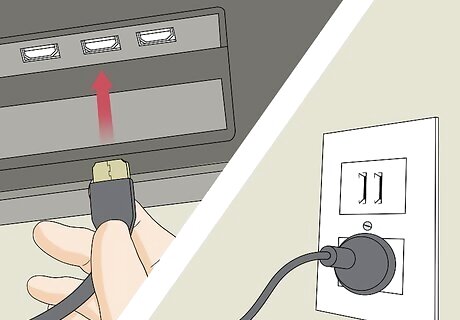
Plug the receiver into both a power source and your TV. Once you've attached the coaxial cable to the receiver, you can use the receiver's HDMI cable to attach to one of your TV's HDMI ports. You'll also need to use the receiver's power cable to connect to an electrical outlet.
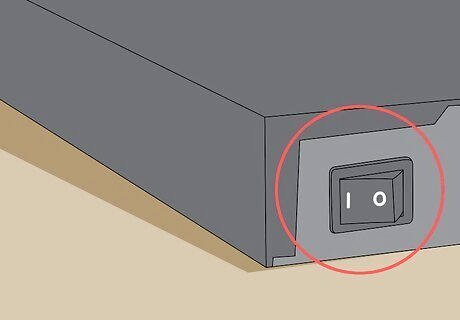
Turn on the receiver if necessary. Your receiver should turn on when plugged in, but there may be an On/Off switch on the side or the back of the receiver. If so, flip the switch to the "On" position before proceeding.
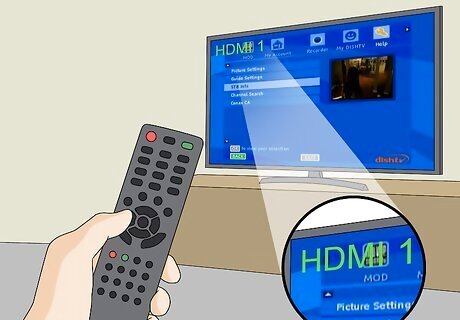
Switch to the receiver's channel. Turn on your TV, then switch to the HDMI input into which you plugged the receiver. For example, if you plugged your receiver into the "HDMI 1" slot, you'll switch the input to the "HDMI 1" channel using your TV's Input or Video menu.
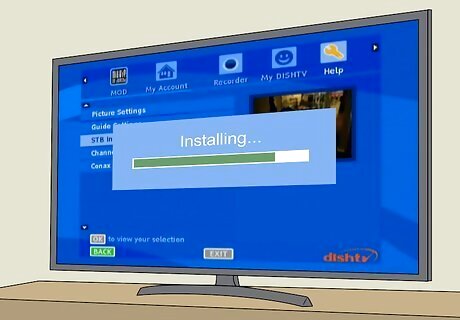
Allow the receiver to perform its installation if necessary. Some receivers will go through an automatic setup process the first time they're turned on; if so, allow your receiver to complete the setup before continuing. If prompted to perform any actions during the setup, follow the on-screen instructions.
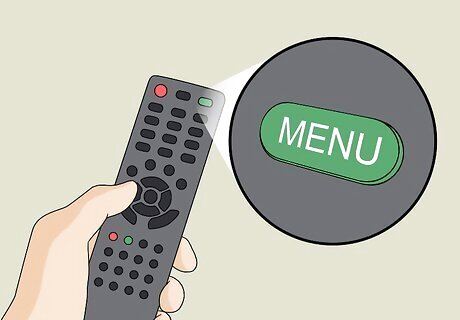
Open the receiver's menu. On your receiver's remote, find and press the Menu button. You should see a pop-up menu appear on-screen.
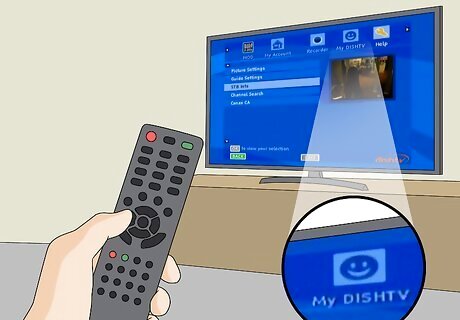
Find your dish's antenna setup menu. You'll usually have to use your remote's arrow buttons to find the "Install" or "Dish" option, but consult your receiver's manual if you can't find the setup section of the menu.
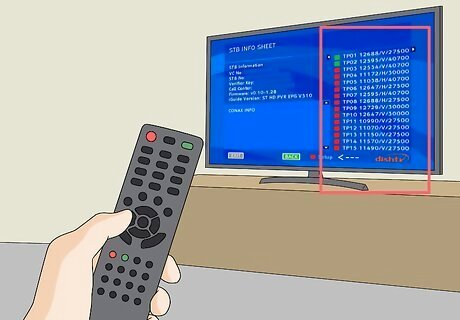
Select a satellite. In the "Satellite" section of the menu, use the arrows to scroll left or right until you find your satellite's name.
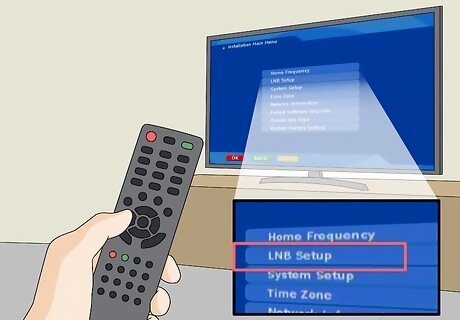
Select an LNB frequency. In the "LNB" section of the menu, use the arrows to select 10750 as the LNB number. This is the most commonly used LNB frequency for satellite networks. If you're using a C-band network, you'll select 5150 here instead.
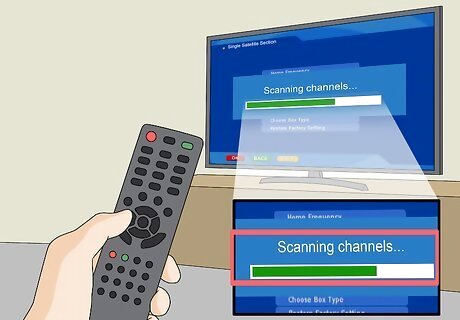
Scan for channels. Find the "Scan" or "Single Satellite Scan" section of the menu, set the "FTA Only" section to Yes if possible, and start the scan by selecting Yes, OK, or Start. Your dish will begin searching for available satellite TV channels; once it finishes, you'll be able to watch TV like usual on your dish's channel.


Comments
0 comment